Cedar Spirits Cabinet Begins

A generous gift from a friend and fellow woodworker, and it’s time to make a new piece. The gift was a small plank of yellow cedar from British Columbia, Canada. It came from a log that had drifted away from a raft headed to market, and washed up on the beach in Vancouver.
Except in very large dimension, this is not a structural wood, so I’ve decided to cut the plank mostly into thin veneers leaving a few larger pieces for solid edgebands, etc. A small cabinet, perhaps a liquor cabinet. Clean, simple, modern lines. Quiet, calm, reserved.

Upon cutting the veneers on the bandsaw, a few [6] deer show up on the scene to check things out in the studio.

I began with the construction of cores, or substrates, for the veneers. I’ll be using Baltic birch plywood, in multiple layers to improve stability and flatness. Three layers of 3 mm for the doors, sides, partitions and back, and three layers of 6 mm for the top and bottom panels.
I enjoy breaking out this vacuum pump that I assembled from a kit of parts I got from Joe Woodworker. It’s been extremely reliable over the years.

Here it is in action pressing three 3 mm sheets of Baltic birch plywood for one of the side panel substrates.

Next, I cut the Baltic birch cores to final size and band the edges with cedar for an exposed baked-in edge or poplar for a hidden baked-in edge. I make these edgebands extra thick so I can trim the panels down to exact size after applying the finished veneers. Of course, the main reason for these edgebands is for final fitting of the parts. It’s pretty hard to hand joint a plywood edge for a nice fit!

Edgebands in the clamps.

The yellow cedar veneers will be book matched on the doors and back panel. The sides will be book matched with the panels around the corners. Below, I’m laying out the left side panel exterior veneer. Note, the left edge of the left door will be veneered with the off-cut from the side panel veneer. Cross your fingers for a good grain match!

Some of the veneers will be secondary woods, poplar in this case. Below I’m jointing the edges of the poplar veneers before gluing them into a larger sheet to be used for the drawer pockets.

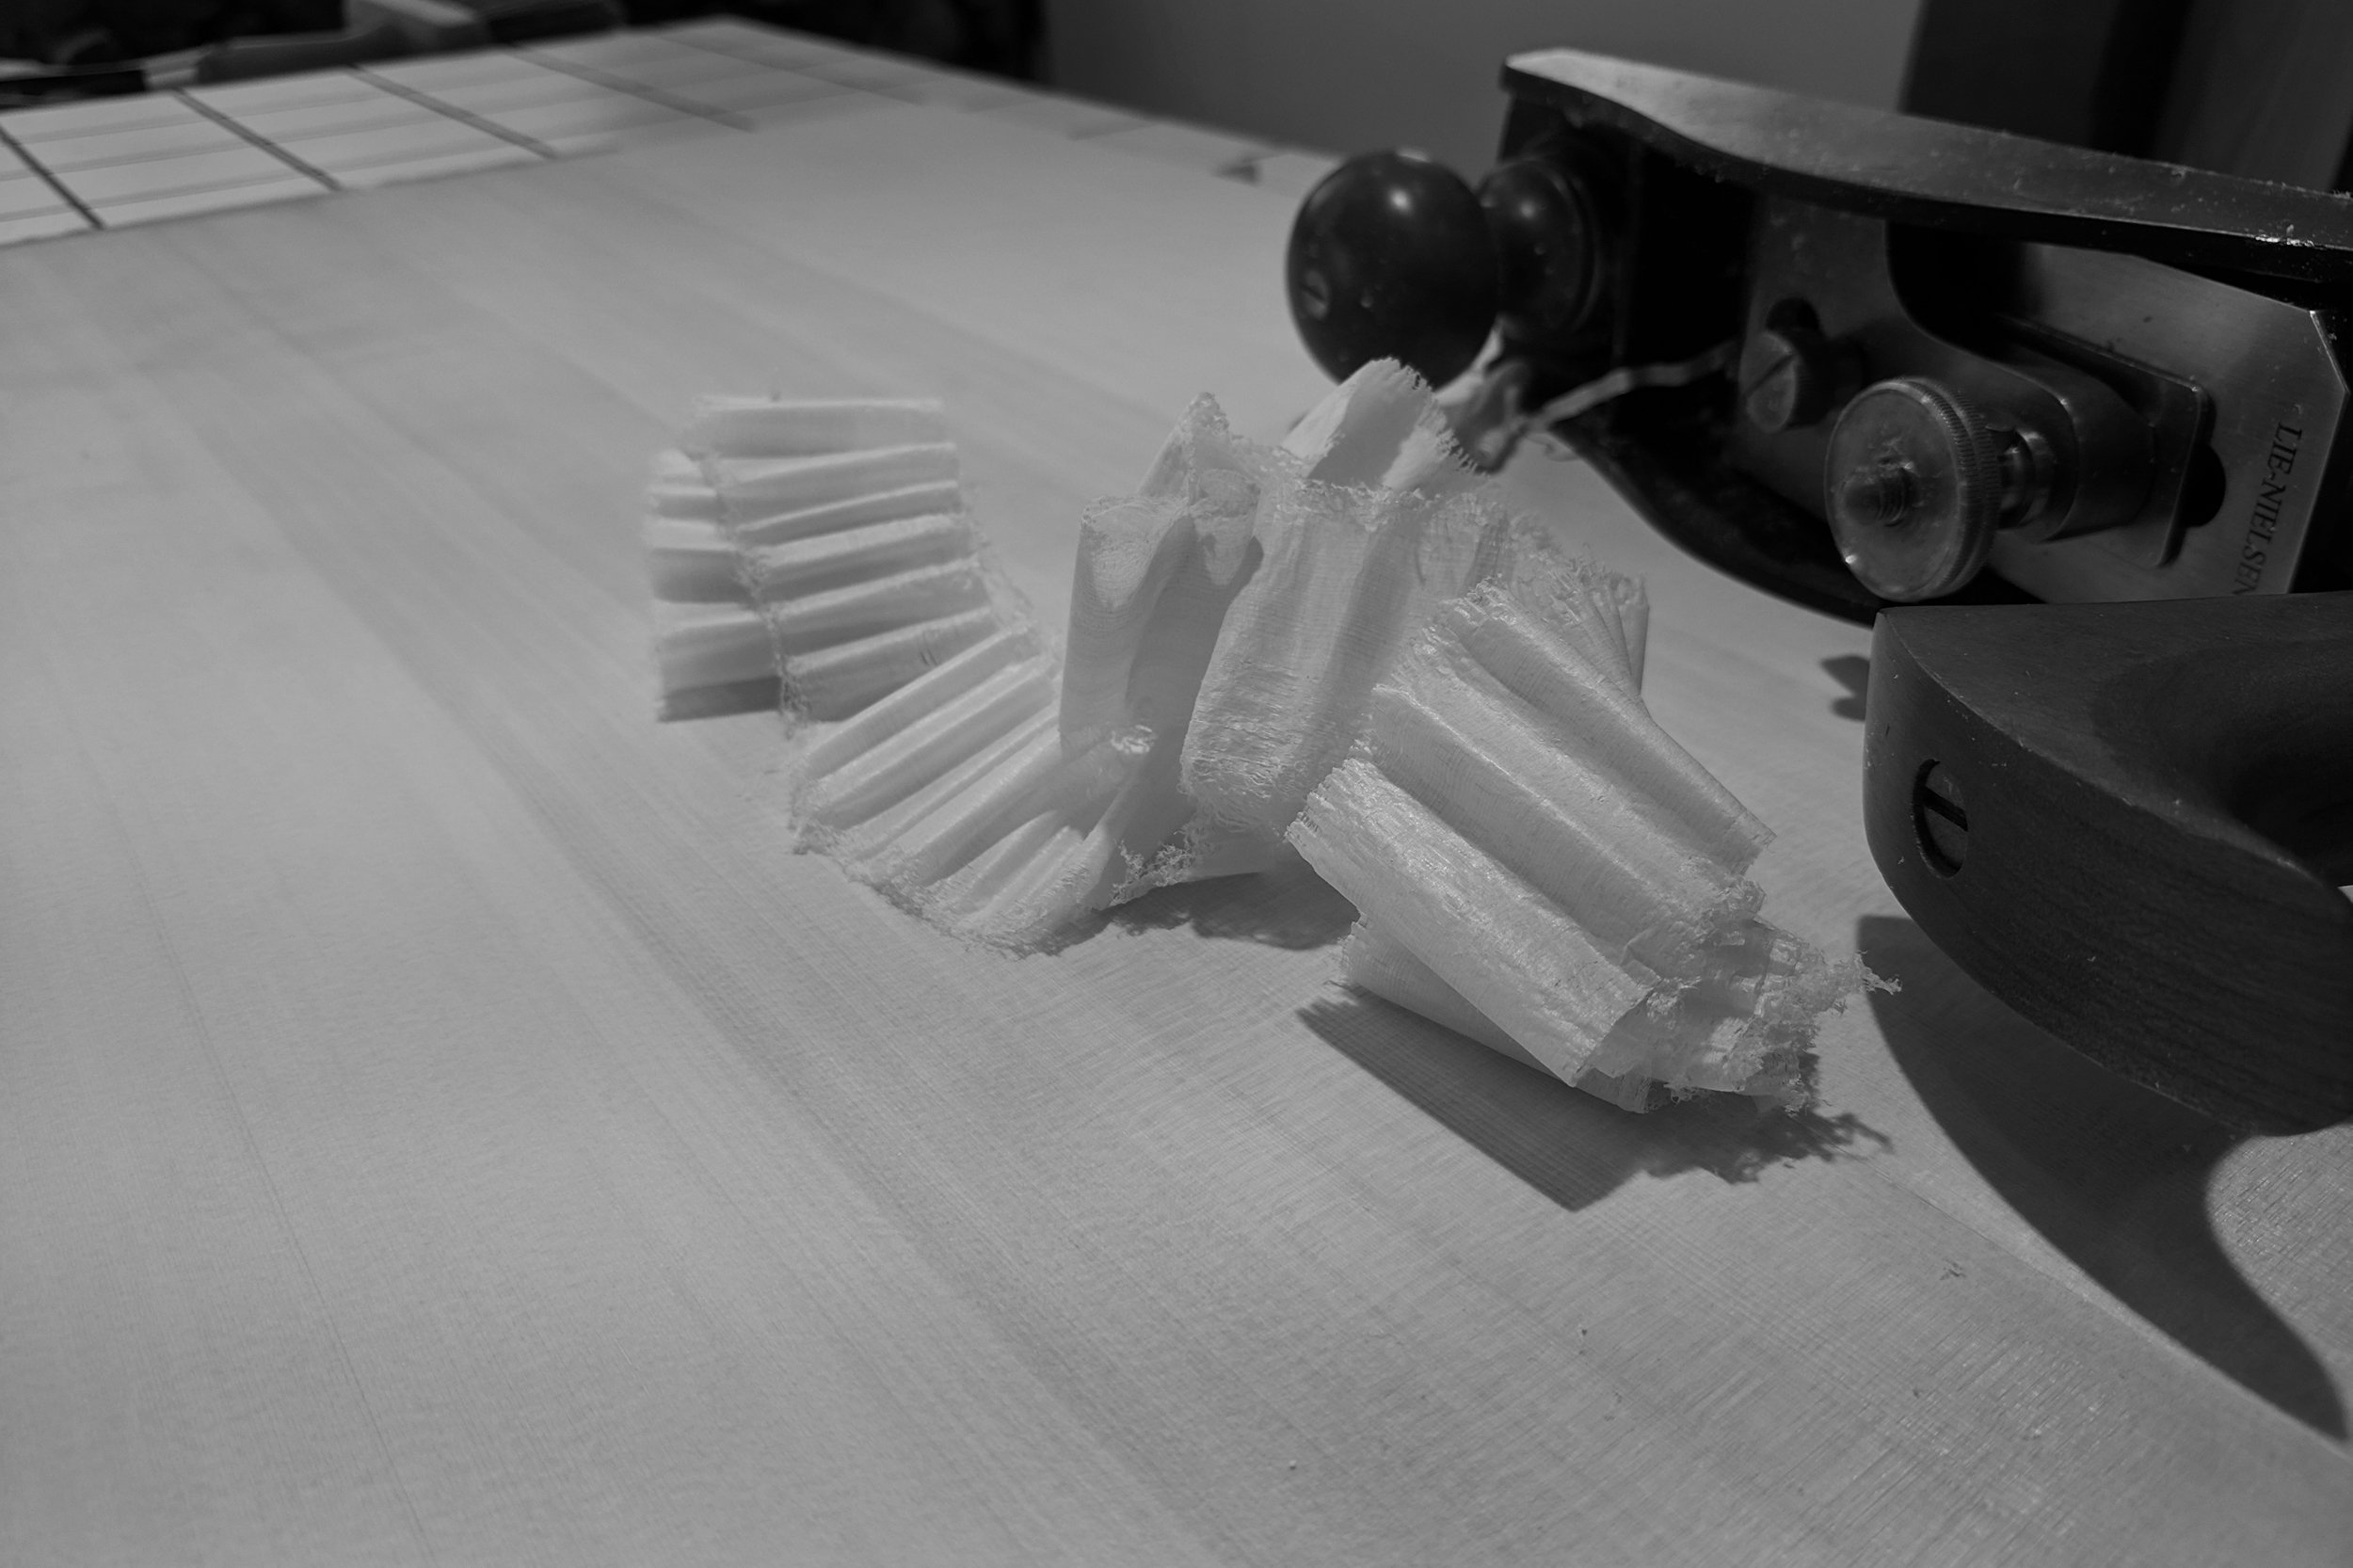
Gotta have at least one sweet shavings photo.

Once the substrates were assembled and the yellow cedar veneers applied, it was time to tune up the “planer/thicknesser” as they say at Felder.

The carbide cutters need to all be rotated at the same time. This time, to the #2 position. Fresh blades allow me to run the glued-up panels through for some final flattening and thicknessing. So much more fun than 1/40” thick commercial veneering. The final finish will be hand planed with some minor sanding, as needed.

Oops! Slipped in another shavings photo. The yellow cedar planes so beautifully. Reversing grain can be a challenge though, as this is a relatively soft wood. Have to keep those plane irons sharp!
A close-up view shows how the cedar veneers cover the Baltic birch as well as the poplar edgebands.

Before I can glue-up the interior partitions for the drawer pockets, I need to make provision for door stops. This time around, I’ll use rare earth magnets embedded in hand carved dowels placed in these two holes on the horizontal drawer partition. The dowel lengths will be adjusted in the final fitting of the doors before being secured in place.

Dowel joinery for the drawer pocket partitions.

And the glue-up.

Another close-up showing how the veneers and edgebands come together.

Side and back panels ready for joinery.

The front edges of the side panels, below, are edgebanded with cedar that is baked-in between the face veneers.

Time to lay out the dowel joinery.

Here I use the slot mortiser as a boring machine to bore the horizontal holes in the panel edges.

The poplar and cedar plane so nicely. Here I prepare the back edge of the side panel for yellow cedar veneer that is off-cut from the back panel veneer.

Well, I’m just getting started on this piece and there is still a long way to go. Stay tuned for more.
Hej då!
Craig