Backrest

The backrest for the Upprätt 2 armchair is simple in some respects and complicated in others. It starts out as a nice rectangular block of wood and attaches to the back legs at just two points. I had to glue up additional material due to the thickness required for the overall shape of the backrest. That's okay, since the portion containing the glue-up will be hidden within the Danish cord wrap that I'll be adding to the backrest.
I cut mortises into the backrest blank and fit the floating tenons.

Next, I routed the bearing surfaces for the backrest to attach to the back legs.

The templates were traced onto the front and the top for cutting on the bandsaw.

Cut number one.

Then, I taped the stack back together for cut number two.

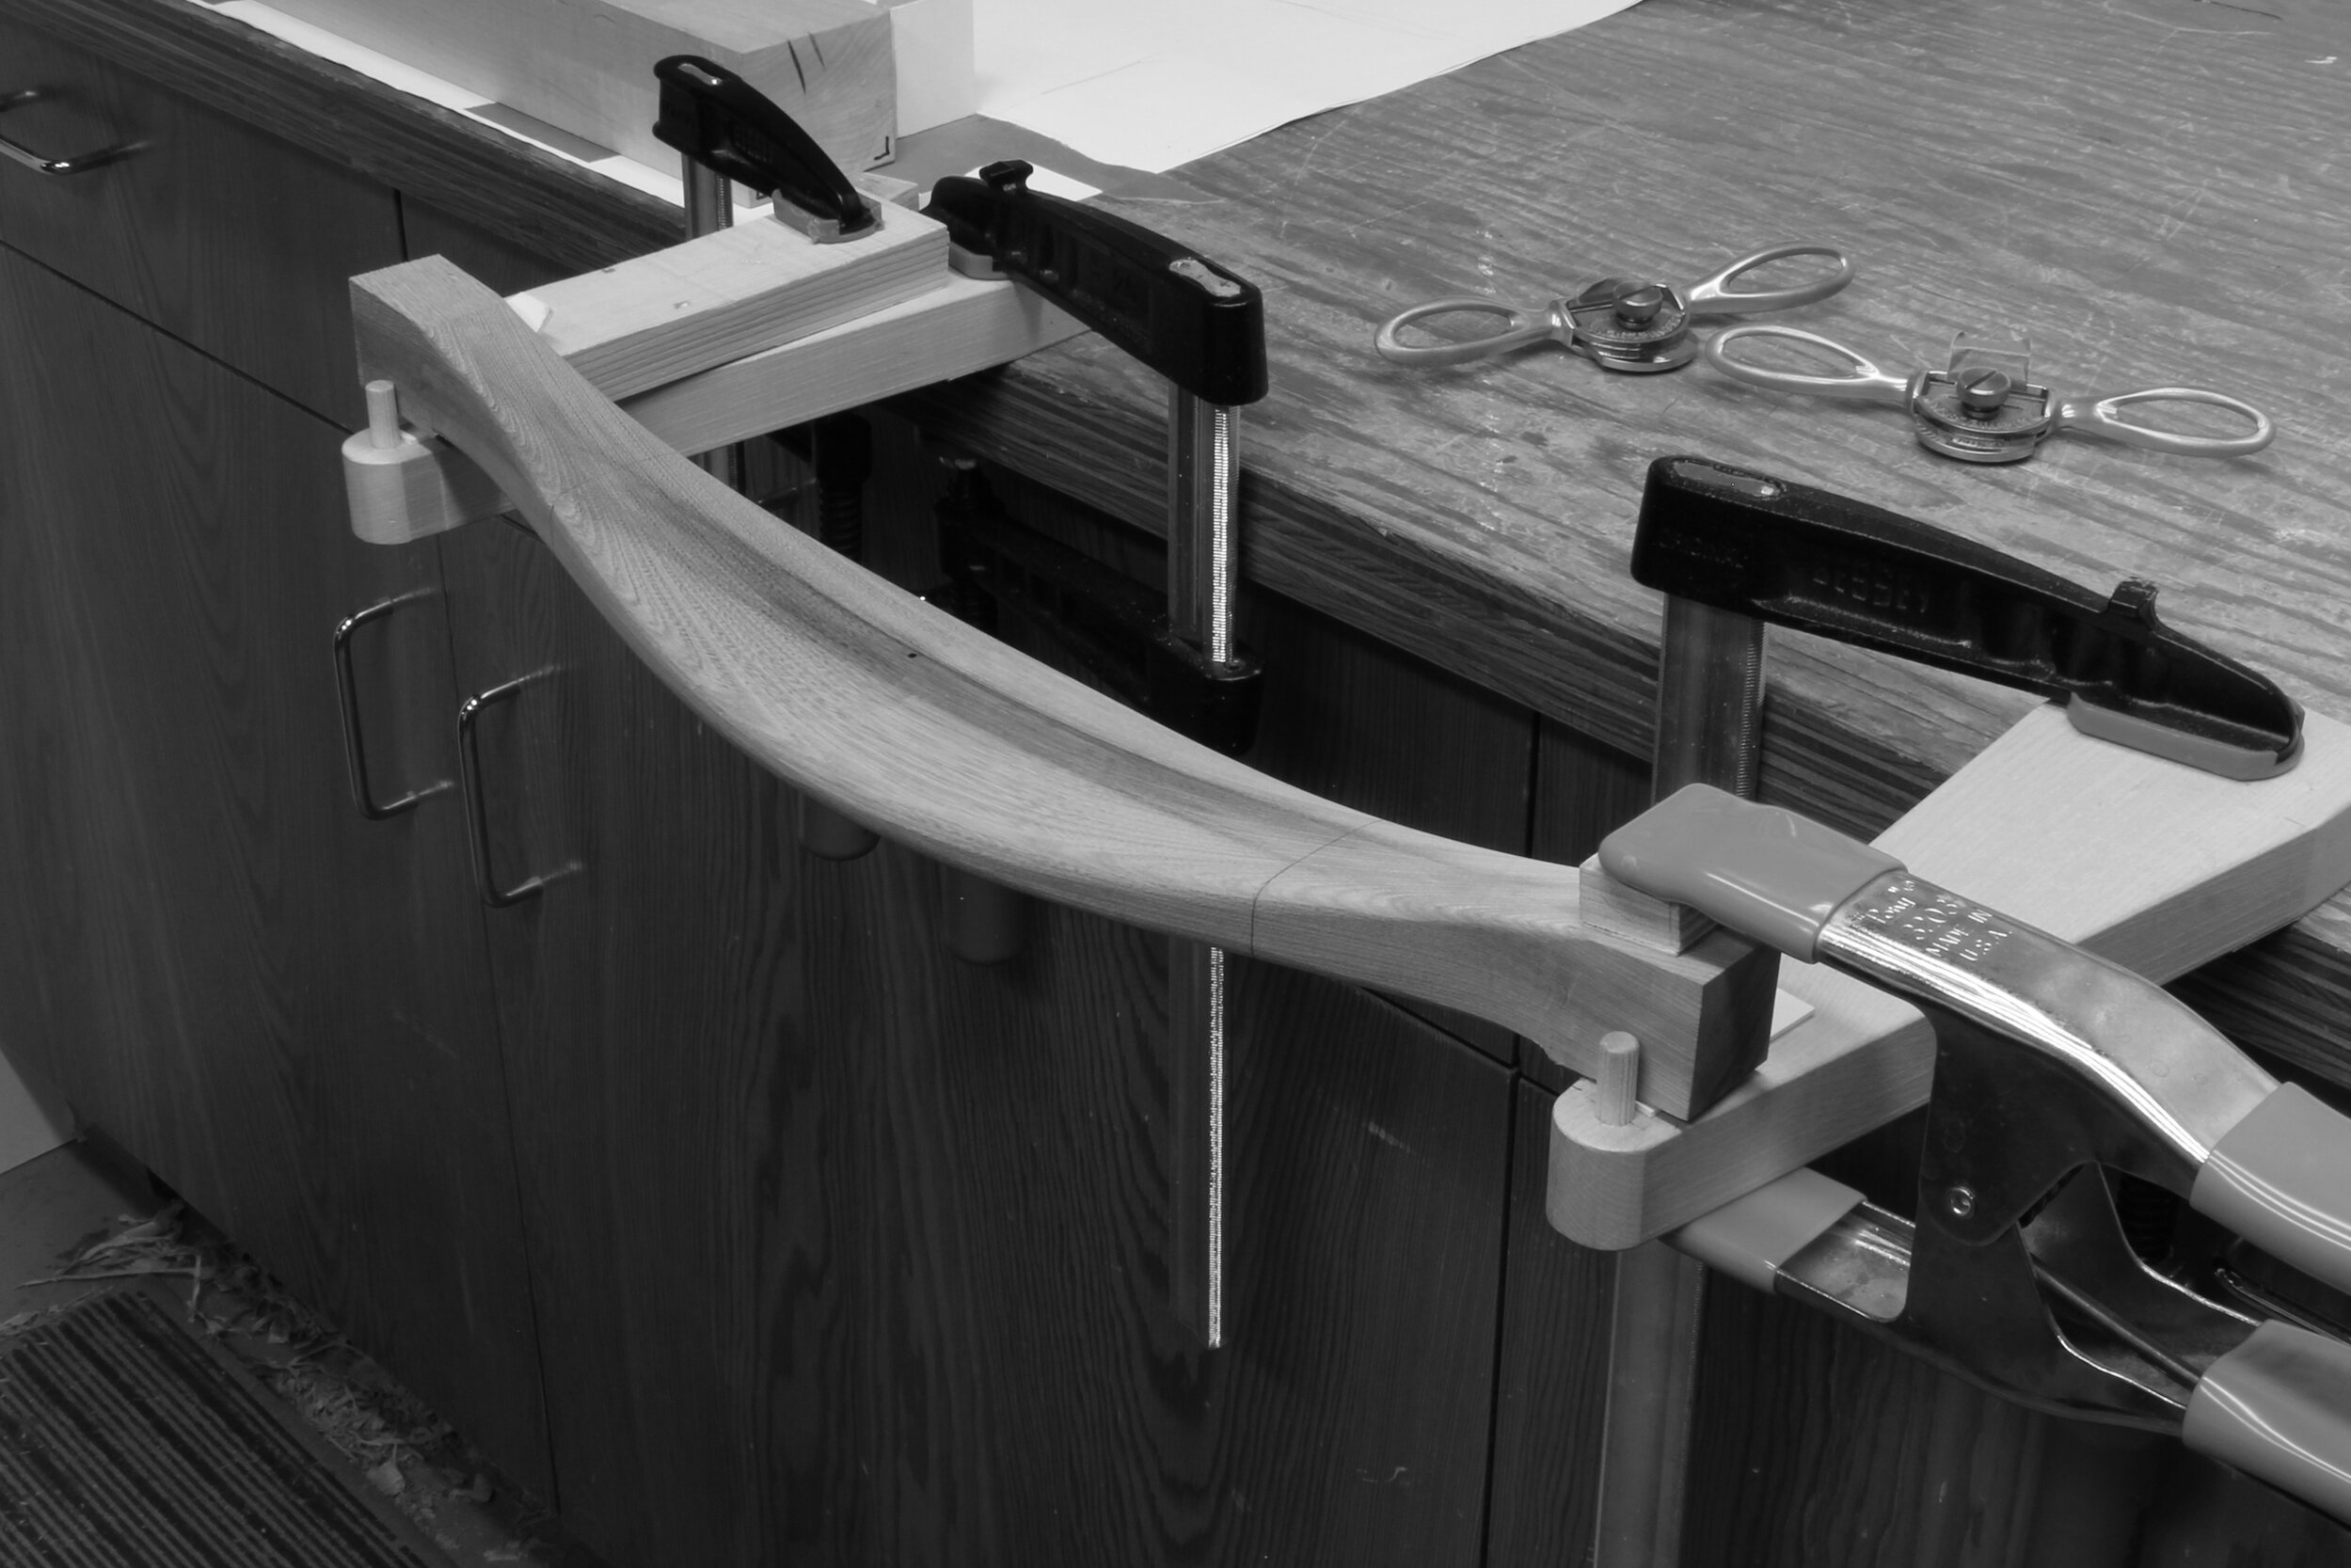
Here's the rough backrest.

The dark stain is evidence of some weathering that was later covered up by new growth. In the off-cut below, you can see where some critter had burrowed through the wood. Fortunately, the waste contained all the bad stuff; the backrest just has a bit of staining that will mostly be hidden under the Danish cord wrap.

I began the hand shaping by smoothing the transition from the routed bearing surface to the underside of the backrest.

At this point, I need only to get the fit close. The final fitting will be done after the entire backrest is otherwise completely ready for glue-up. This should be good for now.

While dry fitting the backrest, I use a spacer and scribe a line indicating the desired overhang of the backrest beyond the leg profile.
I mainly used a block plane to trim the front, back and end of the square portion of each end of the backrest.

Then, in stages, I shaped the backrest to its final shape with spokeshaves.
The Danish cord wrap will be inset approximately flush with the rest of the exposed wood surface. Before cutting the inset for the wrap, I bored a series of holes to a specific depth to mark the point where the inset surface should be.

Crude, but effective.

Then it was time to remove about 1/8" of material using spokeshaves and chisels.
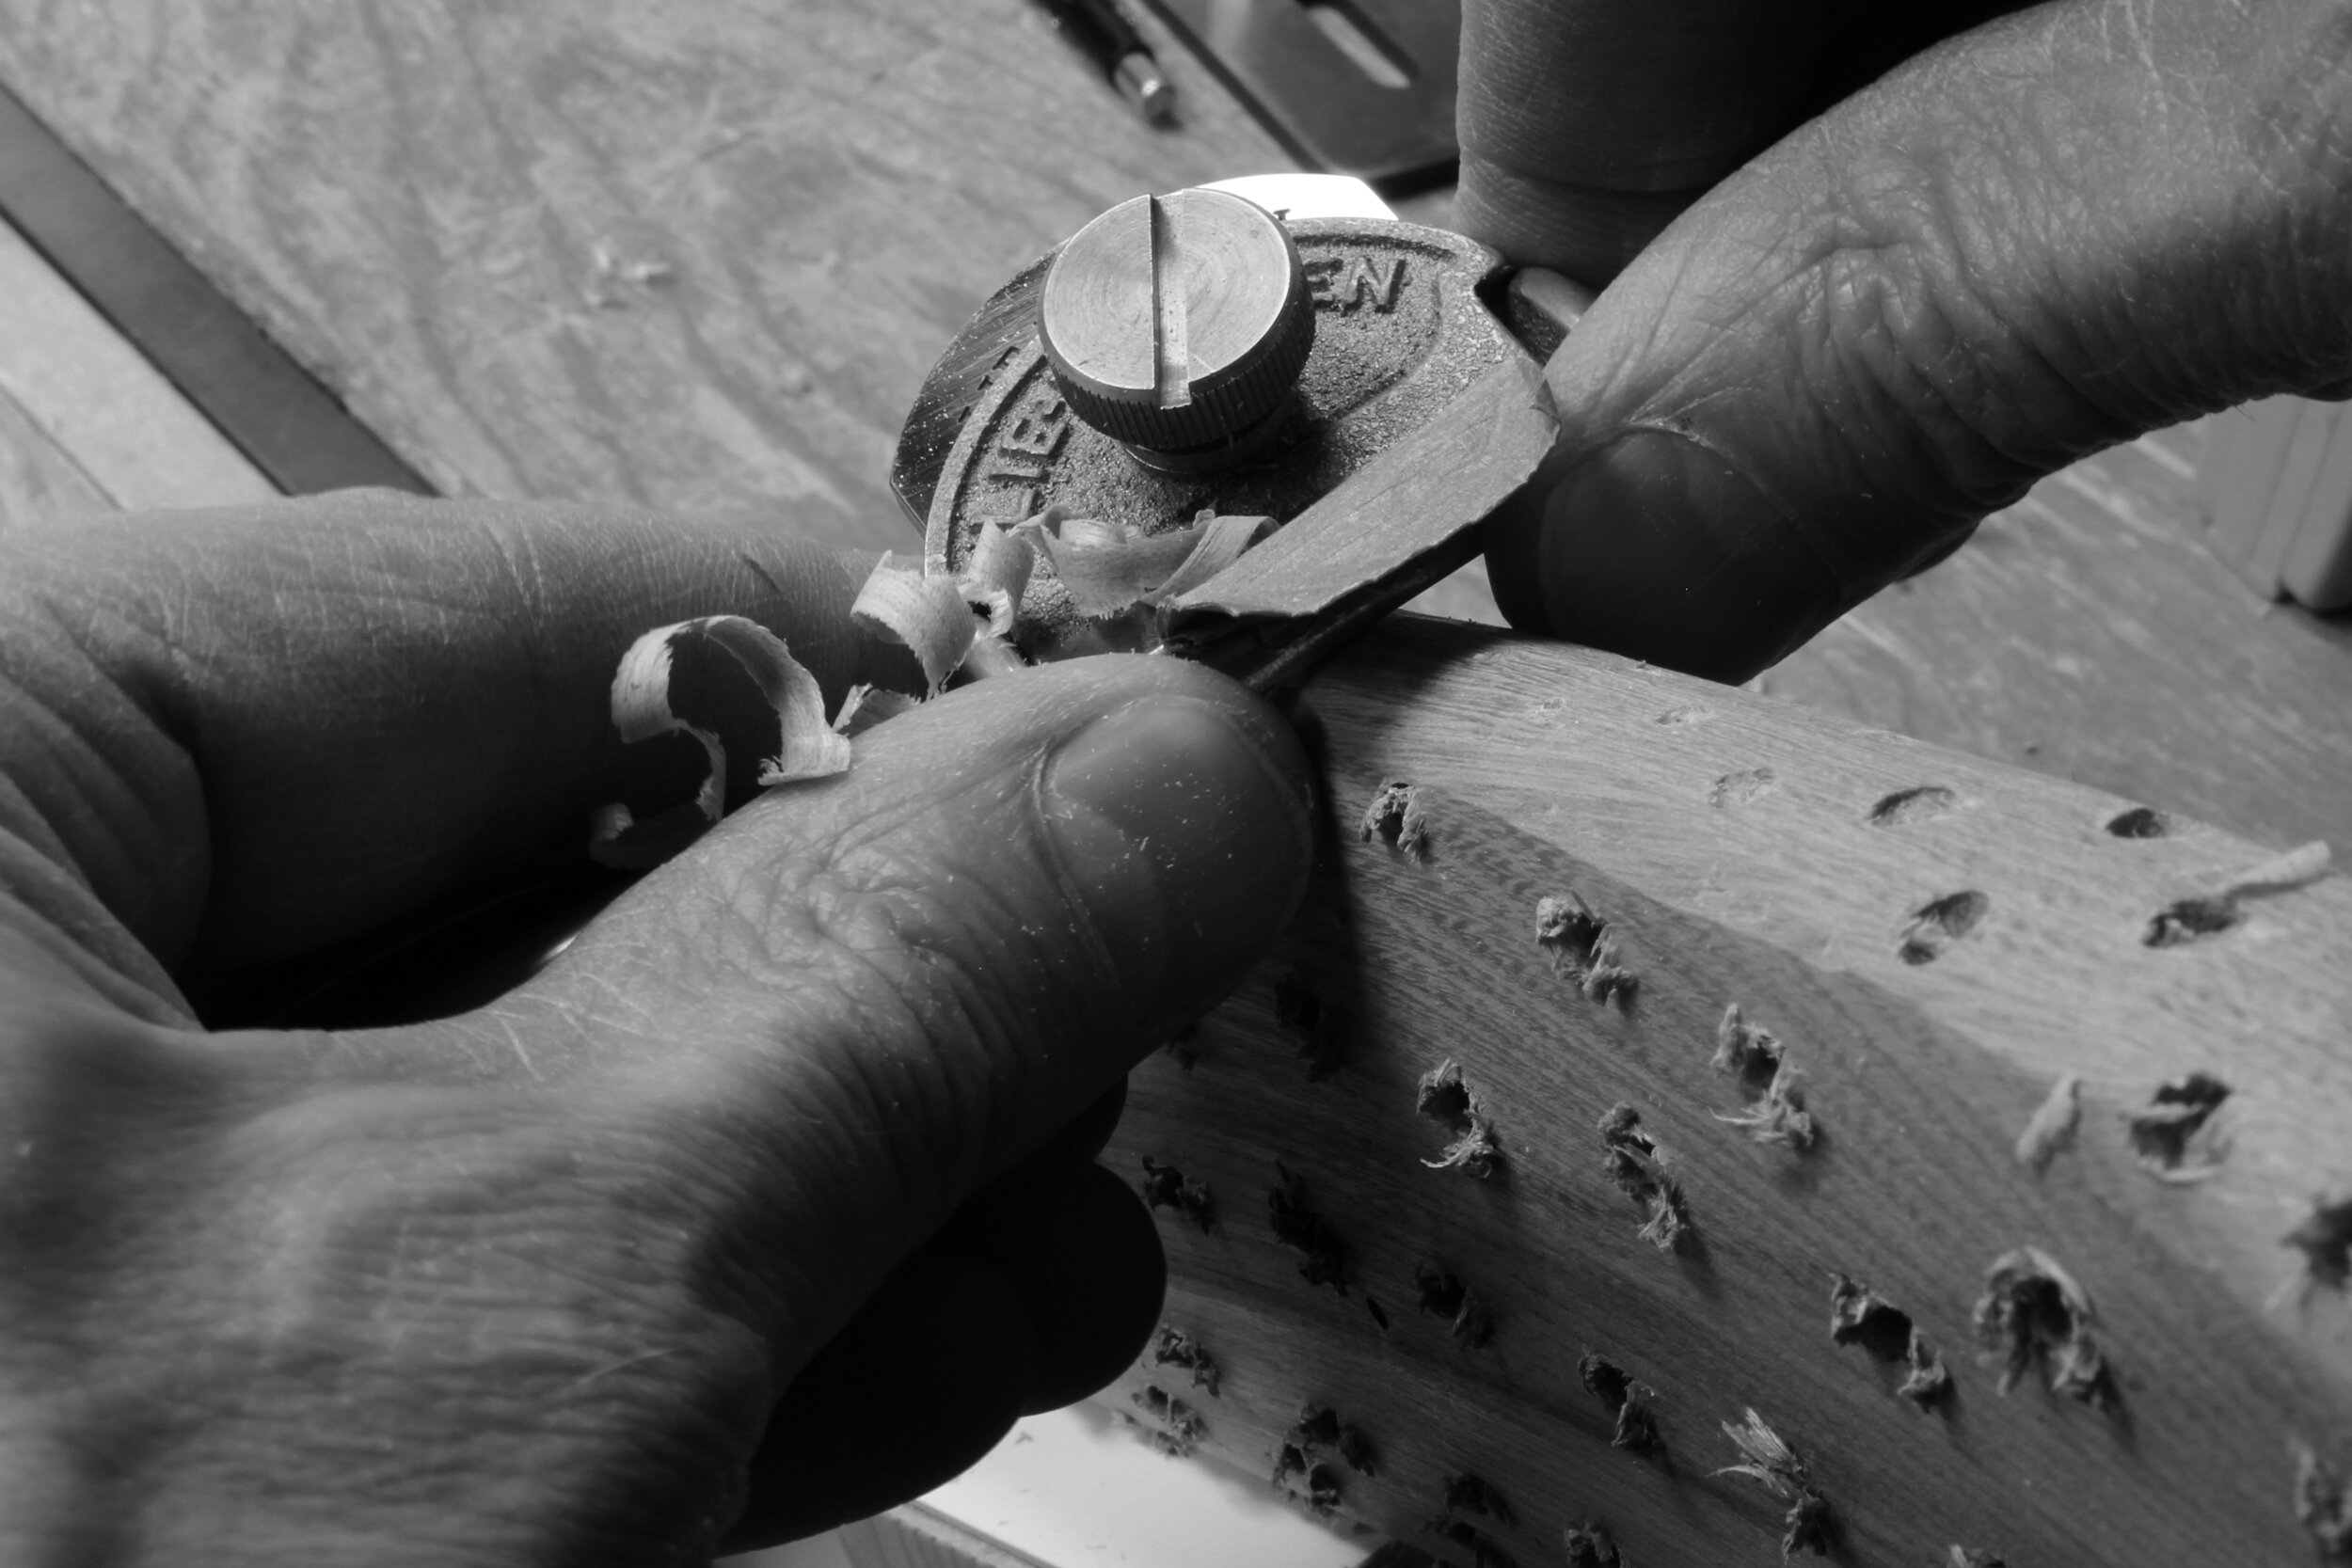
As the holes begin to disappear, I know I'm getting close to the target.

Shaping with a chisel.

Cleaning up the end of the inset surface.

I added some filed notches, just as I had done earlier with the seat rails; again, so that the wrap is less likely to slide downhill and loosen up.

A few areas required some carving to soften the edges.

The last bit of preparation, as I had done with the previous chair parts, is to make a couple of light passes with 800 grit and 1,000 grit sandpaper.
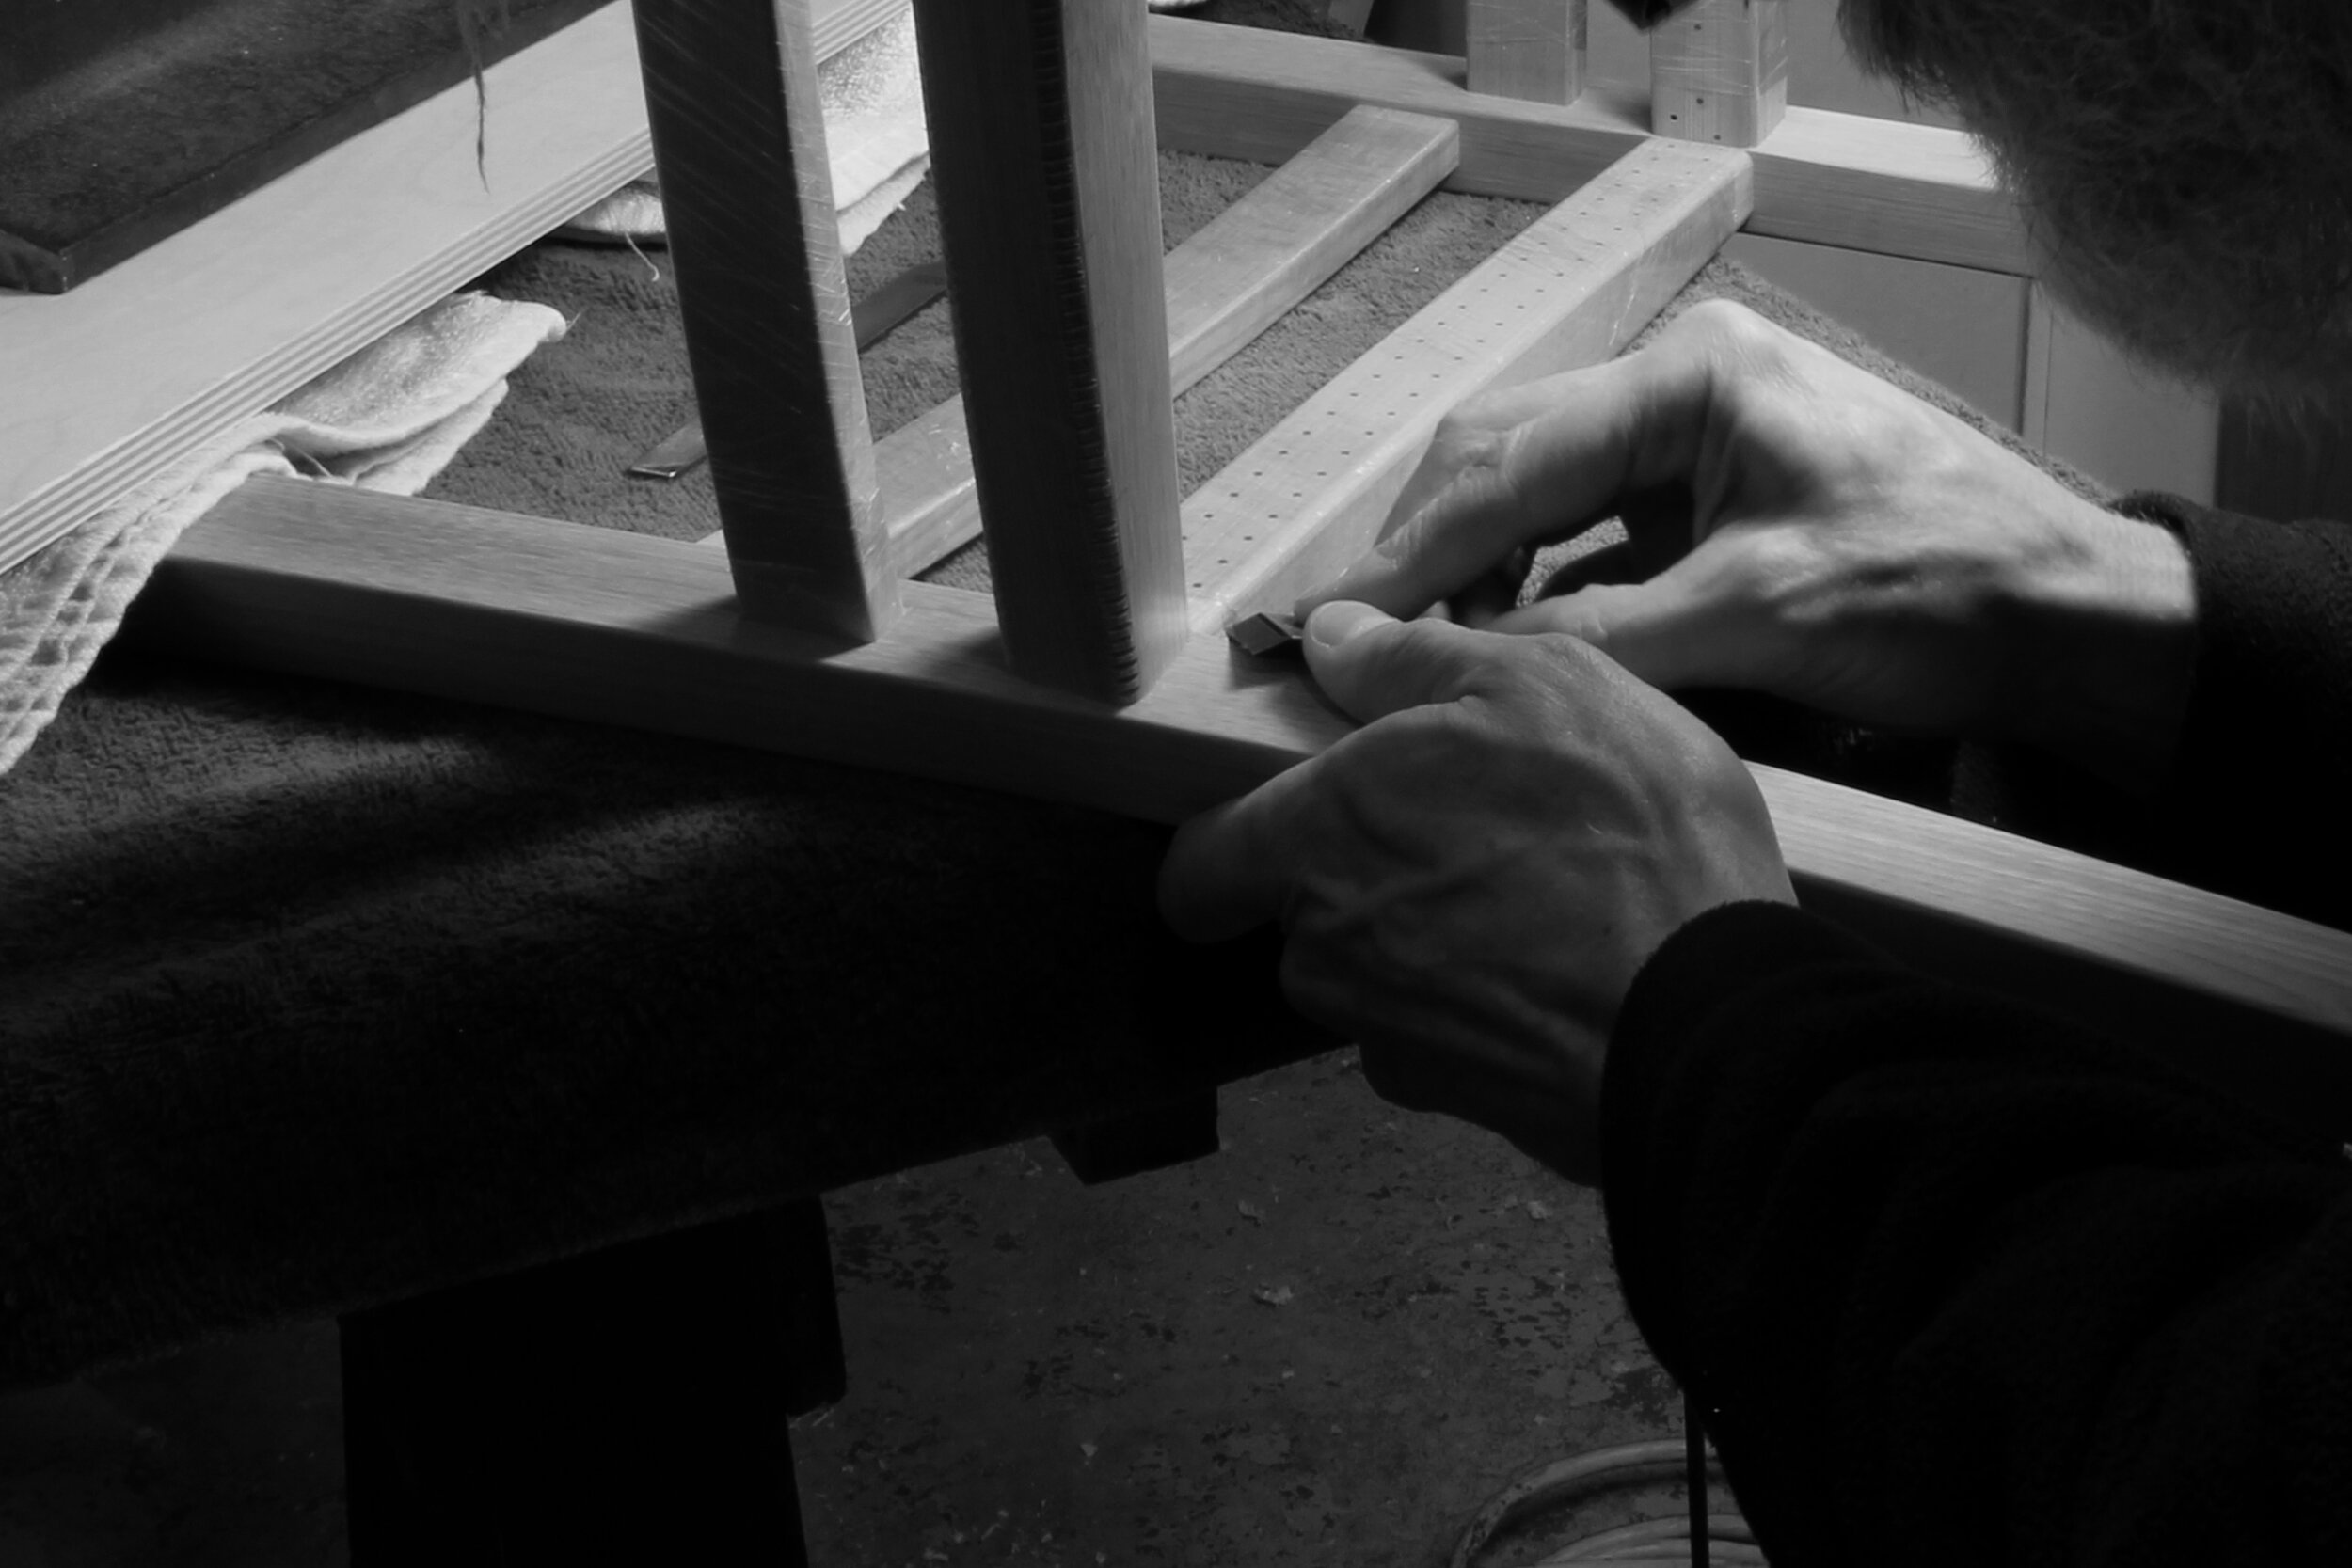
At this point, I went back to the chair assembly and cleaned up any issues that I found with the surfaces. Below, I'm completing the edge softening near the seat rails as planned following the previous glue-up.
Last thing before the glue-up was to do the final fitting of the backrest joinery. Then, at last, the glue-up.

Next, I'll be tackling the armrests. There's still a lot to do before the American Craft Council Saint Paul show which runs April 8 - 10, 2016, so I better keep busy. Armrests, oil/resin finish and seat wrap yet to come.
Hej då!
Craig