Side Assembly

Following last week's glue-up of the front leg assembly for the Upprätt 2 armchair, the time has come to get back to shaping the side seat rails and stretchers. First step is to pre-drill all the holes for the seat wrap L-nails. If I counted correctly, there are a total of 105 of them in the side seat rails. Yikes! If these parts don't work out for the chair I can always turn them into cribbage boards.
I traced around the templates, cut them on the bandsaw and shaped them with hand planes and spokeshaves. Below are the two side stretchers with the inside and outside faces shaped, ready for bandsawing the curved lines of the top and bottom edges.

Okay, so now the four side parts have all been shaped, edge-softened and have received their final surface preparation. Next comes the dry-fitting. Here I need to make sure all the joints come together easily and cleanly. Below, I'm checking the alignment of the top of the front leg with the arm mortise in the back leg.

While keeping a watchful eye on retaining alignment of the key arm joinery locations, I look very closely at the dry-fit joinery to look for a proper fit. Here's a close-up view of one of the side seat rails that shows a dark line at the joint, which is evidence of a gap. These gaps are not just aesthetic concerns, they are also structural. The tighter the fit of the joinery shoulders, the greater the strength that can be built into the joint.

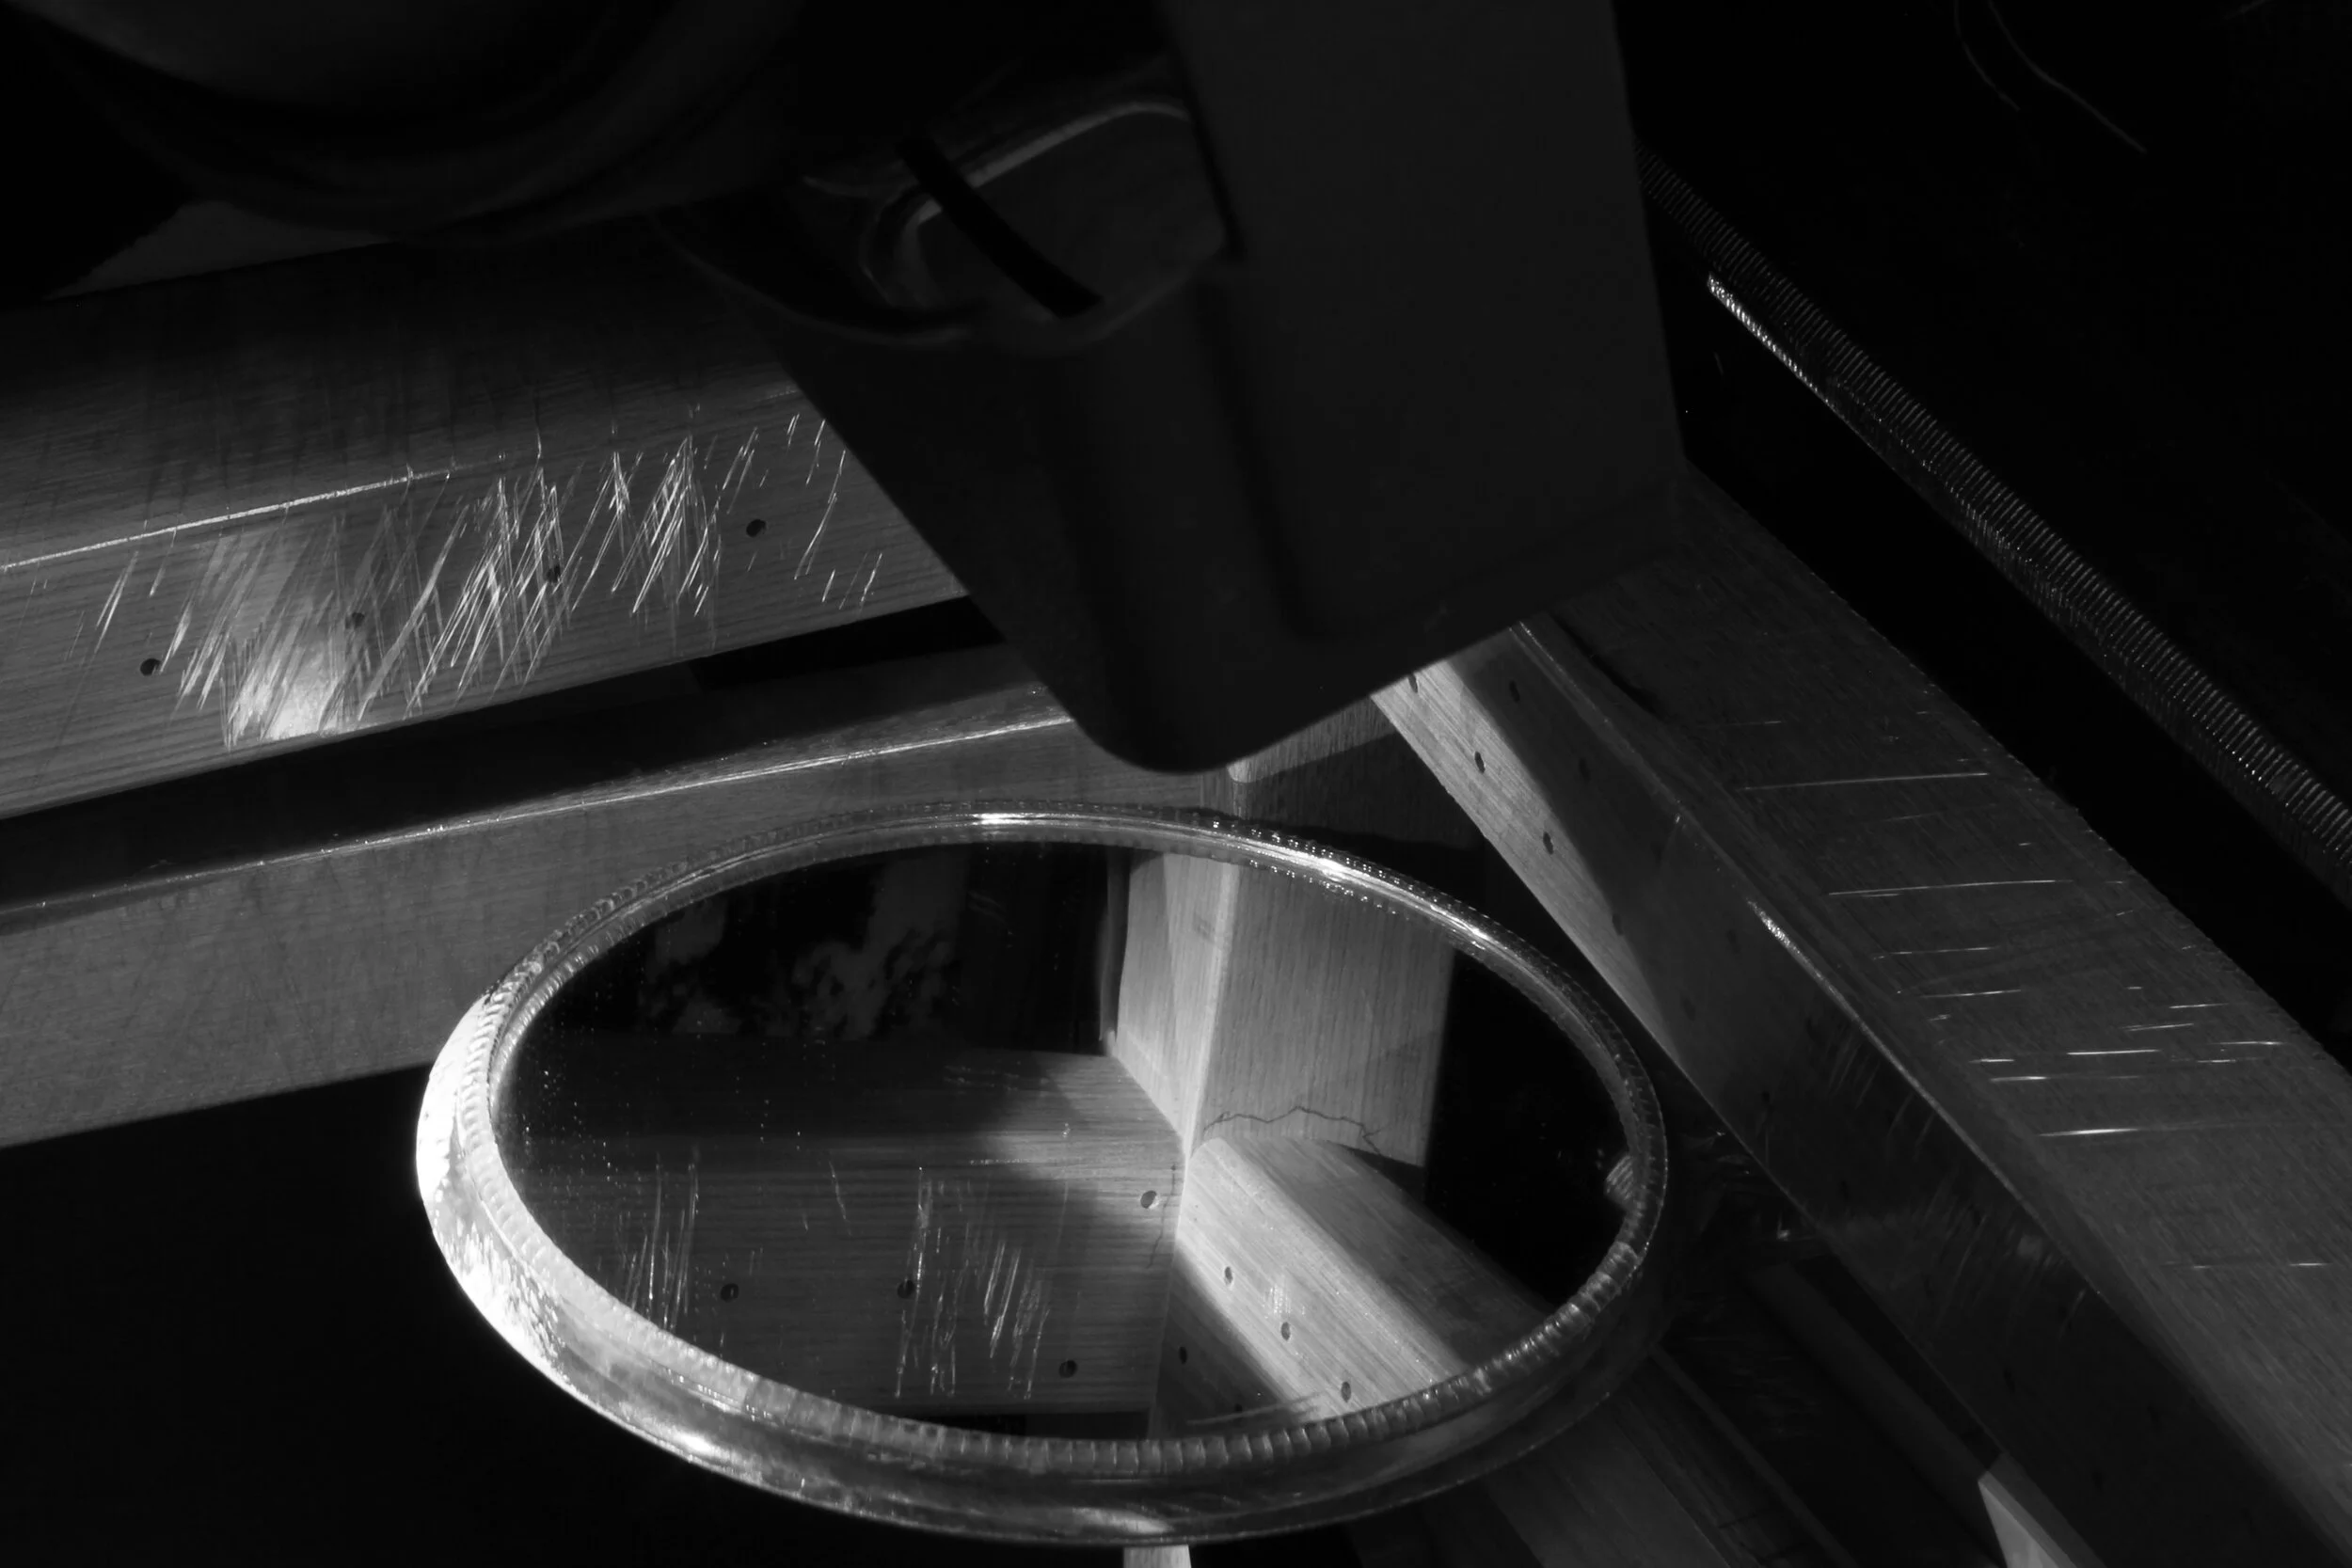
I closely inspect each joint, looking for telltale gaps, using a flashlight, a mirror, and of course, my bifocals and Optivisor! I don't mark the gaps. Actually, on joints where I see gaps, I mark the perimeter of the joint where it is tight. Using a pencil, the marking is done on the legs.
Here's one of the markings, ready for adjustment of the fit.

Below, after carefully honing my block plane iron, I take very fine shavings. It usually takes two or three passes of the plane to remove the graphite marks, so it's easy to control the amount of material that gets removed.
This is one of those operations that, if one moves too quickly, could easily turn into a "cat chasing his tail" type of scenario, but if I am patient, it usually only takes two or three rounds of dry fitting and planing to creep up on a good fit. For this particular stage in the chair, there are eight joints. So, I need to prepare myself for several hours of fitting. Fortunately, this time around I only needed to make three rounds before getting the fit I was looking for.

The glue-up was done in three stages. First the right rear joints were glued. A few hours later it was time for the left rear joints. Then, before nightfall, a third glue-up for the day of the four front joints.
As always, it's important to know what makes a successful glue-up. A glue-up isn't completed until it passes all the necessary checks. In this case, I'm looking for two primary things. First, the four feet are positioned on a flat surface. Second, clamping pressure is adjusted so that the tops of the front legs properly align with the mortises in the rear legs; similar to the measurement shown in the third photo in this post.
So, here it is. The glue-up is completed.

Next week, you should be able to see the chair back coming along. And, if all goes well, I should have a good start on the arms, as well.
Hej då!
Craig