Armrests
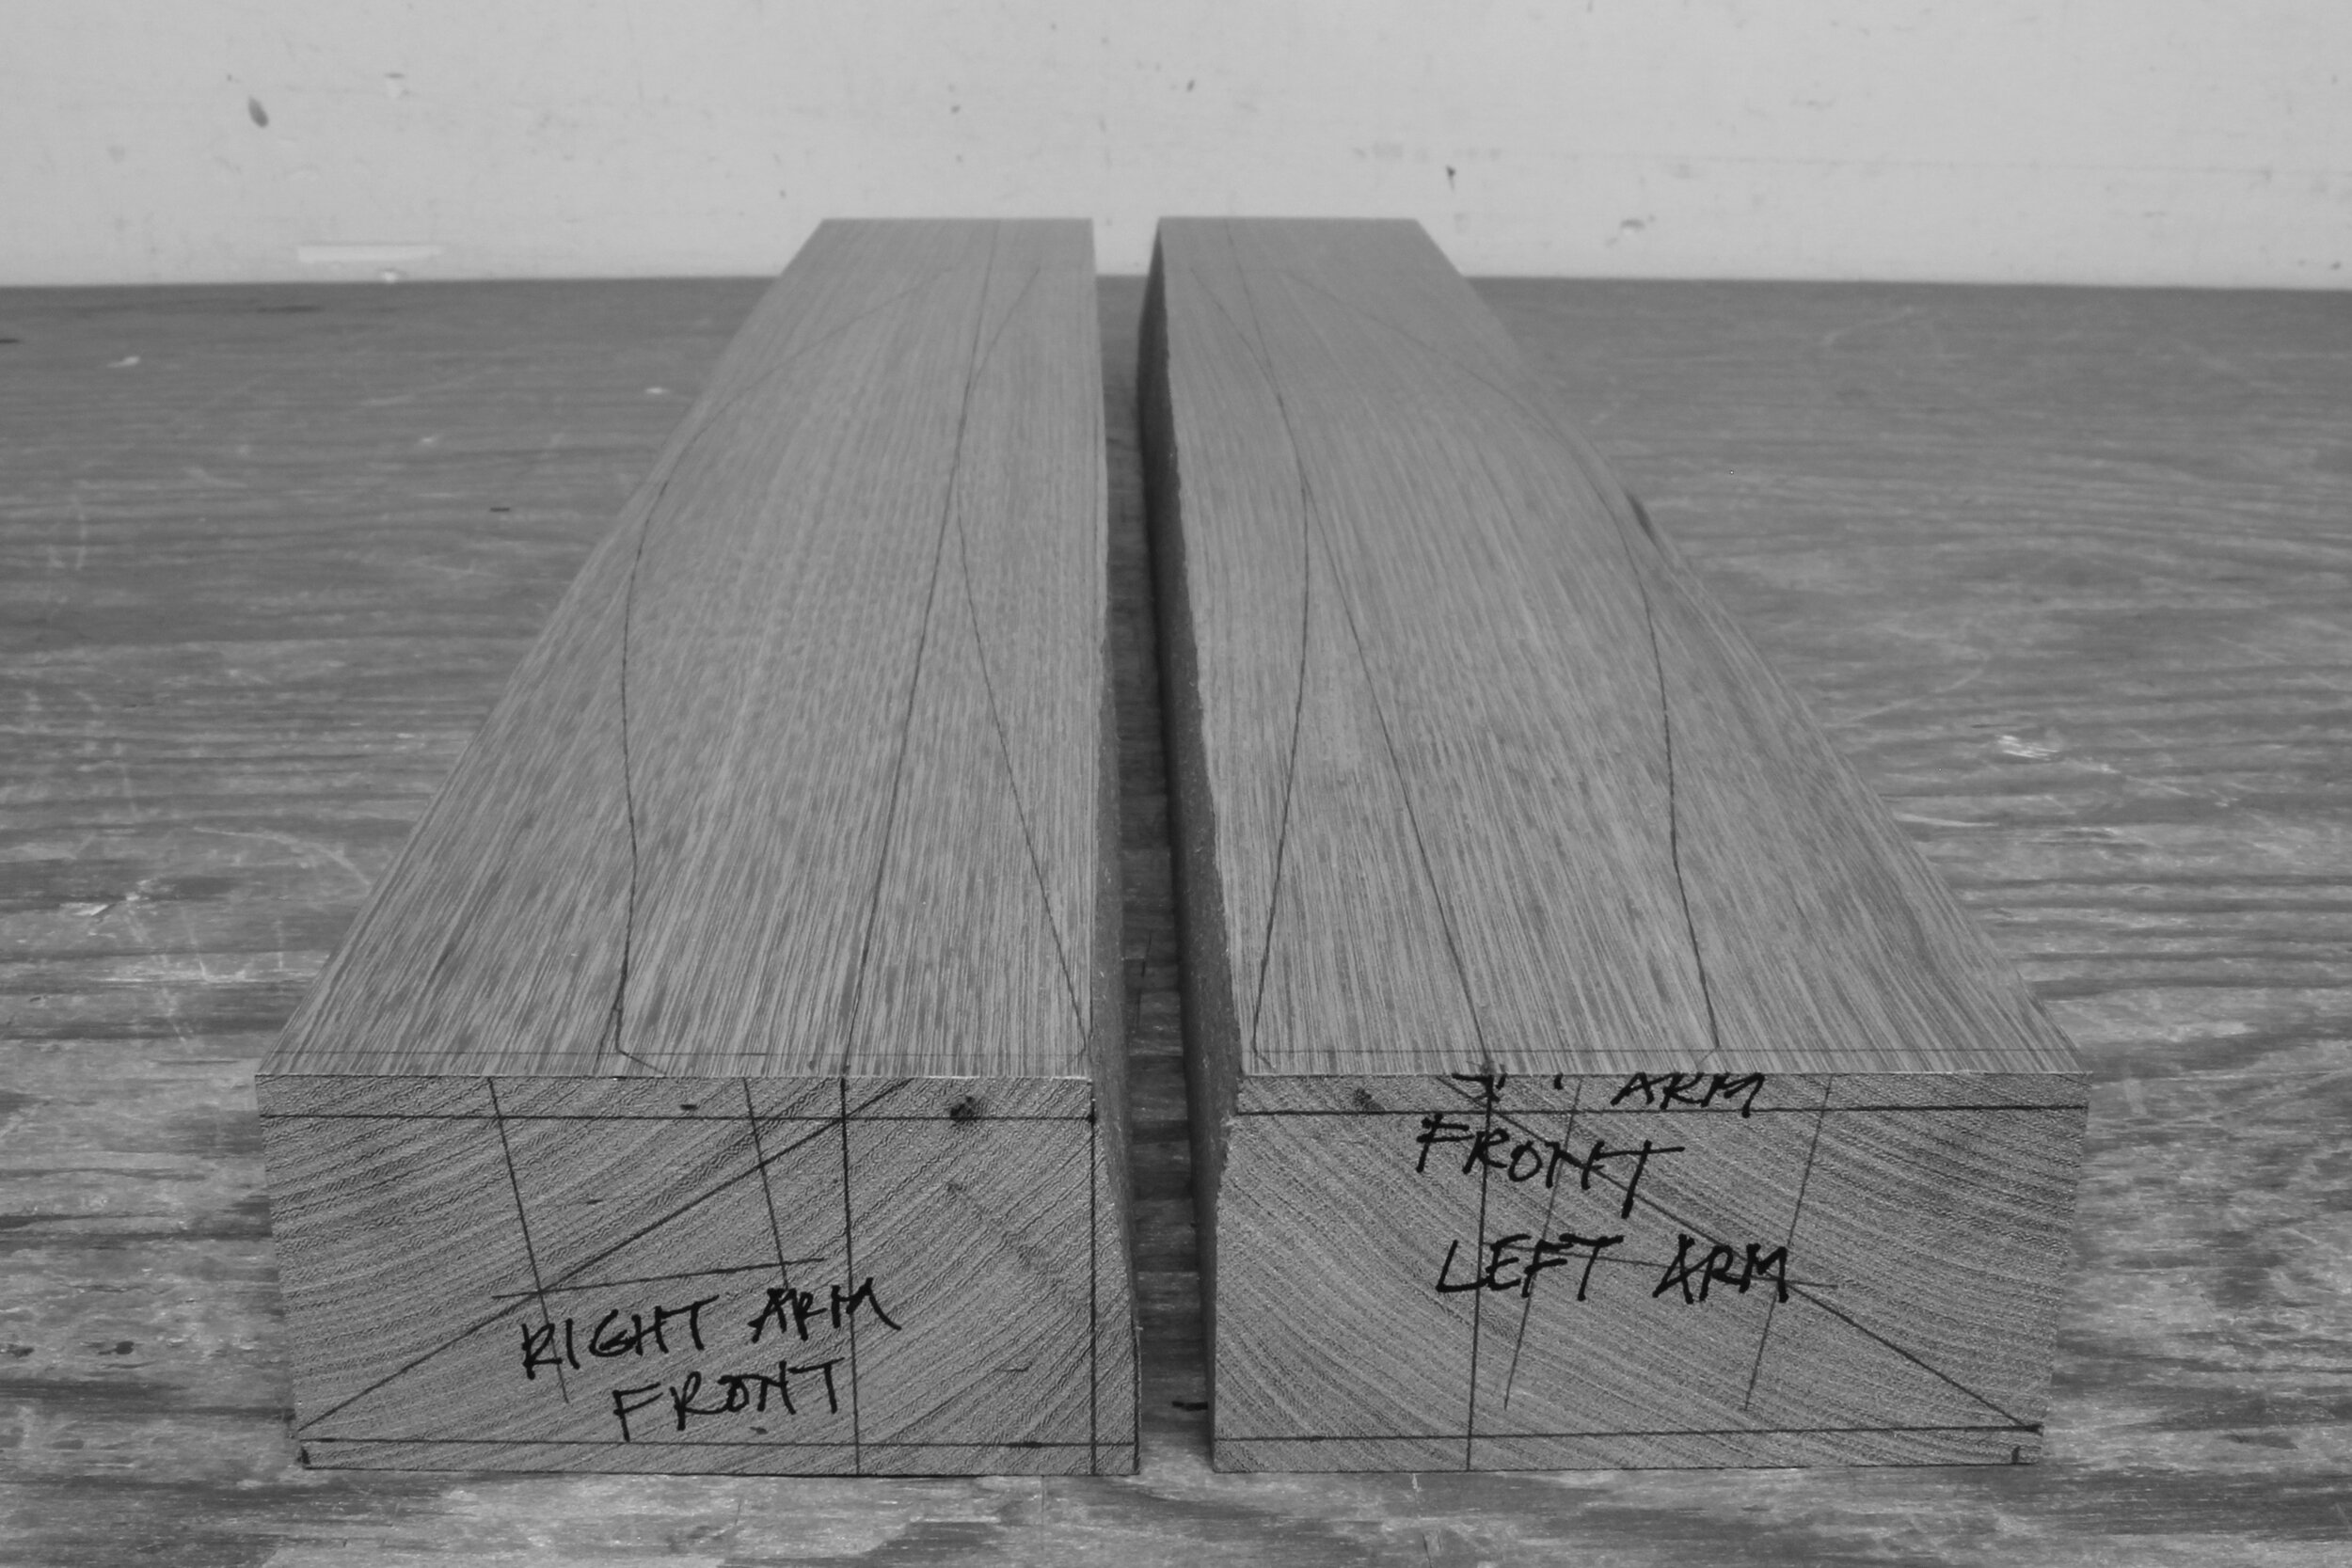
The last bit of woodworking on the Upprätt 2 armchair involves making the arms. I like that these are the last parts to be glued up. They represent some of the most striking grain graphics for this piece. You'll notice in the photo above that the arms are cut from very straight-grained sections of the tree. This, plus setting the correct angle for the end grain, combined with sculpting the final shape, will create the surface grain graphics I am looking for.
Below, I've set up the left arm so that I measure the proper angle for cutting the compound angle at the rear end of the arm. This will only be an approximation, since the back leg is actually twisting from a rectangular profile at the seat rail to more of a diamond profile at the backrest.
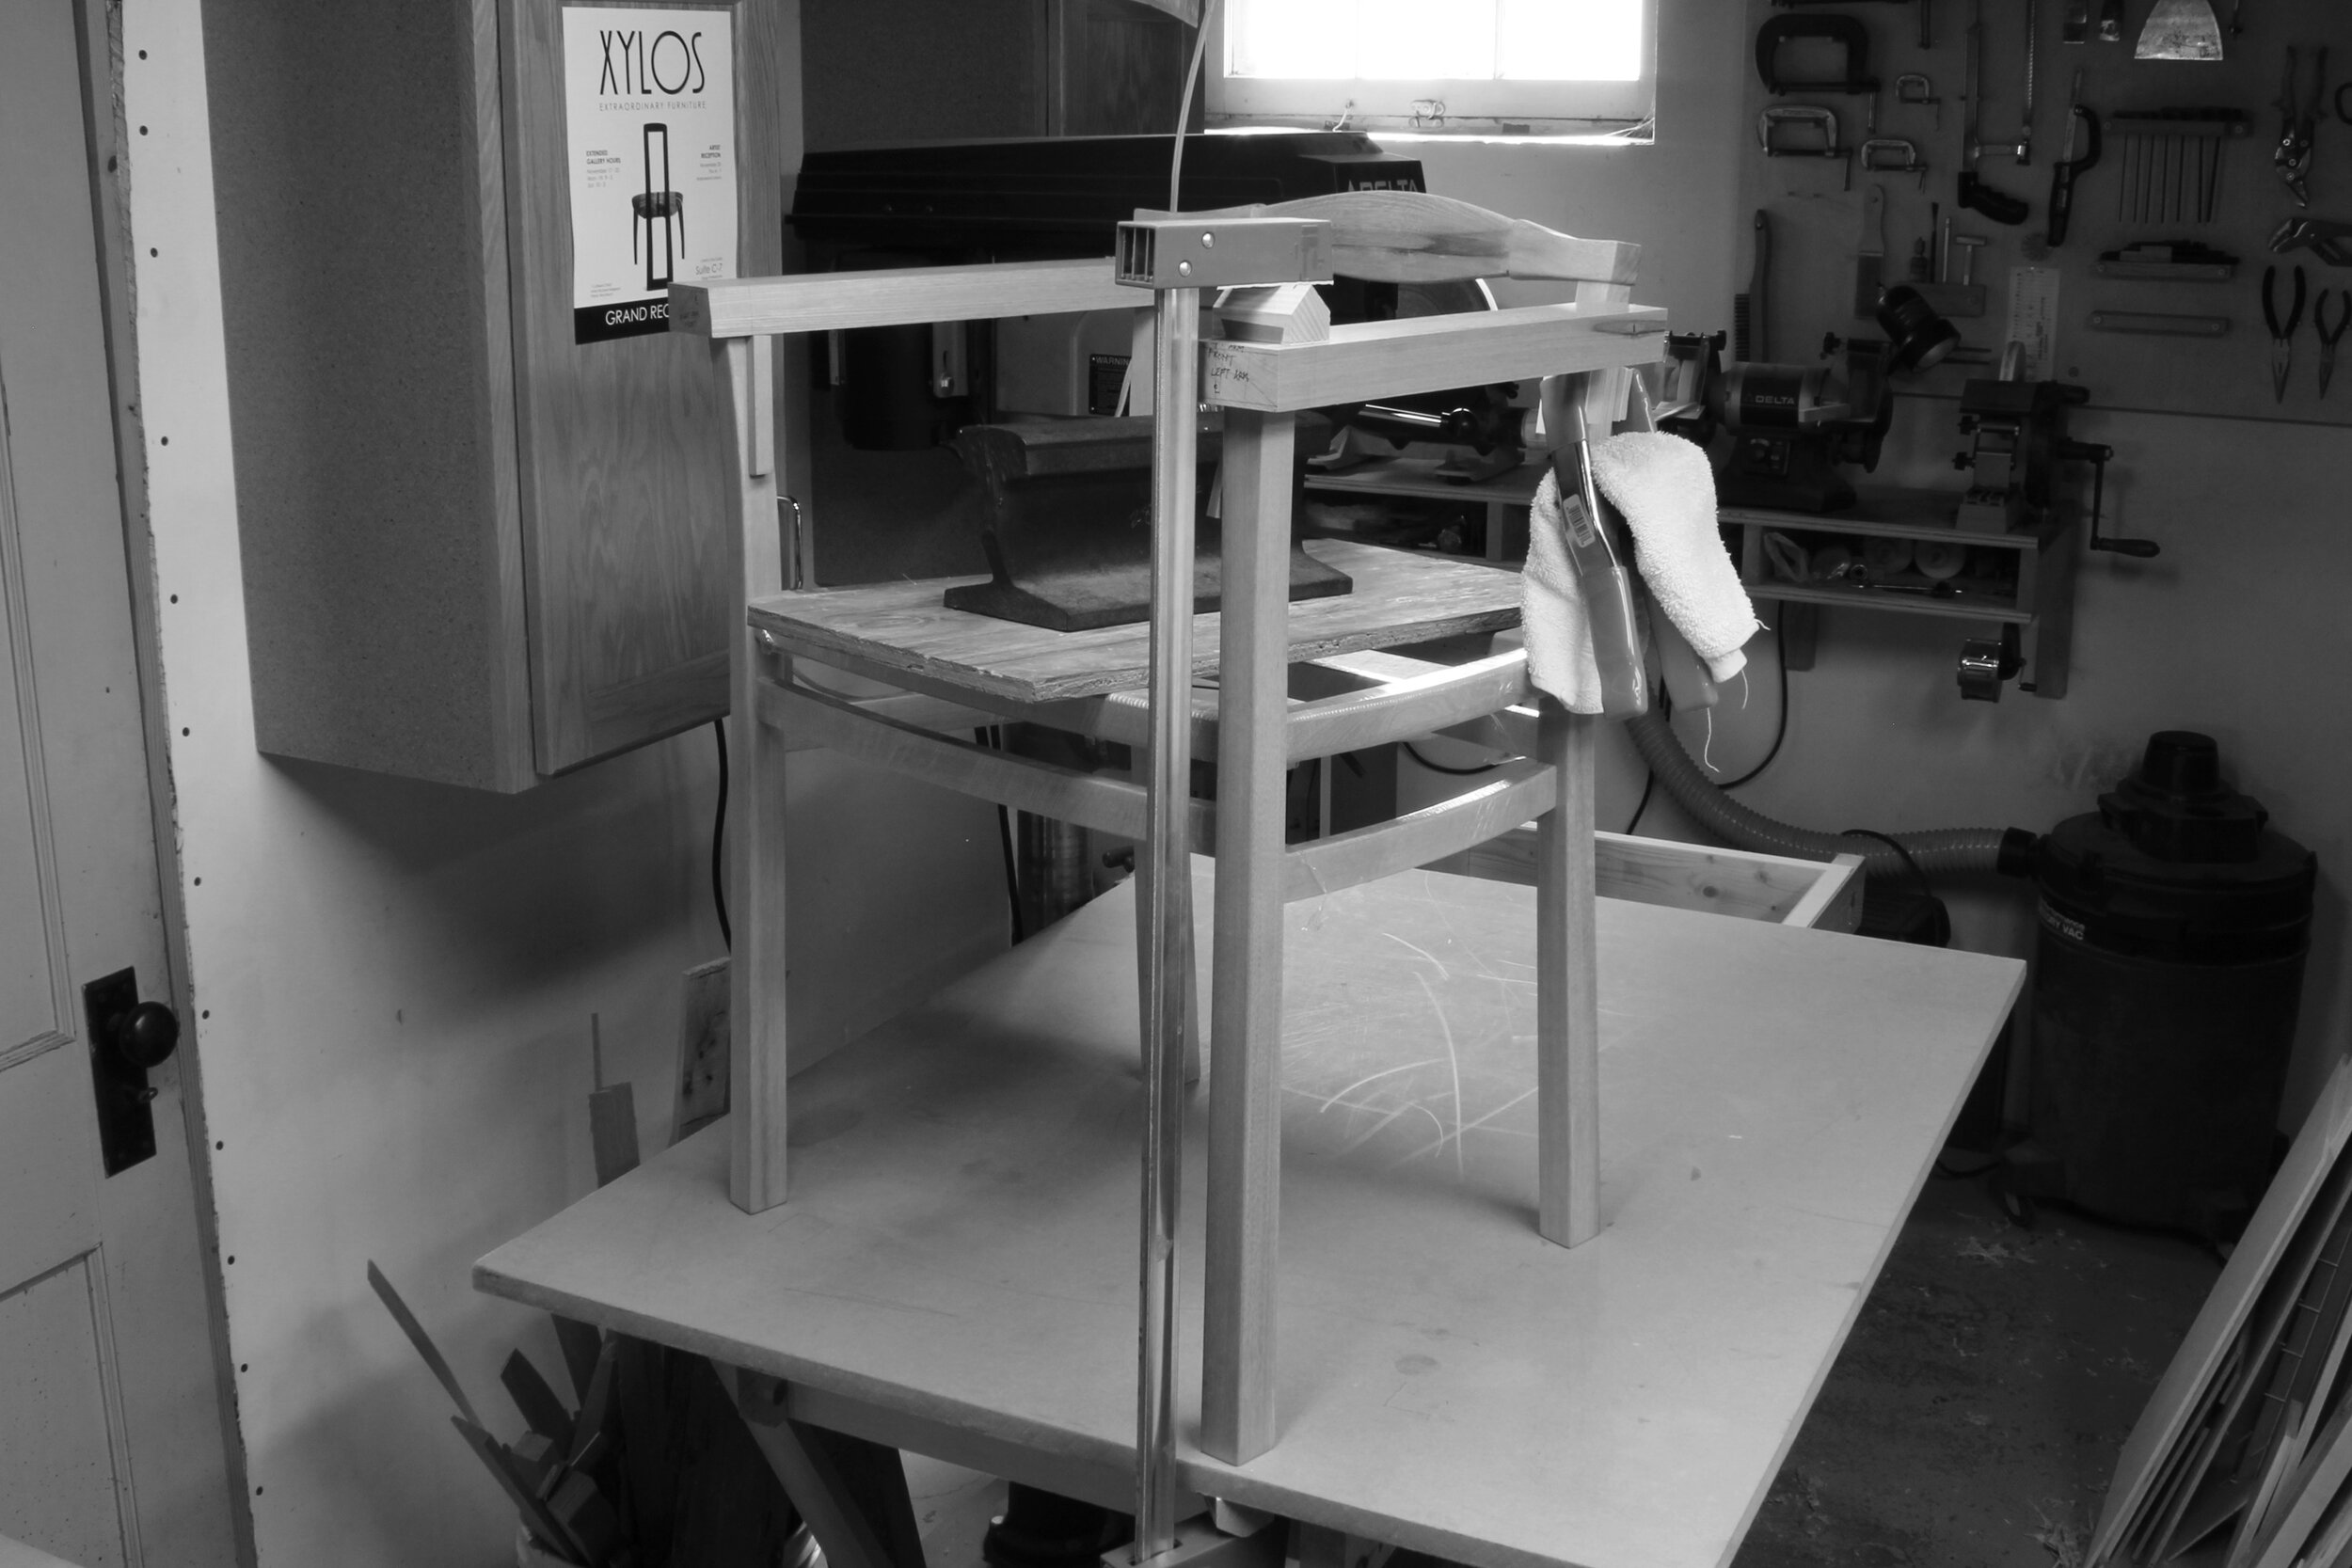
Once the rear end was cut, I transferred the angles from an extra long rear tenon onto the side as well as the bottom of the arm. Then, I laid out the rear mortise and cut it on the mortiser.

With a floating tenon fitted to both the rear leg and the arm, I carefully carved the rear end of the arm with a shallow gouge. The fit at this point needs to be very close, but there will be one last change for adjustment after boring the dowel pin hole at the front end of the arm.

I located the dowel pin hole and bored it on the drill press. Now the tenon and dowel are holding the arm in its final position.
Next I traced the top and bottom templates onto the arms. Note that these templates are intended to guide the shaping of the sides of the arms which are not vertical.

I spent a bit of time with a sanity check, making sure that the top and bottom template lines were positioned correctly.

I then cut the shapes on the bandsaw.

Below, one last chance to see the mirrored end grain lines side-by-side!

The hand shaping begins.

After the sides were shaped to near final finish, I used a different type of template to trace the top and bottom surface lines onto both sides of the arms. These templates were designed to follow the contours of the curved/sloping sides of the arms, whereas the top and bottom templates used earlier represented flat surfaces projected above and below the arms onto the flat surfaces of the machined plank.

Here's where the shaping gets fun. Below is a preview of the nicely curved surface grain graphics as they emerge from the straight grained plank. I love it when a plan comes together!

I then interrupted Carol from her scarf weaving as she became my glue-up buddy to make sure all the clamping was done without incident.

Another successful glue-up. Thanks Carol! Next comes the oil and resin finish application followed by the seat and backrest wrapping with Danish cord.
Hej då!
Craig