Cedar Spirits Cabinet: Part 4
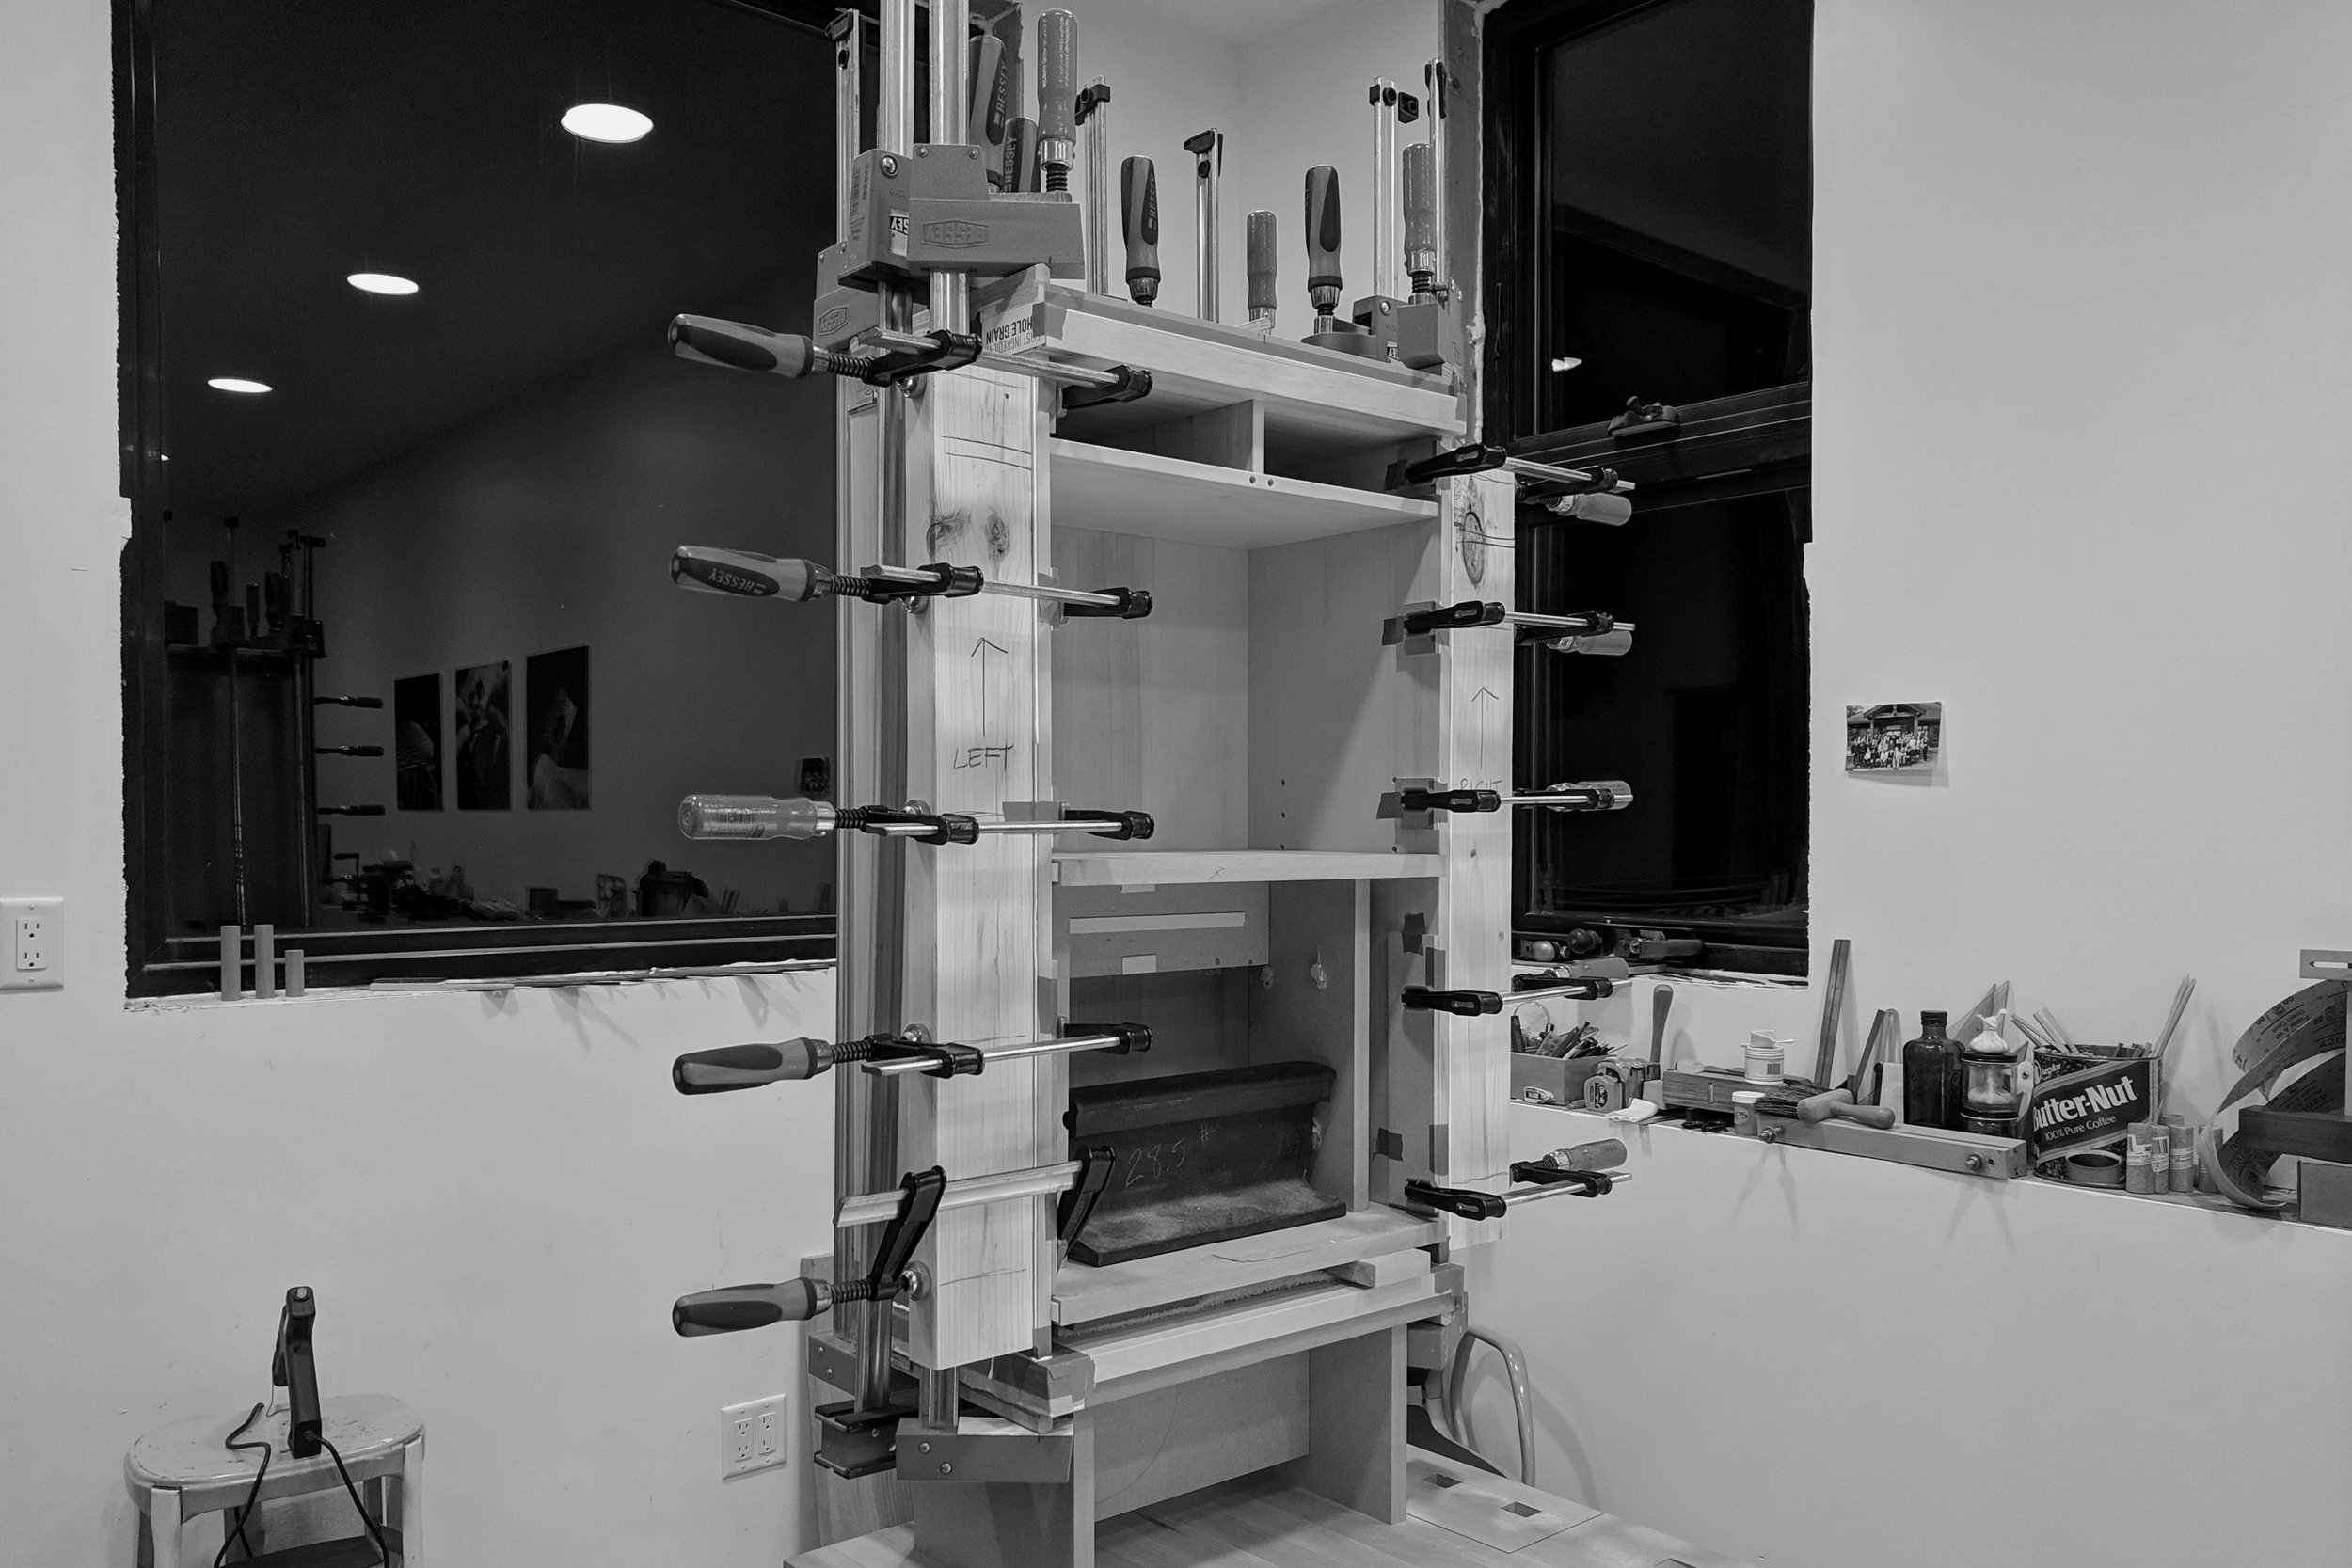
Work on the Cedar Spirits liquor cabinet continues with glue-up of the top and bottom panels.

After removing the clamps and cleaning up the exterior finish, I fastened the stand to the bottom of the cabinet.


Meanwhile… back in Carol’s weaving studio… work progresses on the textile runners that she designed specifically for this piece.

After taking the woven fabric off the loom, Carol “wet finishes” it by hand washing and then drying before hand-stitching the hems.

I selected a plank of deodar cedar for the drawer boxes. This will work well for the sides, backs and bottoms, along with another piece of Honduran mahogany for the drawer fronts.

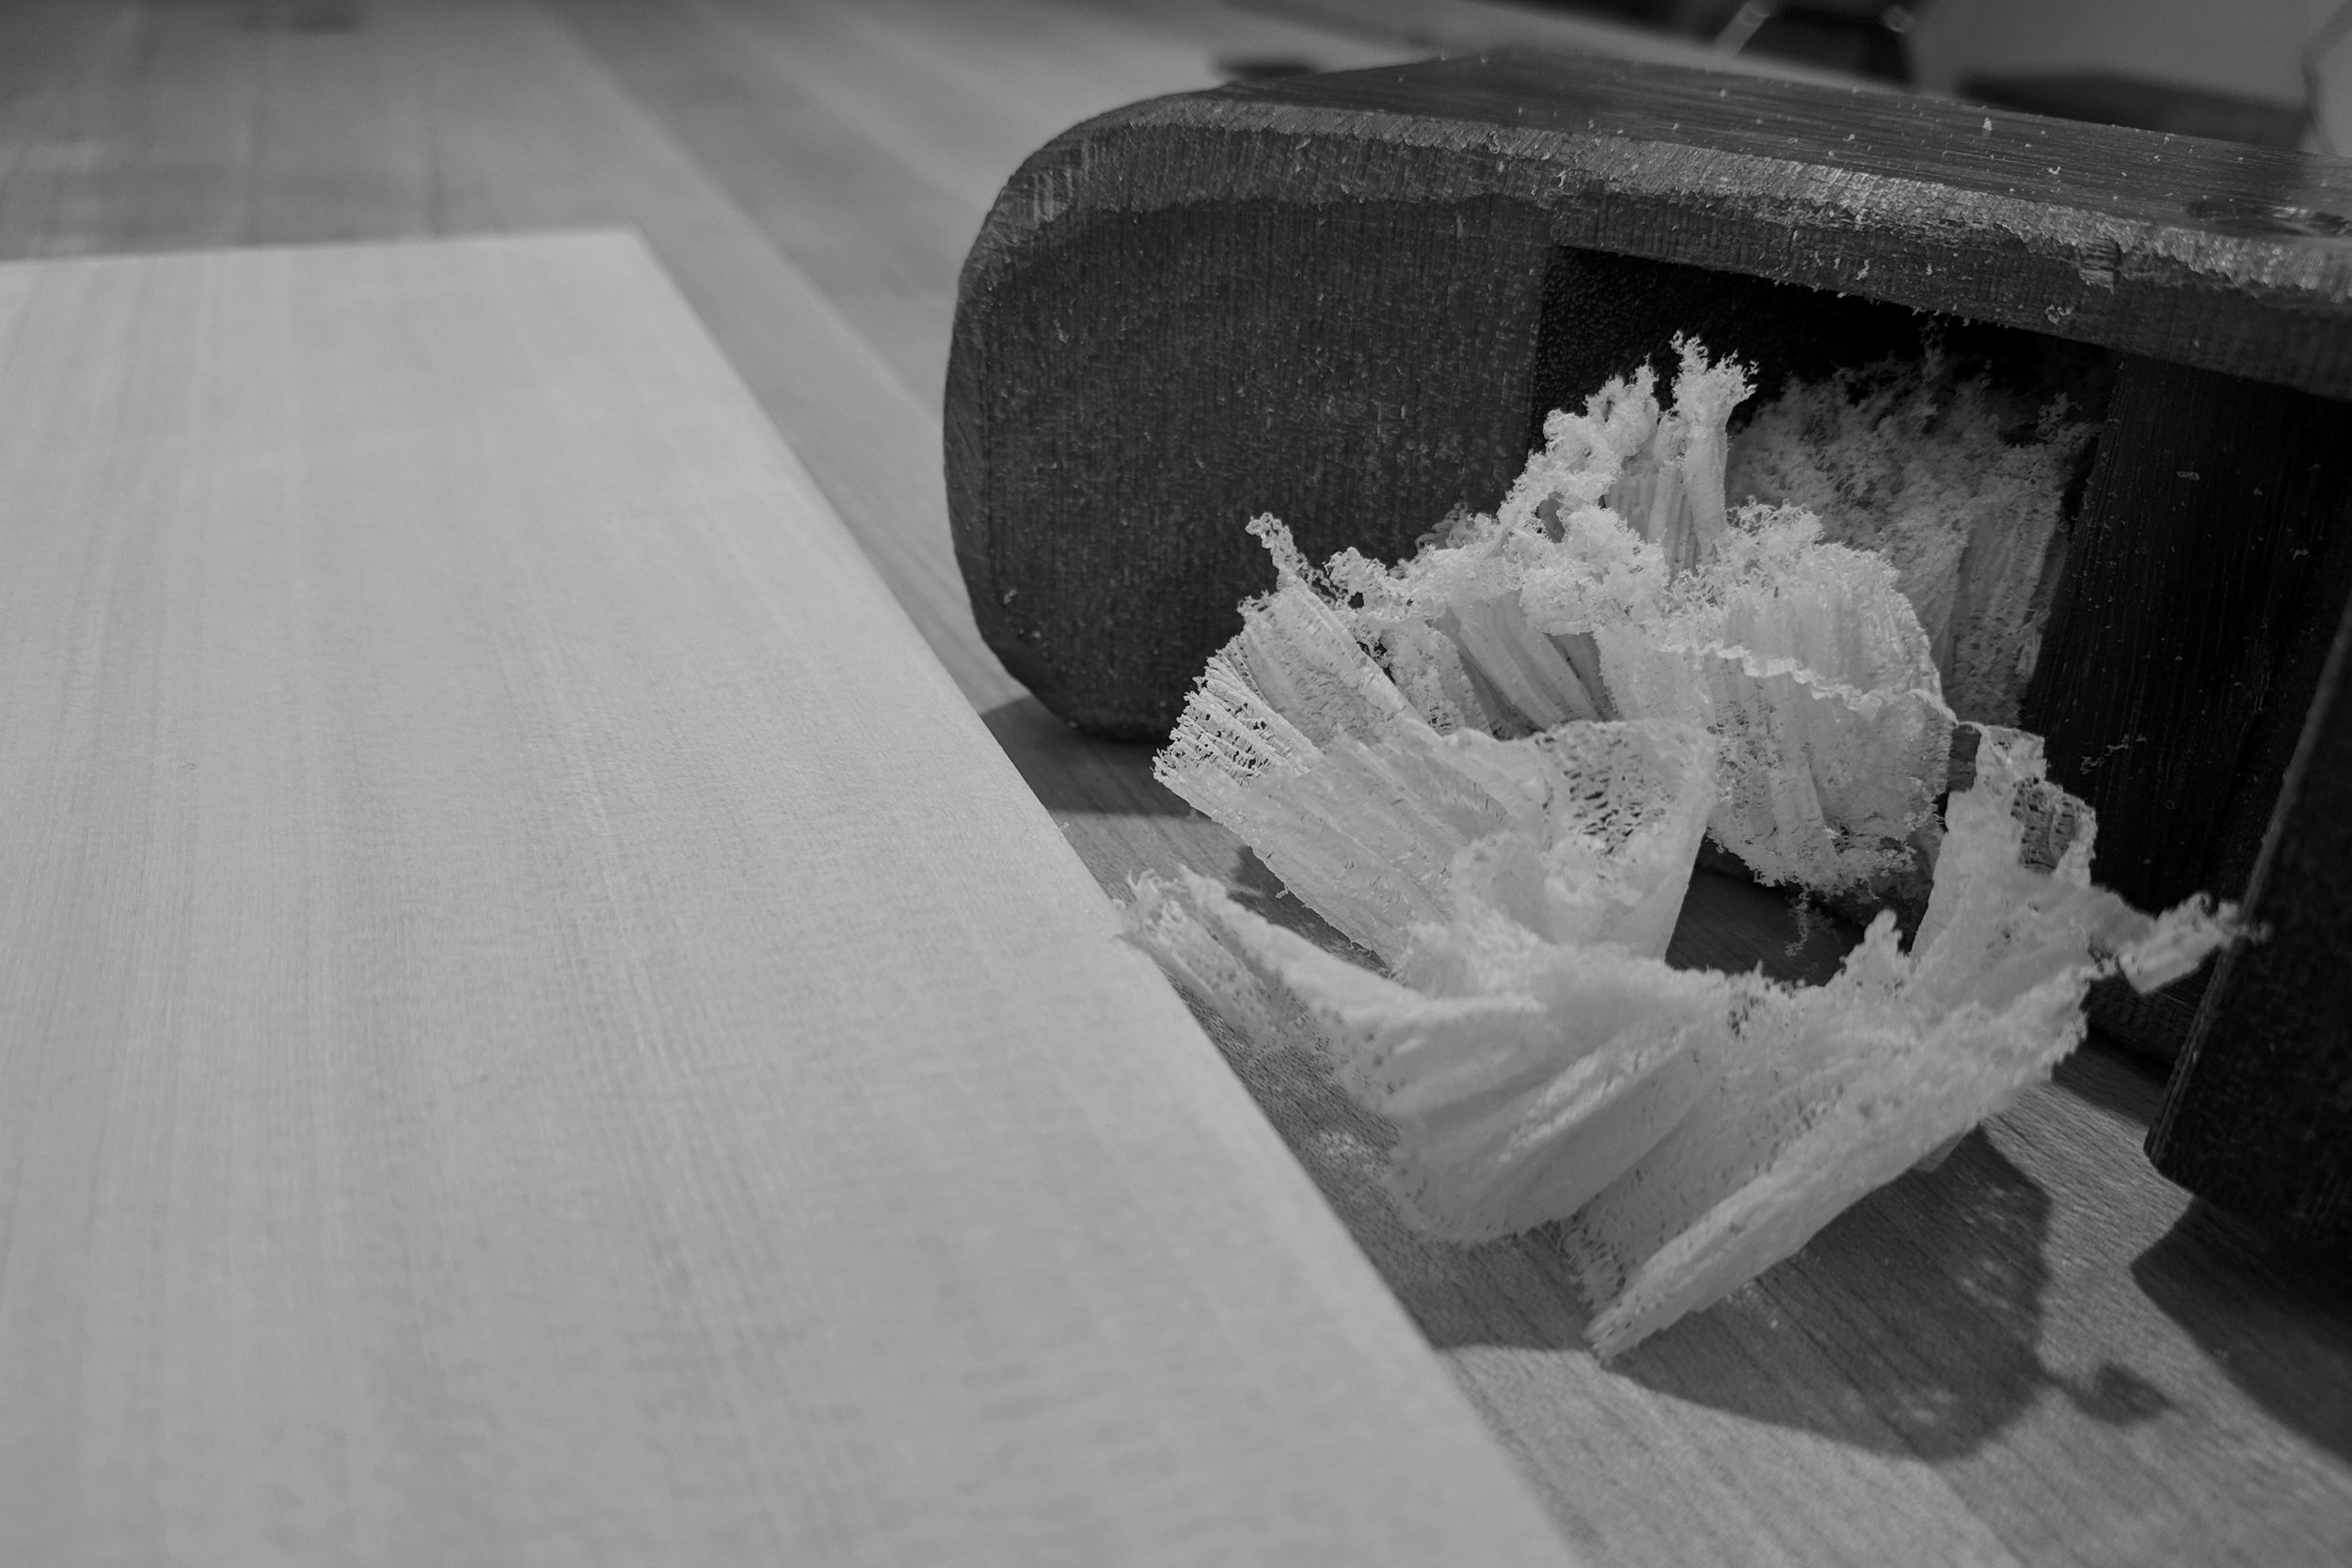
A fresh honing of the plane iron, and it’s time to begin the final surface preparation and fitting of the cabinet doors.

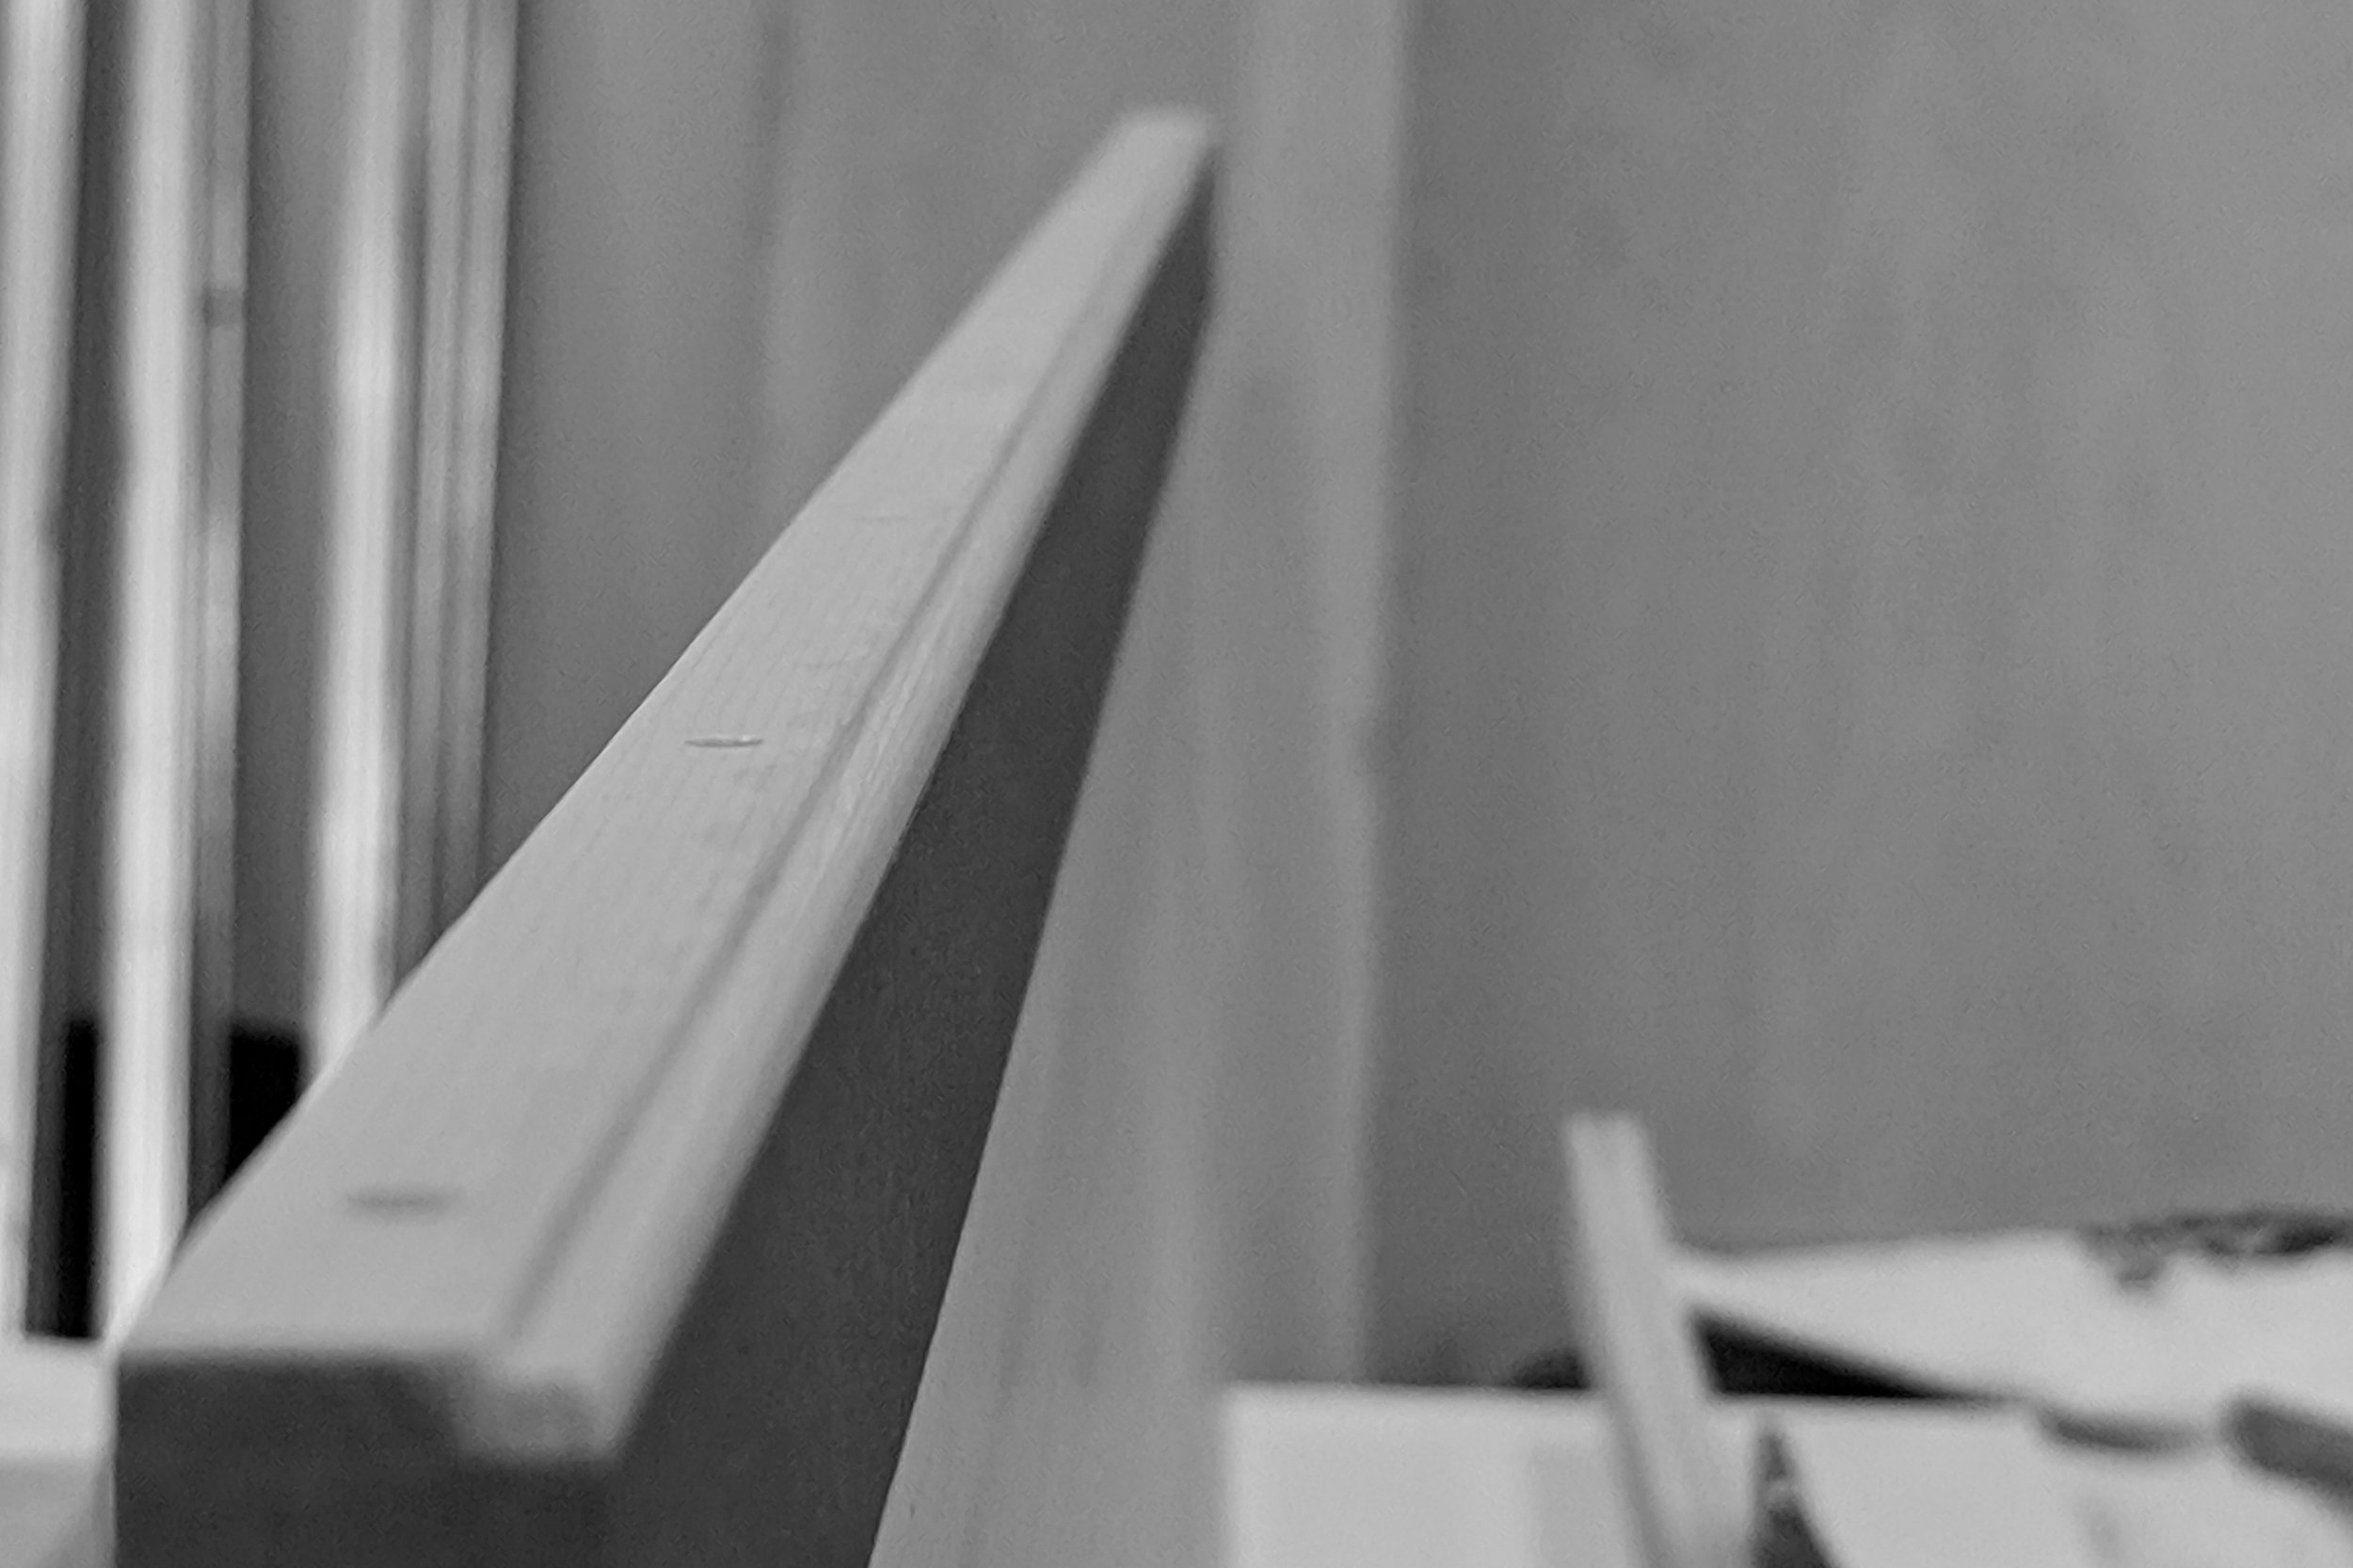
A full height door pull is made from a piece of Honduran mahogany..

The door edge to receive the door pull is given a small reveal and prepped for glue-up.
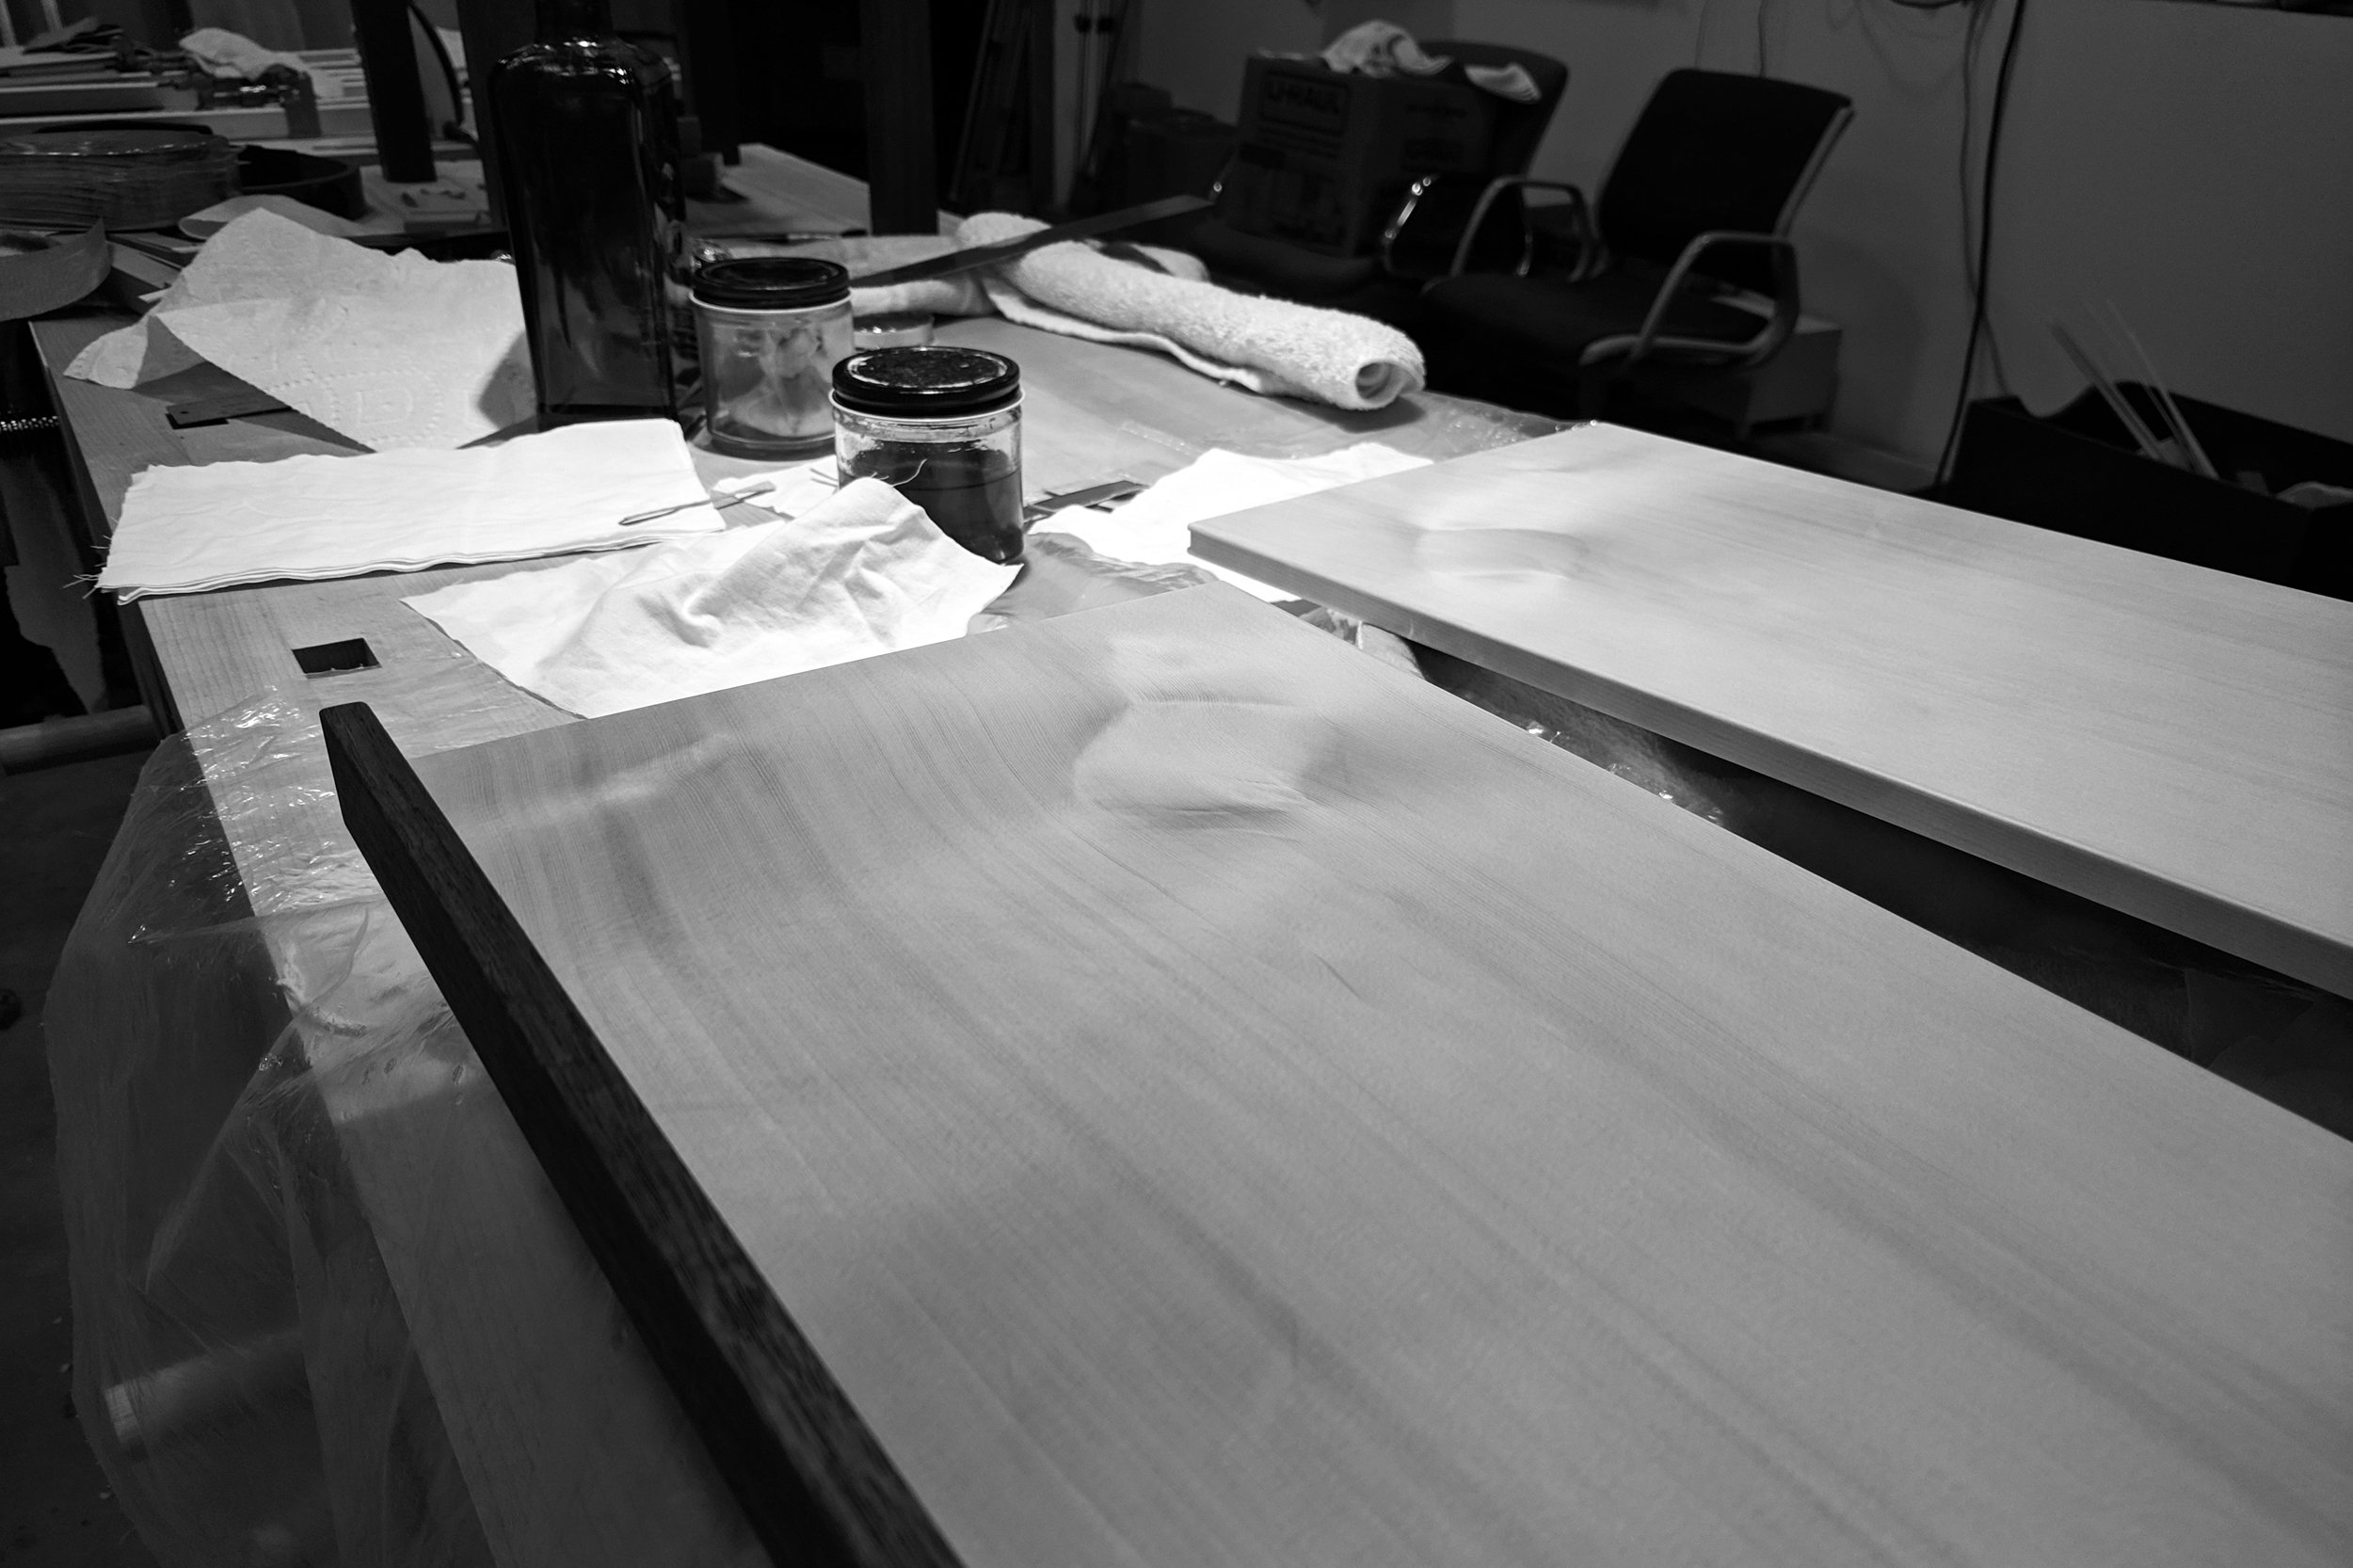
Here’s the right door and pull being glued together.

Now it’s time for fitting of the door, mortising for the knife hinges, and final surface preparation.


Shellac finish on the interior and oil and resin blend on the exterior.
I’ve ordered up three glass shelves for the top and interior of the cabinet. Below I’ve cut parts for adjustable height shelf support pegs of Honduran mahogany with brass pins.

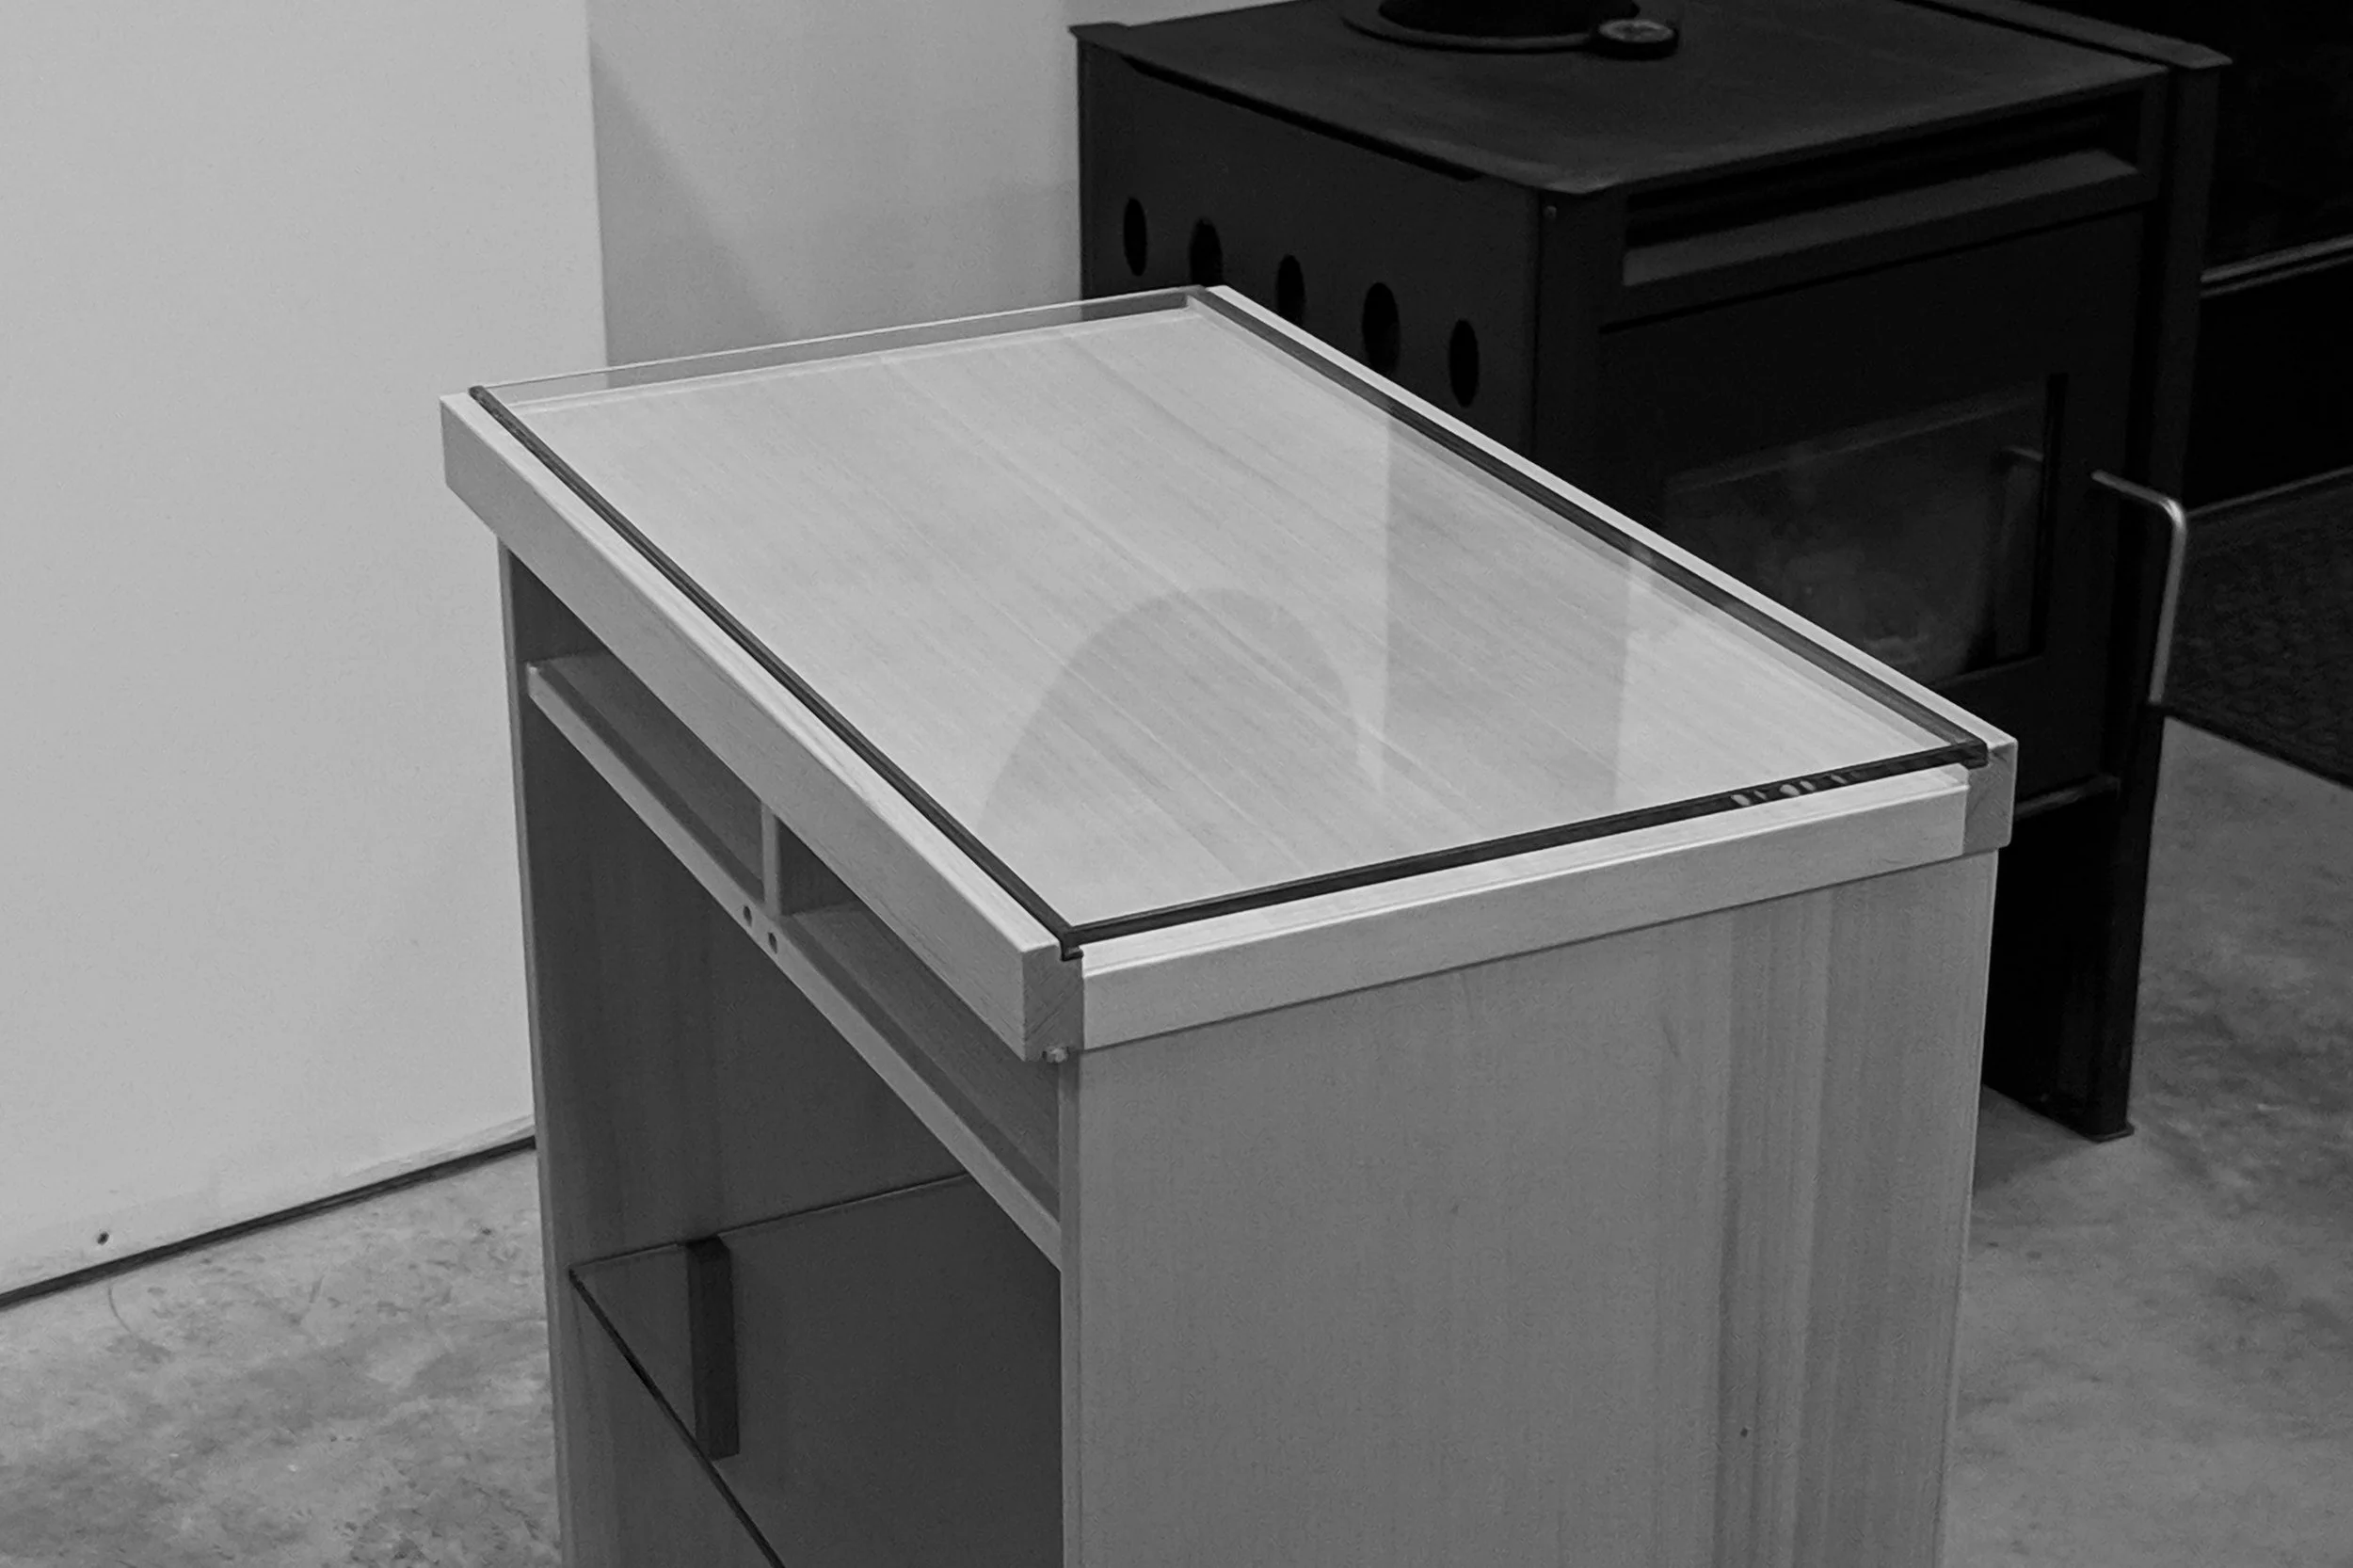
I finished the wood with shellac, set the brass pins and topped them all off with a neatly trimmed square of leather to serve as a pad for the glass.

I also added a narrow strip of leather onto the cabinet top to support the top glass.

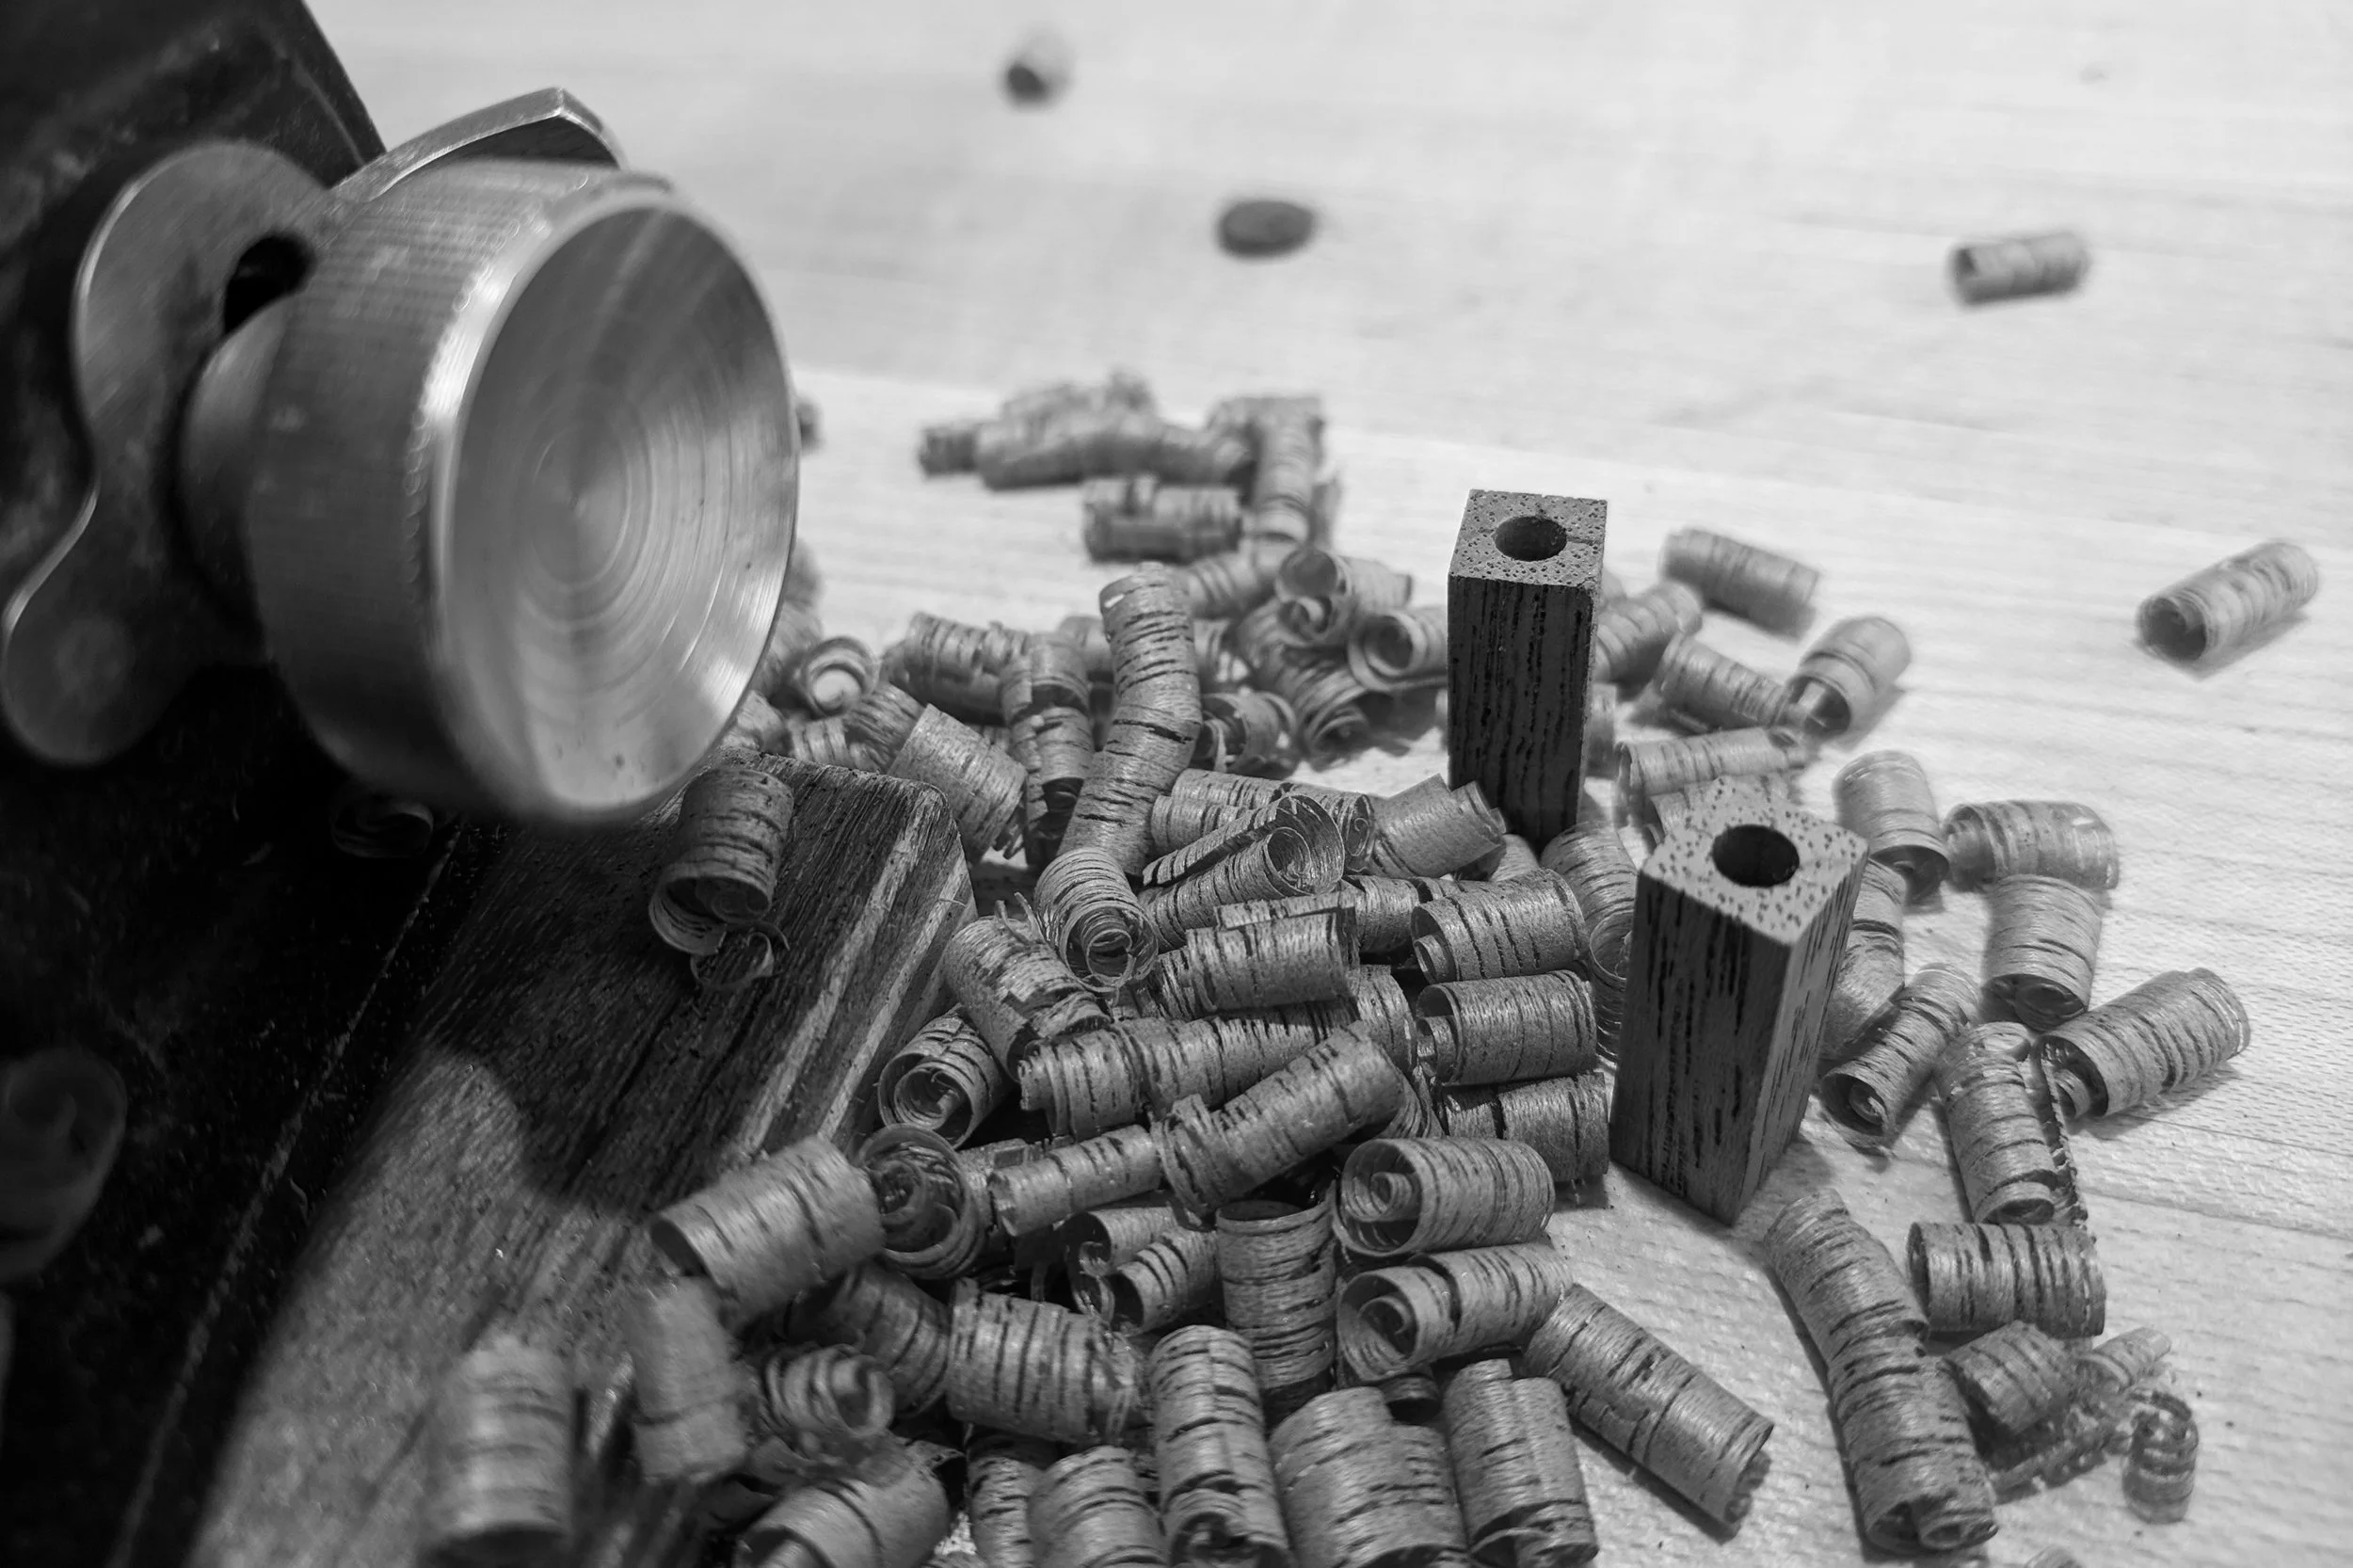
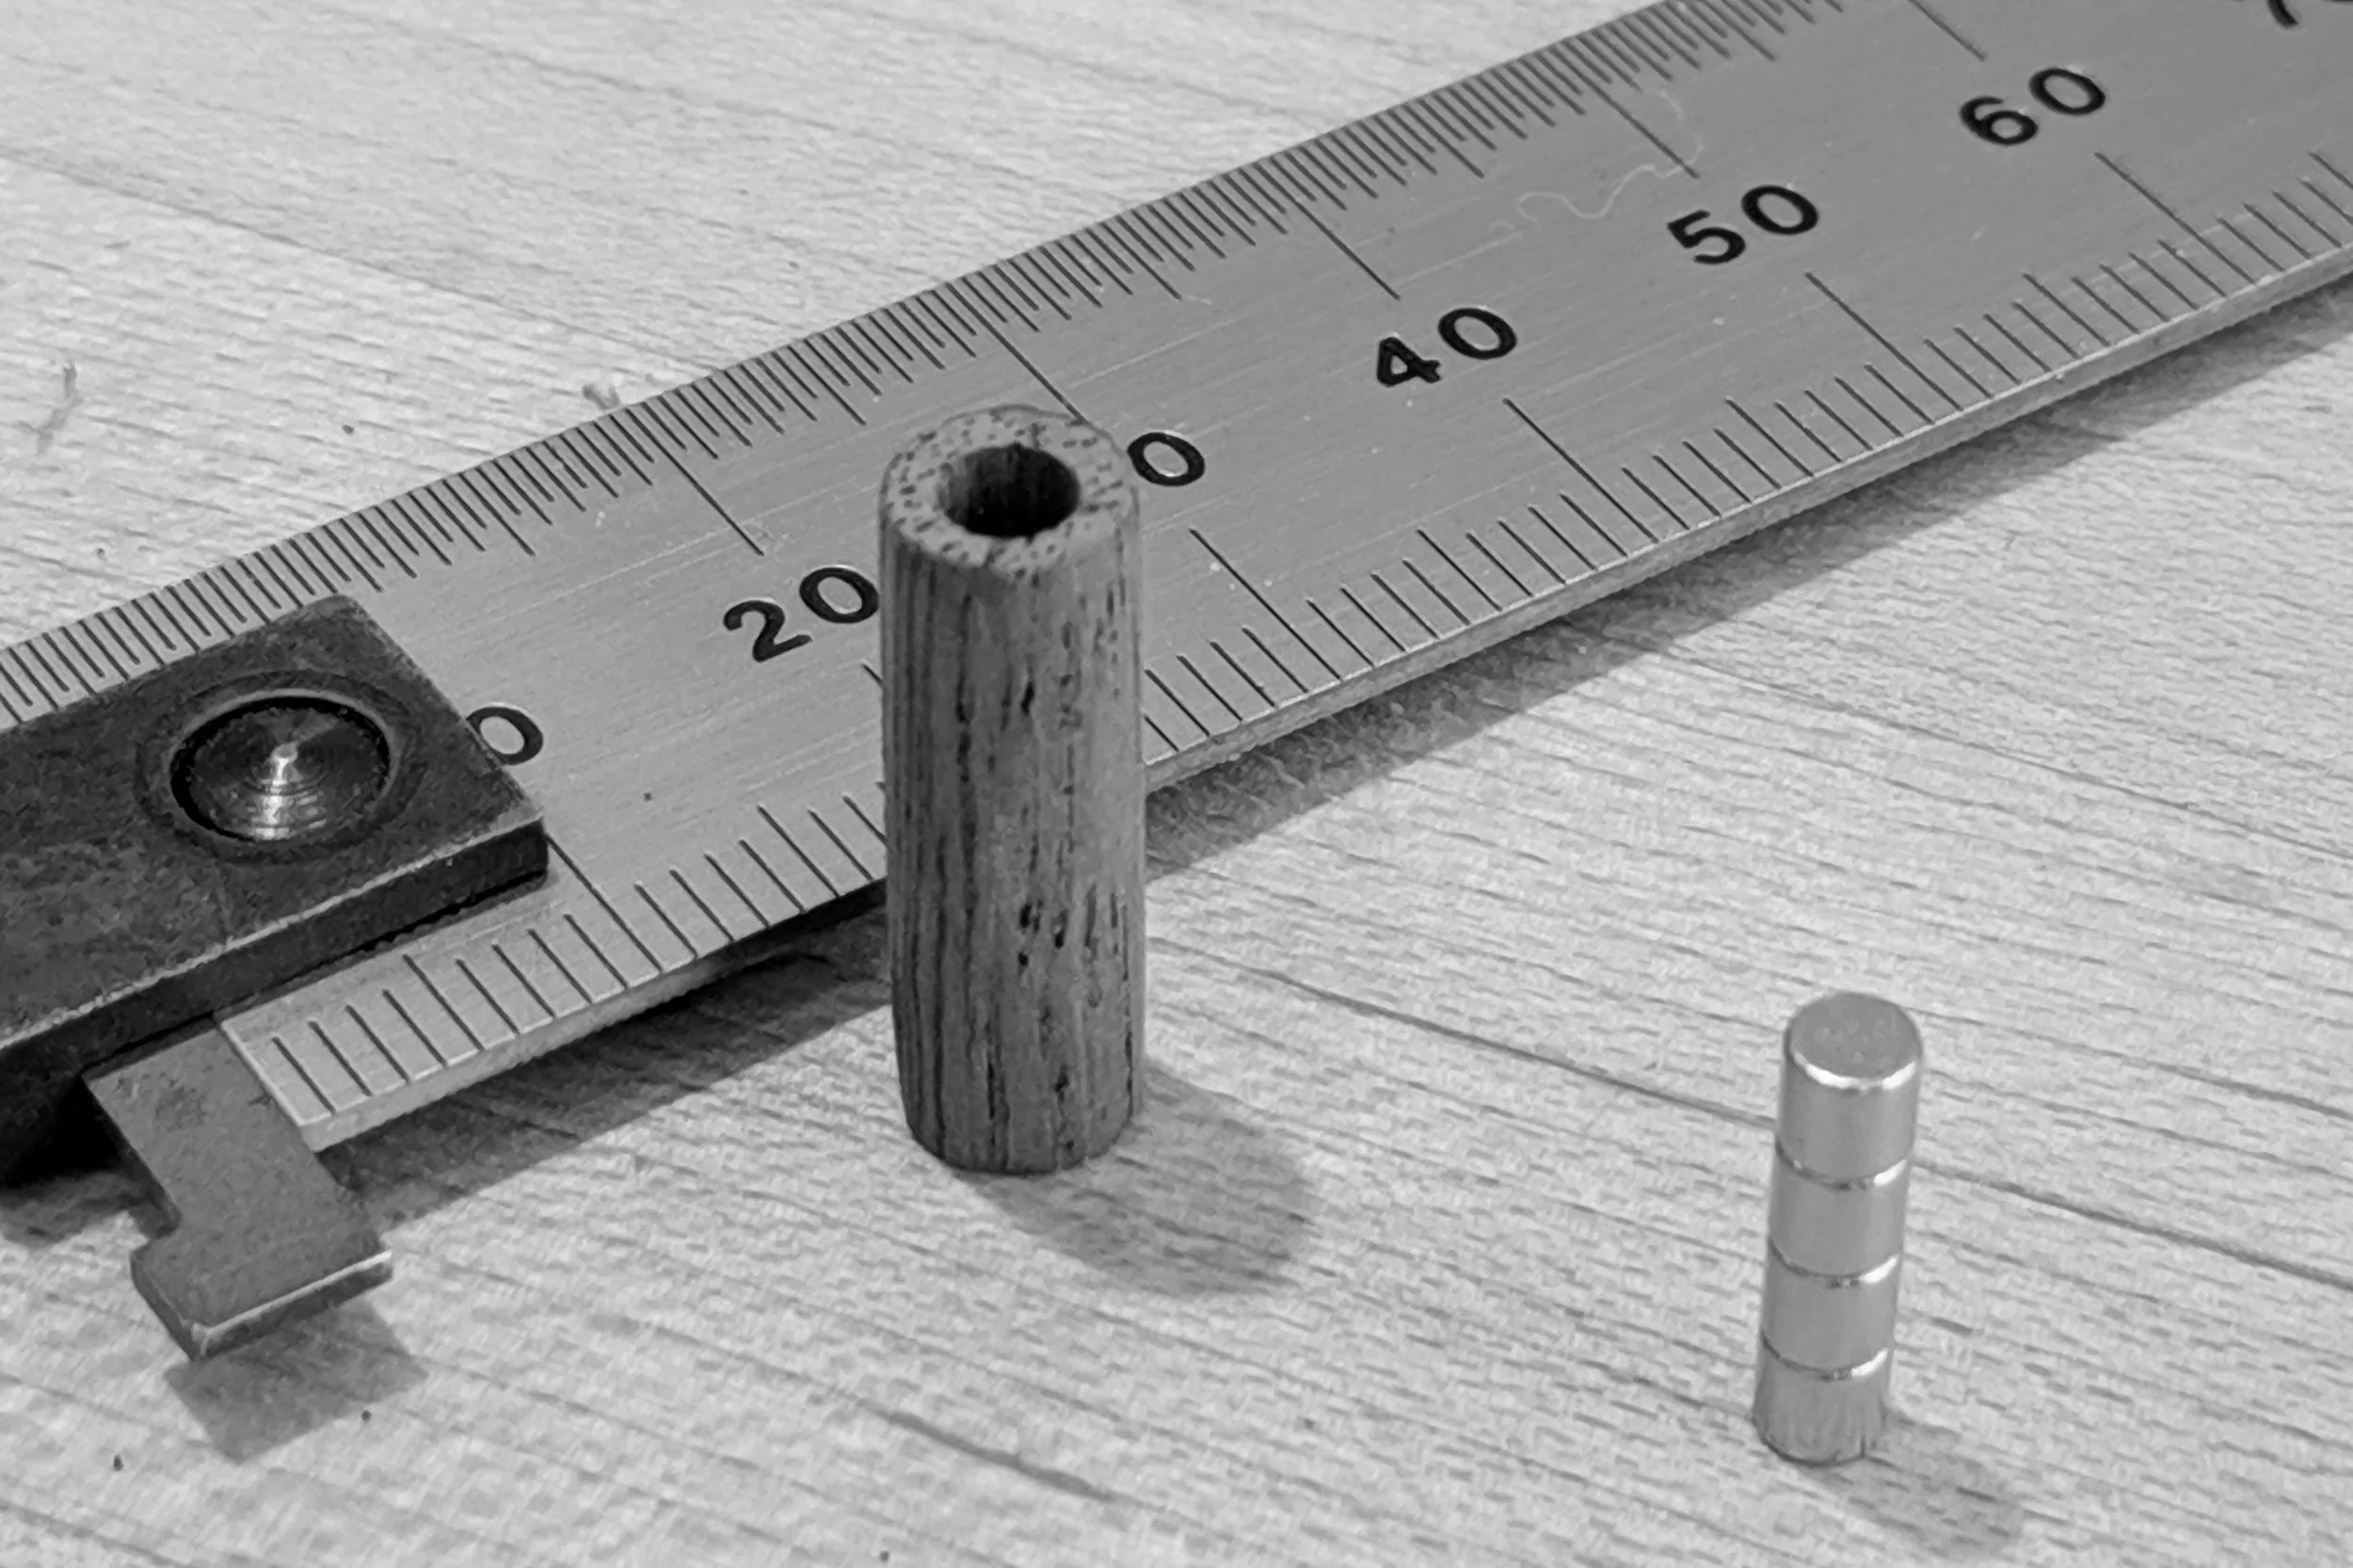
Door stops are next. Honduran mahogany, once again, with a hole bored for rare earth magnets. Similar magnets will be installed in the door panels.


The completed cabinet.

Next time I’ll show you how I make the hand cut dovetail drawers.
Hej då!
Craig