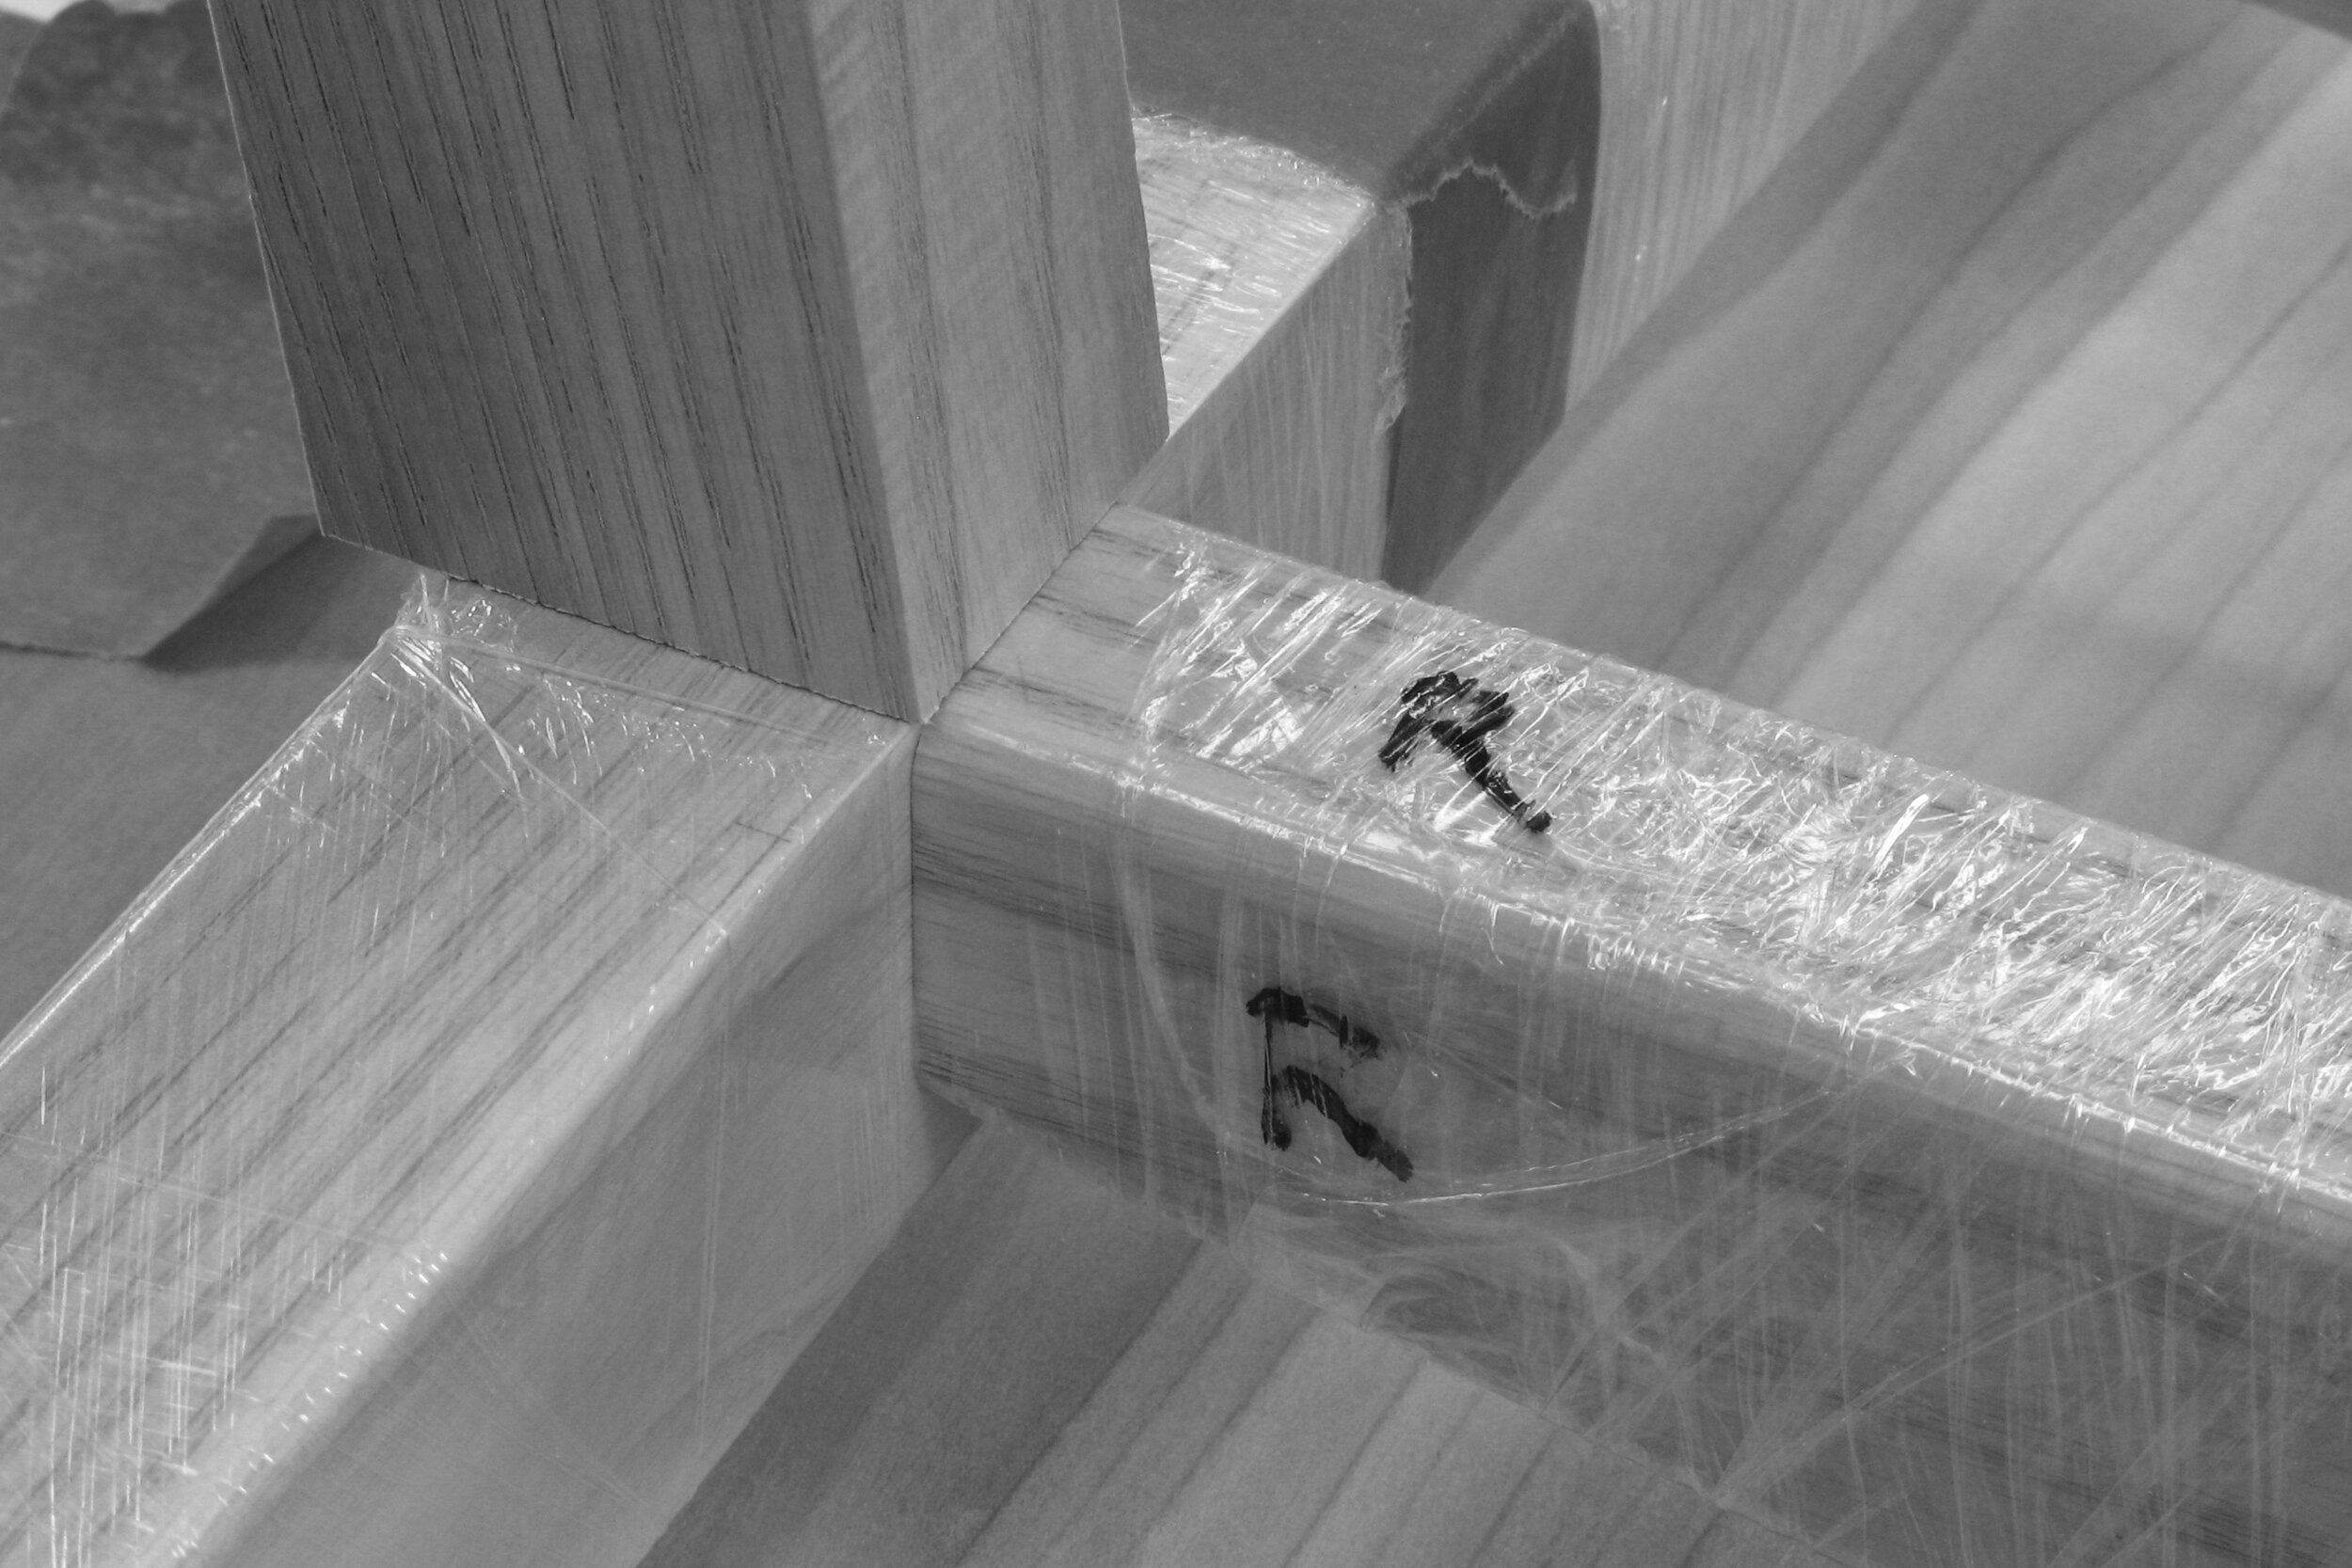
First Assembly
Since the last chair making journey post, I've made good progress on the back assembly. A few minor corrections and touch-ups. All the shapes have been sculpted and edges softened. Below, I set up a simple jig to ensure that the area of the lumbar rail that receives the back splats is nice and flat.
The dry-fit back assembly takes a rest on Monday before the glue-up the next day.
The glue-up went very well with a little help from my classmates who were there to assist and to rescue me if anything went wrong. I did the glue-up on the flat cast iron top of the table saw.
A couple of notable features of the clamping included my usual "Monopoly house" cauls that help to distribute the force of the clamps exactly where I want it…
… plus, the offcuts from sawing out the lumbar rail were used to hold it straight while the joints were clamped. If I hadn't done this, because of its curved shape, the rail would have bent and the joints would have come out of alignment with the back legs.
With the back assembly glued, it was time to work on the side seat rails. After cutting a miter at the back end of the rails, I set up for mortising to receive the floating tenons.
This set-up makes it easy to position the cutter perpendicular to the face of the mitered parts.
To double check the angle of the parts, I positioned them on the drawing against a straightedge.
Now it's time to shape the floating tenons. I used a block plane set in the bench vise, as well as a strip of adhesive backed sandpaper.
Test fitting the side seat rail against the back leg/back seat rail assembly.
The miter cut at the front end of the side seat rail is compound and requires a special angle to make sure the front of the front leg is perpendicular to the floor. Again, I pulled this from the full size drawing.
After making the cuts, I dry clamped the parts to double check the fit and the position and angle of the front legs.
More mortising, this time to the front end of the side seat rails, and another round of miters and mortising on the side stretchers. It's almost looking like a real chair!
I then confirmed the final length of the front seat rail by measuring the dry fit assembly and cut the shoulders and cheeks of the live tenons. Below is the front seat rail tenon, fresh off the saw. I did bit of hand work to fit the tenons to the mortises.
I'm finding that one of the most enjoyable parts of the chair is the shaping of the parts with the spokeshave. The short video below is the final pass over one edge of the front stretcher. The surface is curved in both directions, width and length.
Ahh...
I hope you enjoyed this installment of my chair making journey. Stay tuned, there's more to come.
Hej då!
Craig
Craig Johnson is a fiscal year 2012 recipient of an Artist Initiative grant from the Minnesota State Arts Board. This activity is made possible in part by a grant from the Minnesota State Arts Board, through an appropriation by the Minnesota State Legislature and by a grant from the National Endowment for the Arts.
● ● ●


