Shaping and Assembly

Next on the list is to shape the legs. Beginning with rectangular parts, I began to taper the legs using a combination of bandsawing, machine jointing and hand planing. The rear of the leg was my reference surface. Each leg has five sides at the top and four sides at the foot, resulting in two four-sided facets and five three-sided facets, or seven facets in total.

I first planed smooth the reference surface. Then I tapered the outside of the leg, later to be faceted into an outside corner. This was followed by the side tapers, resulting in what you see below.

And now for the obligatory plane shaving photo!

After completing the four main tapers, I laid out the four triangular tapers that result in the square foot.

Two down, two to go.

A dry fitting of all the stand parts.

After the dry fit, I did a bit of surface preparation on the stretcher parts and assembled them with glue.

Once out of the clamps, I could prepare the bottom of the stretcher assembly by flattening it with a hand plane and softening the sharp edges.

Surface preparation of the legs came next, with some edge softening, etc., followed by glue-up to the stretchers.

It’s taking shape.

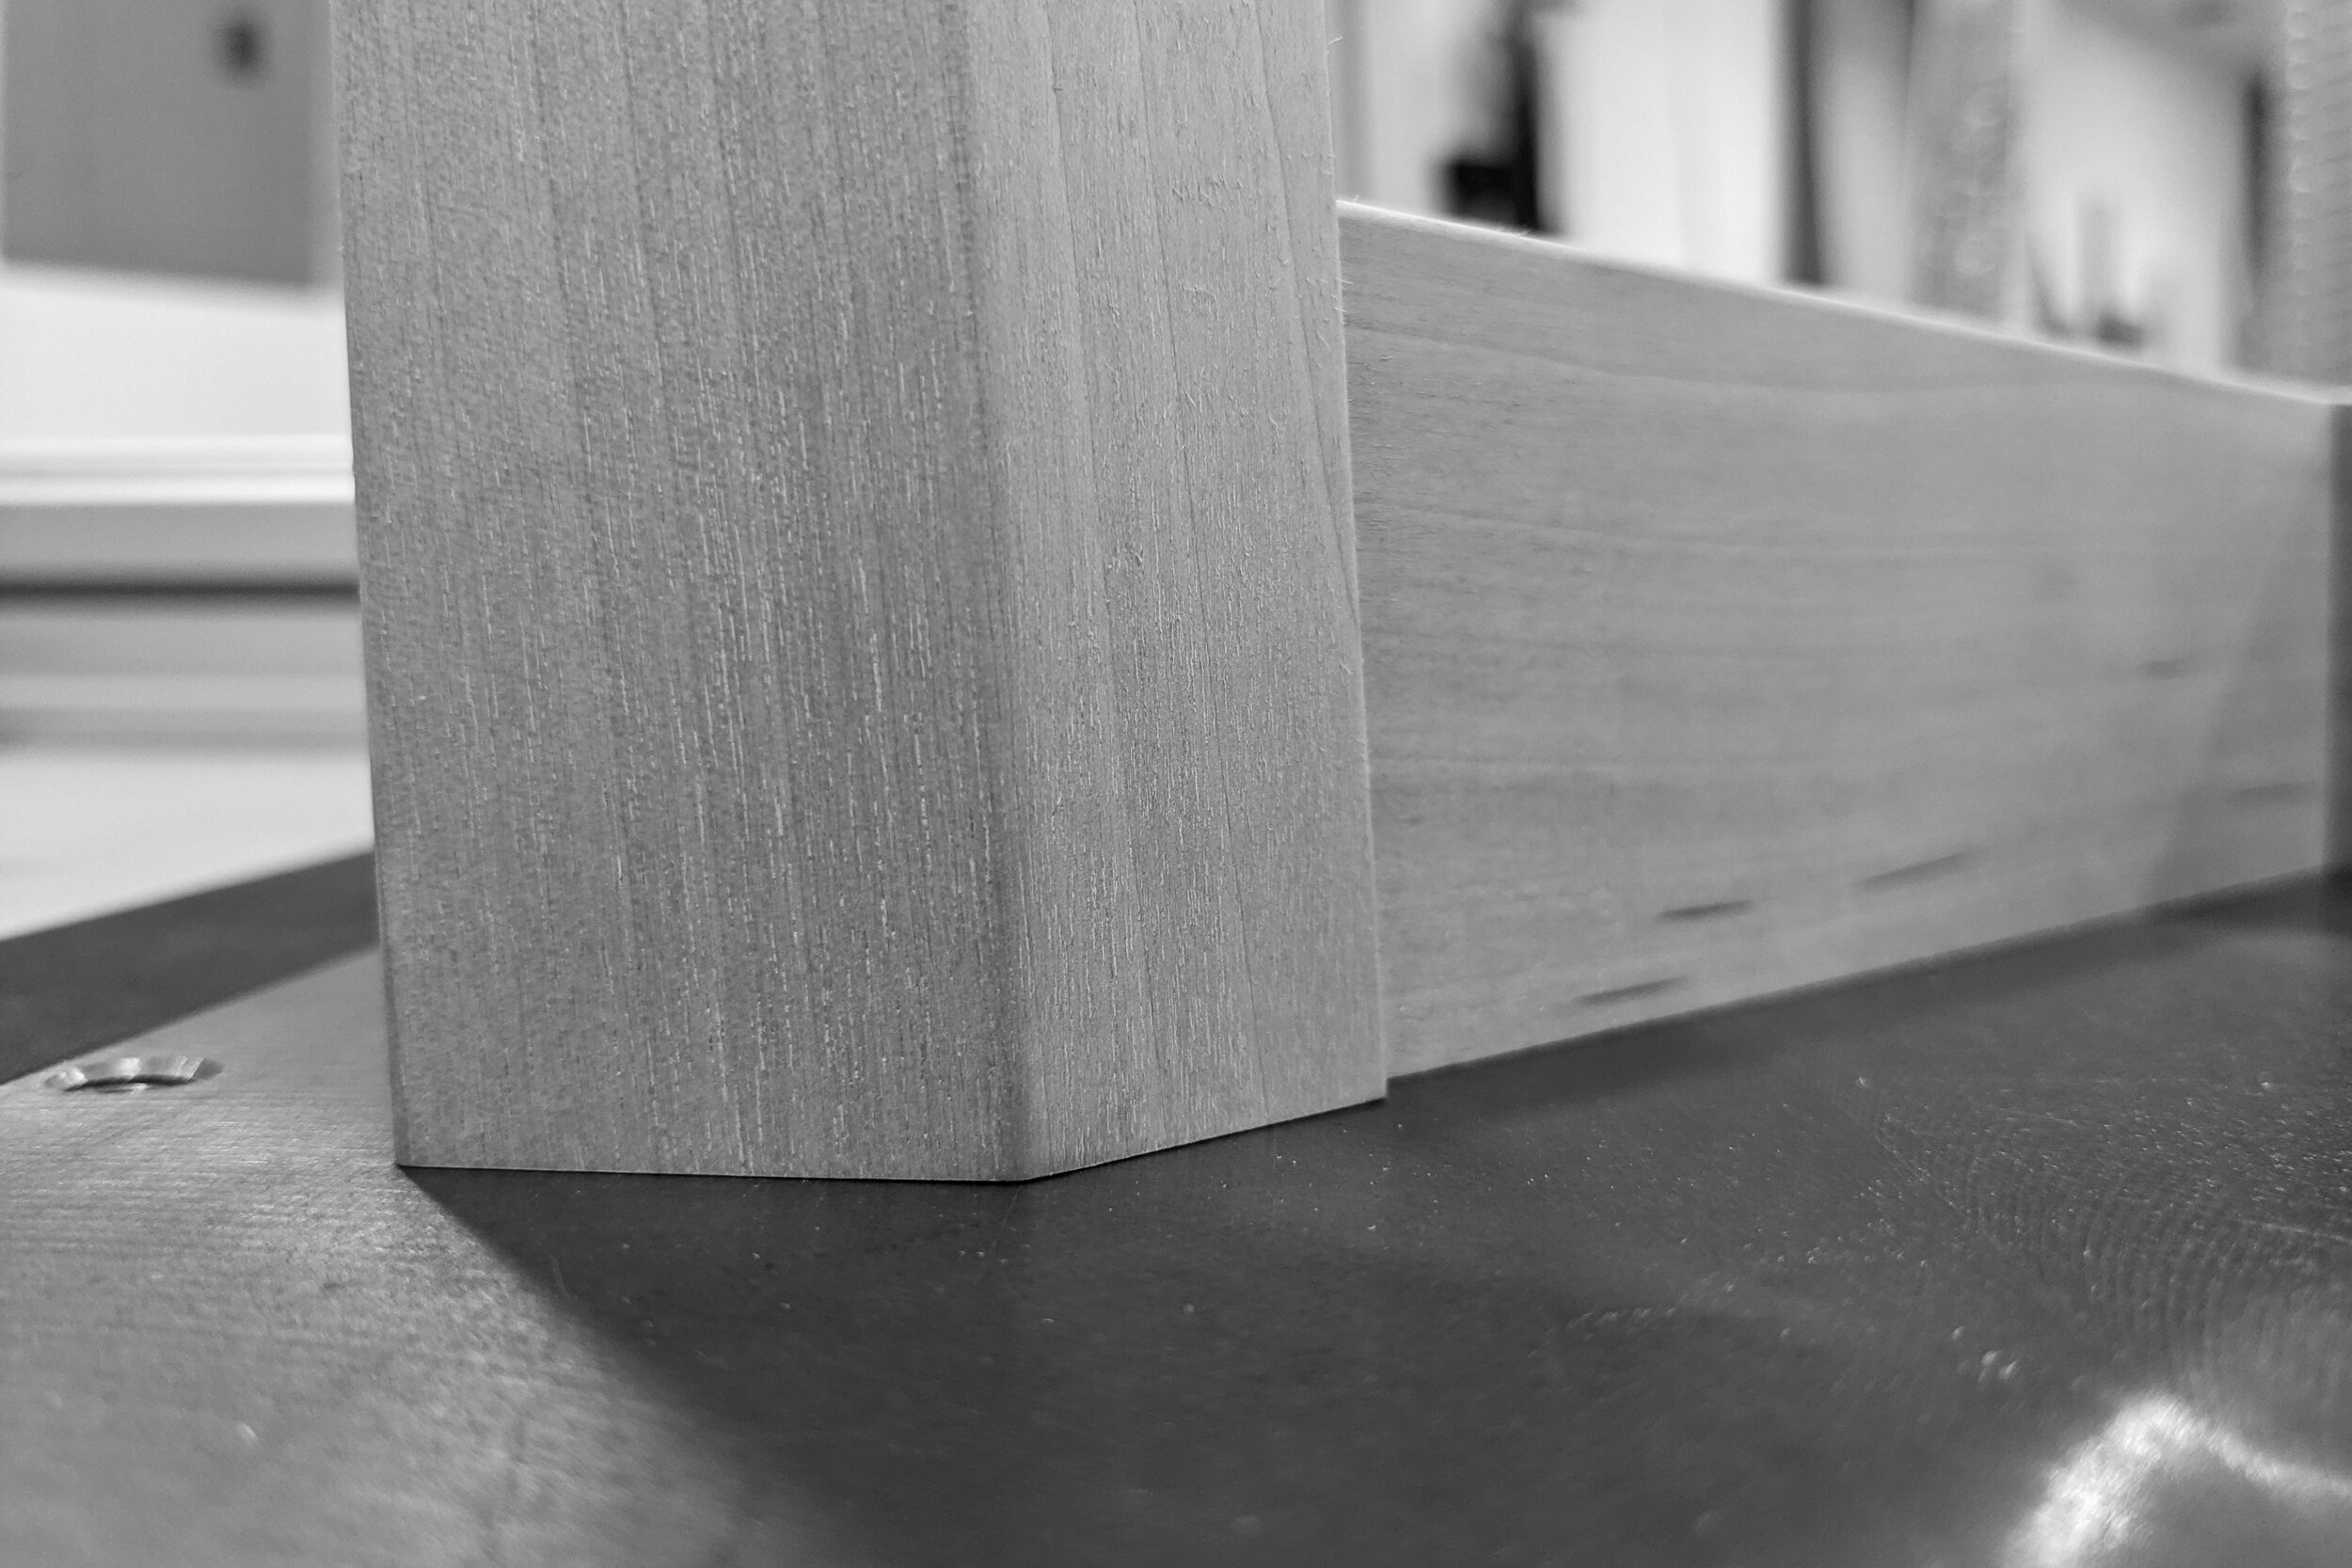
To ensure I have a good surface on which the tabletop can rest, I referenced the cast iron panel saw table.

Below you can see some gaposis at the top of the leg that needs to be addressed. I intentionally set the top of the legs below the top of the stretchers so that it minimized the need to plane down the endgrain of the legs.
I set up a narrow workbench extension that accommodated the size of the table and used a hand plane to flatten the whole assembly.

Next time, I’ll be working on the tabletop and the tabletop mounting brackets. Stay tuned!
Hej då!
Craig