River Birch Console Table

I’m beginning work on a new piece for a client who had a river birch tree in their backyard that needed to come down. They planted this tree years ago and now would like to have a piece of furniture made from it. Above is a rendering presented to the client as we finalized the design of their new console table.
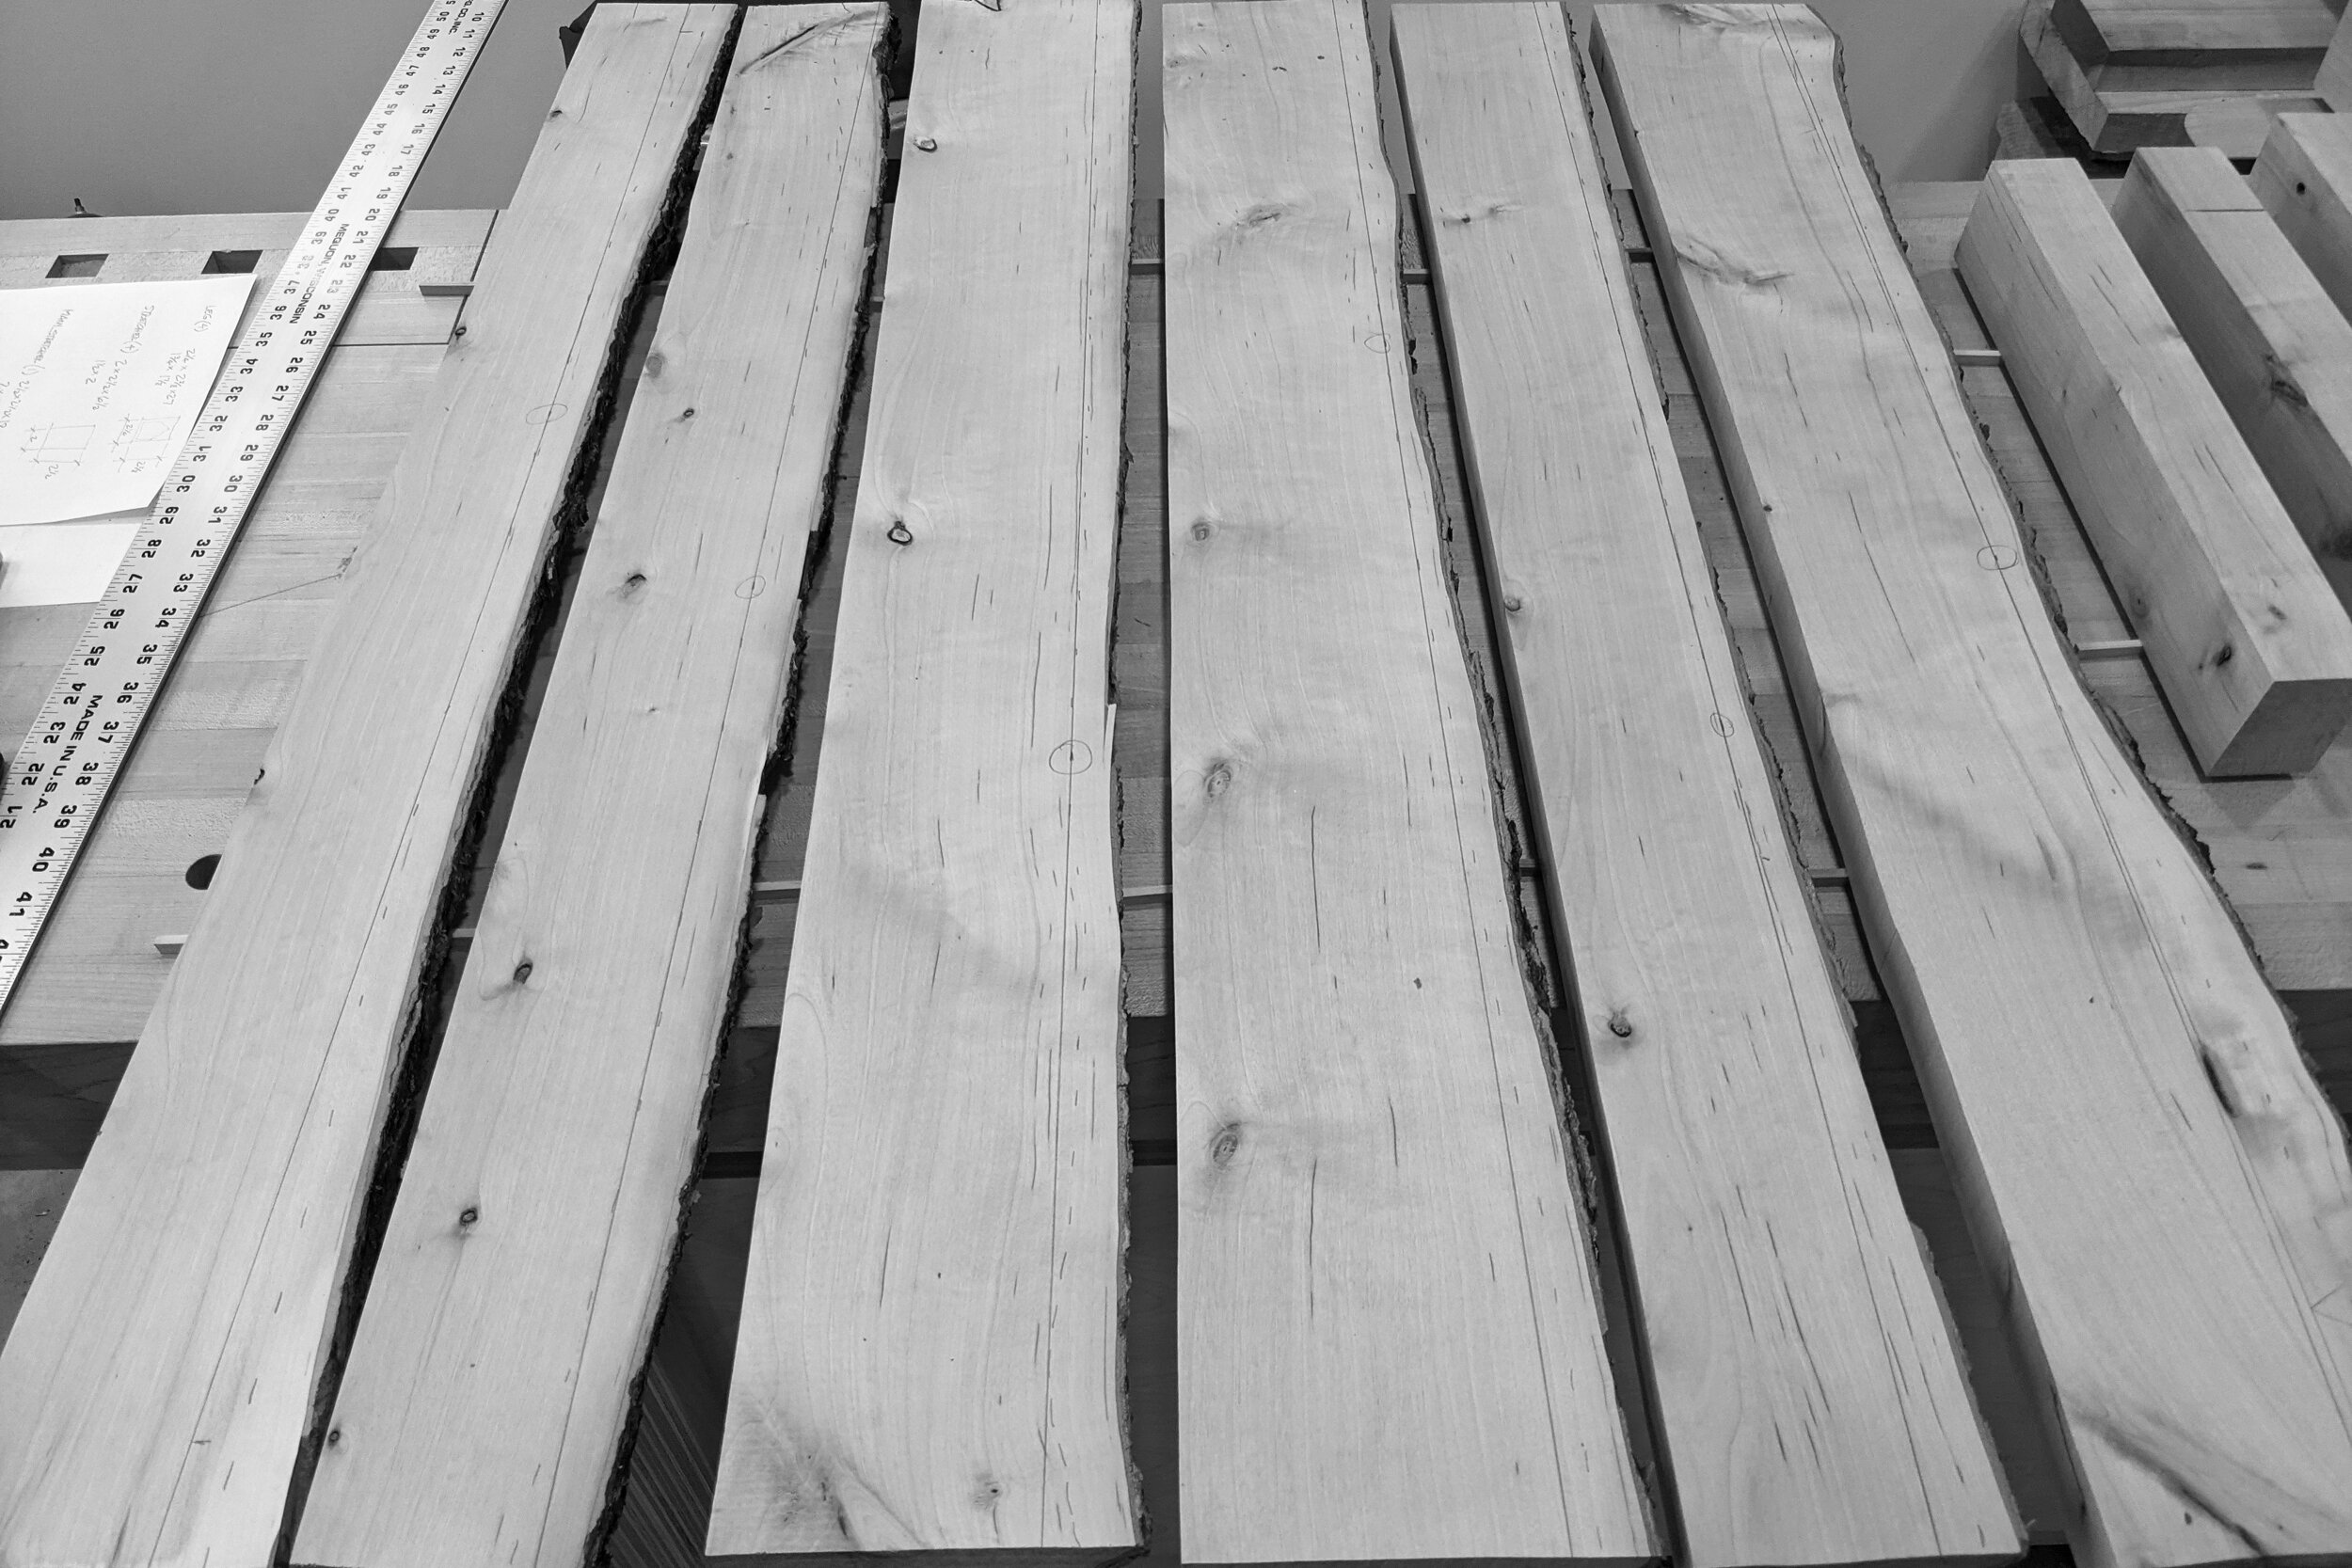
There were seven, 8’ logs cut from the cluster of tree trunks. The four logs pictured below seemed suitable for the table. There are a lot of curves, cracks and knots to work around, but there is a table in there somewhere!

Knots are okay, per the client (they add character), but it still took a bit of study to find the best use of the material for this design.

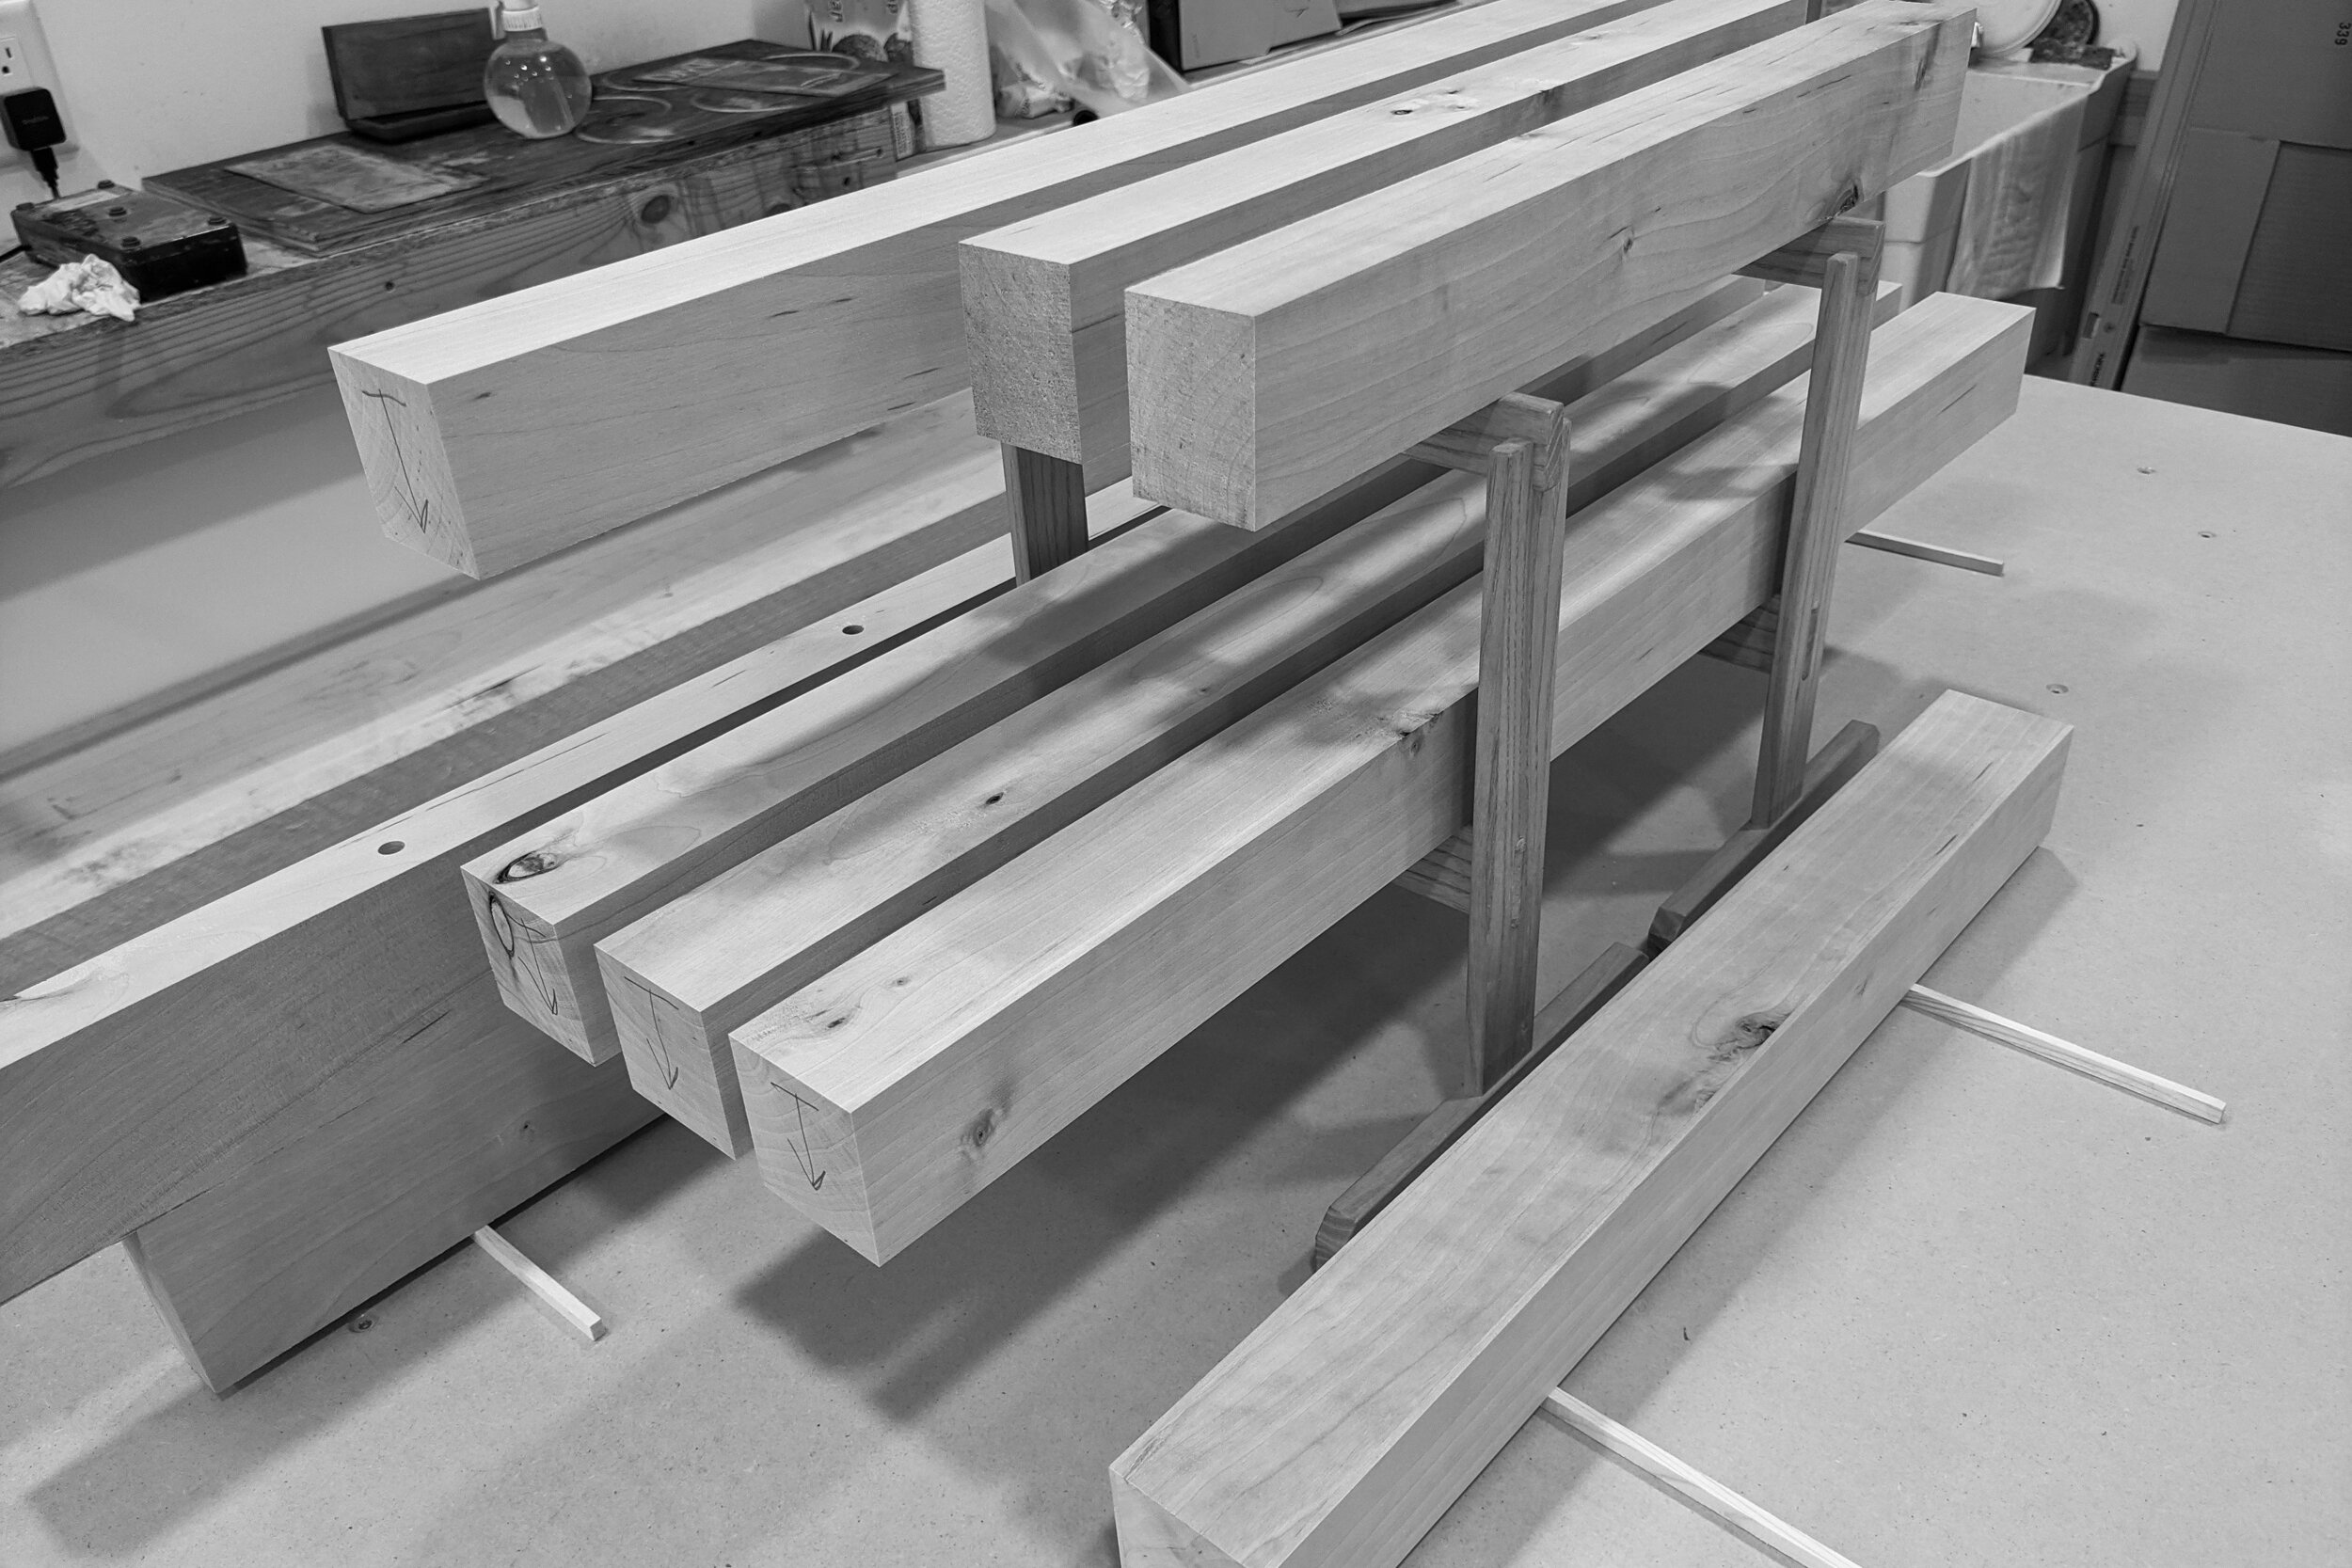
Below are the rough parts pulled from the planks.

Next, I set out to look for grain alignment, knot location, etc. as I rough milled the parts.
Following a couple stages of rough milling, where I let the wood relax and acclimate to my studio, I could now begin measuring moisture content. I don’t like to begin work on a piece until the wood to be used has fully acclimated to the conditions of my studio and the moisture content of the wood has leveled off.

I let the wood settle for about a month before moving on to the next step. Below, you can see the tabletop plank arrangement. With the woodgrain not being exceptionally straight, and the presence of numerous knots of various sizes, I was impressed by how stable the tabletop boards remained throughout the previous month of acclimating in the studio.

After straightening the edges on the jointer, I bored the tabletop boards for dowel pins, followed by hand-jointing the edges for a tight fitting glue joint.

Glue-ups of the top happened in stages.

The fourth tabletop glue-up is in the clamps.

While the tabletop glue-ups were happening, I milled the rest of the stand parts in stages over several days; always stacking them in a way that lets the air circulate around all sides.
Next time I’ll focus on the mortise and tenon joinery for all the stand parts.
Hej då!
Craig