Circle of Glue-ups
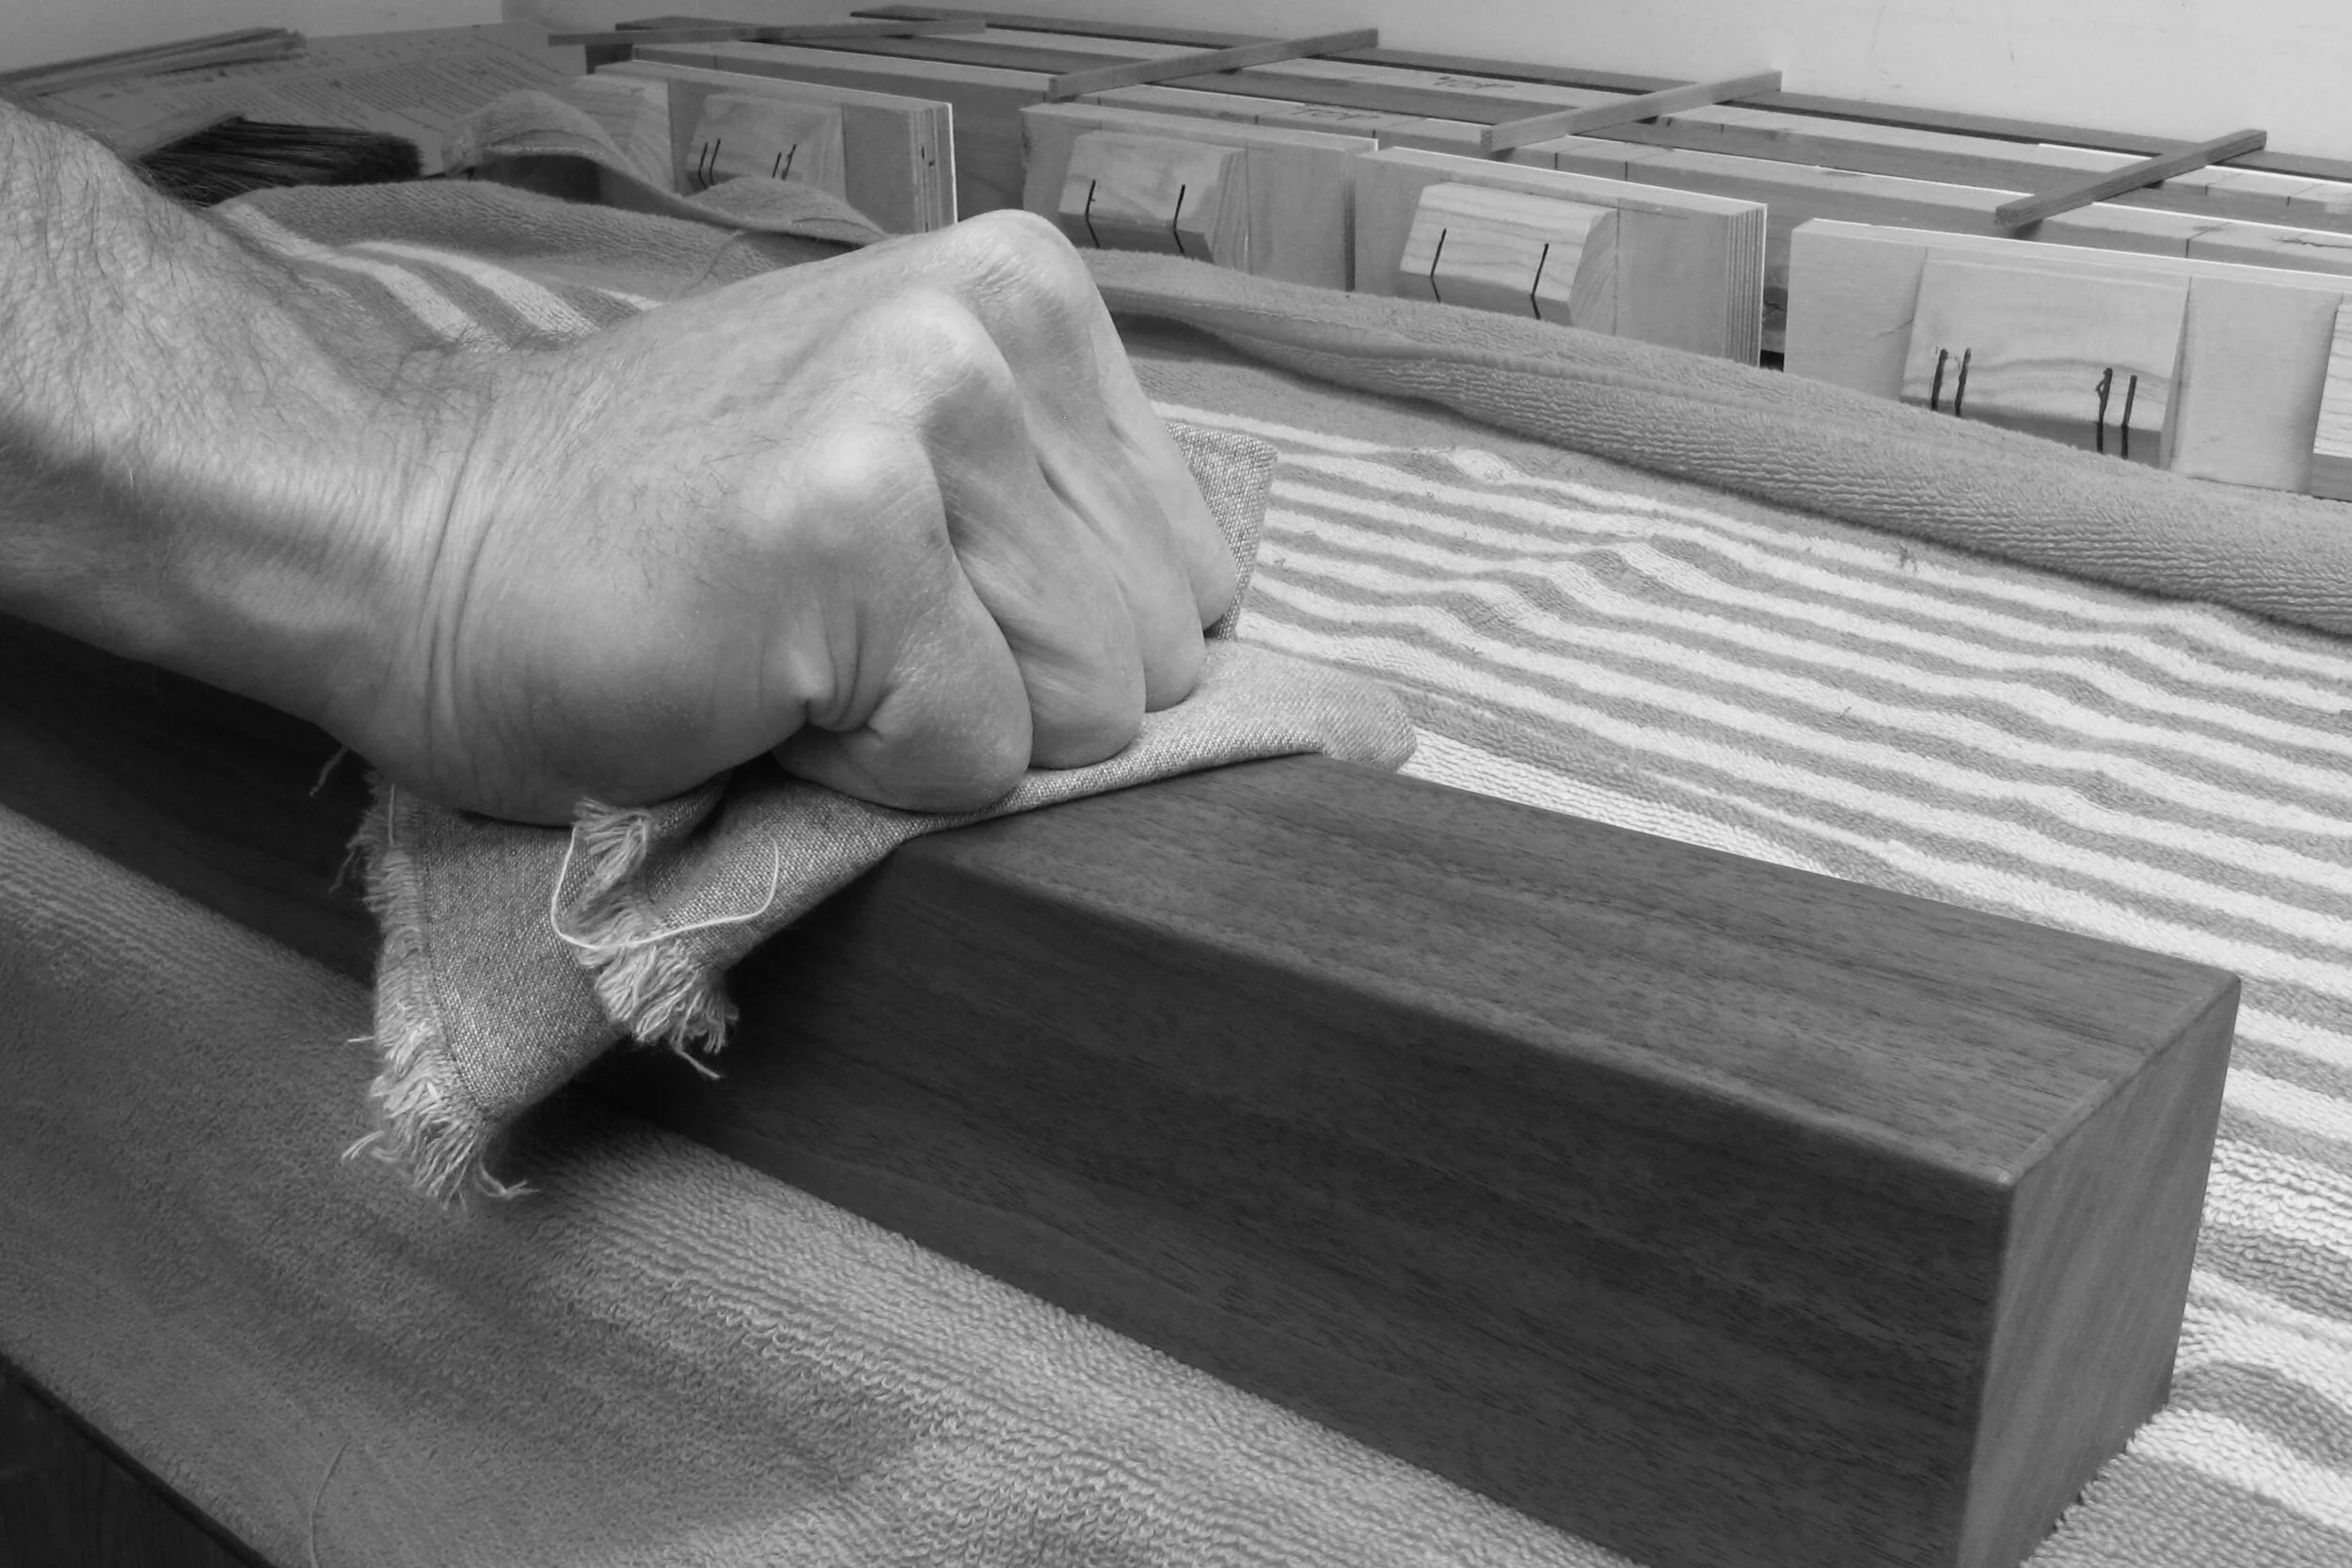
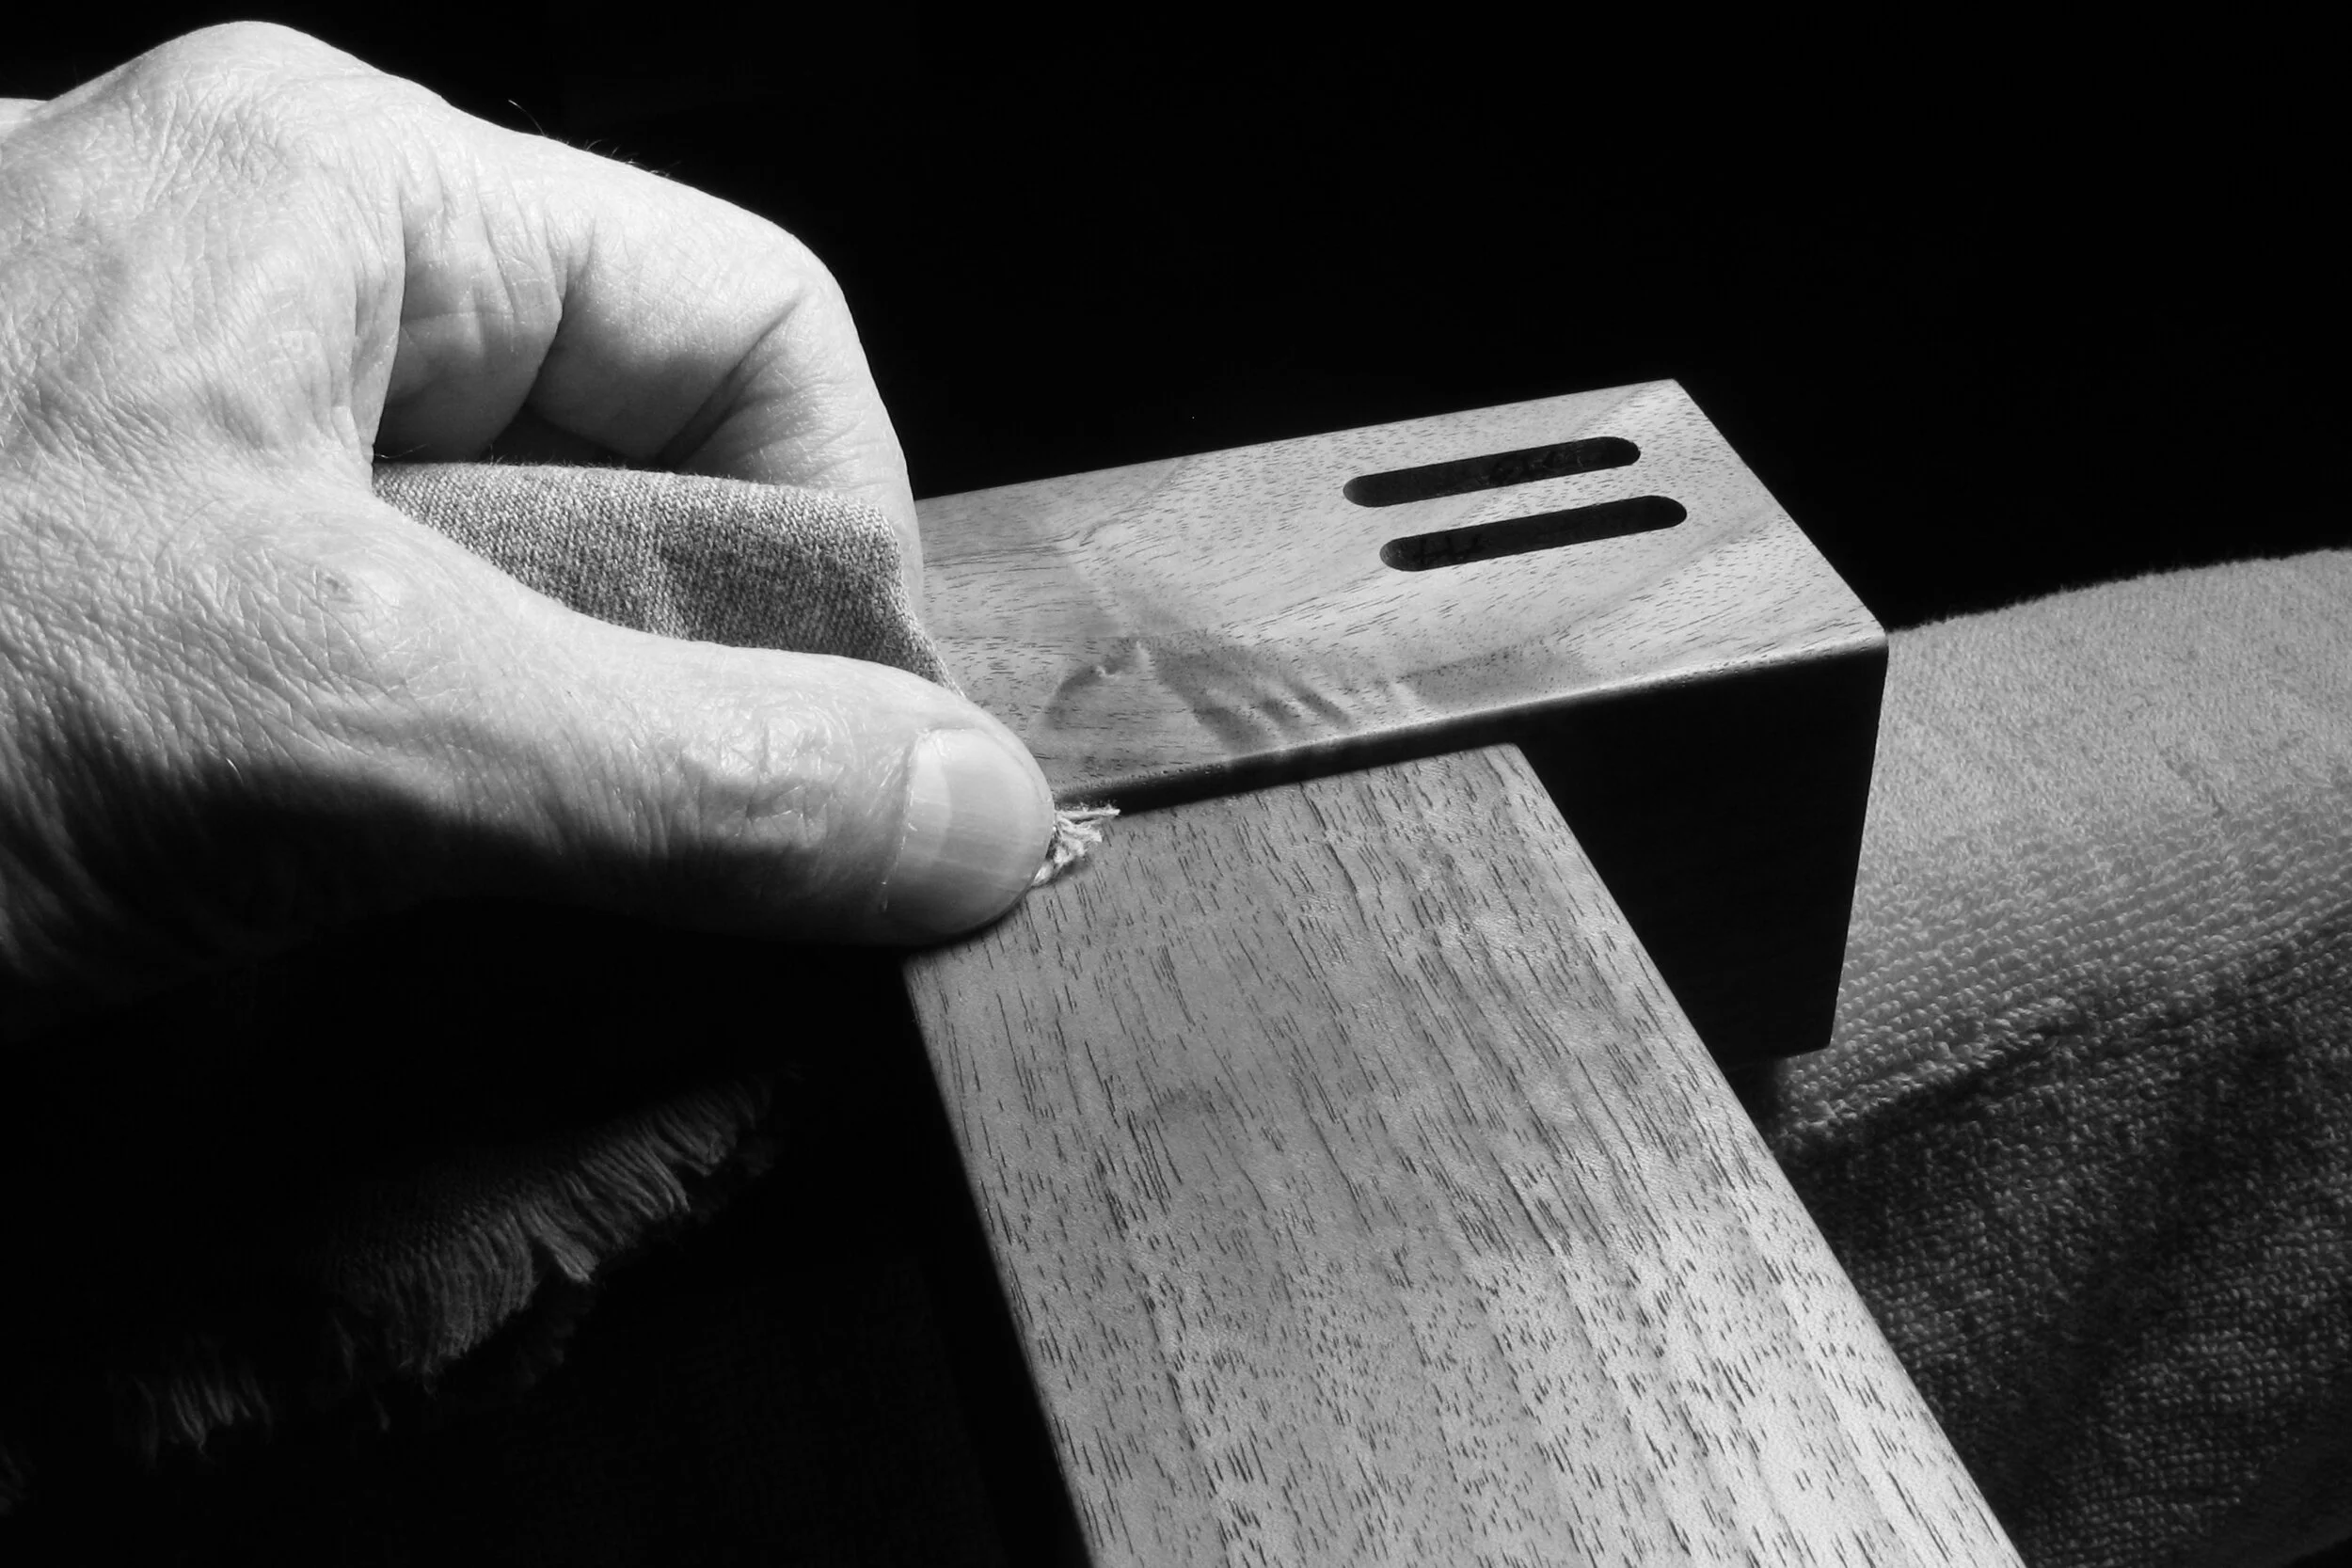
Final surface prep precedes each glue-up. A denim rag comes in handy to buff the bare wood. This is the final step in preparing the wood for the oil finish.
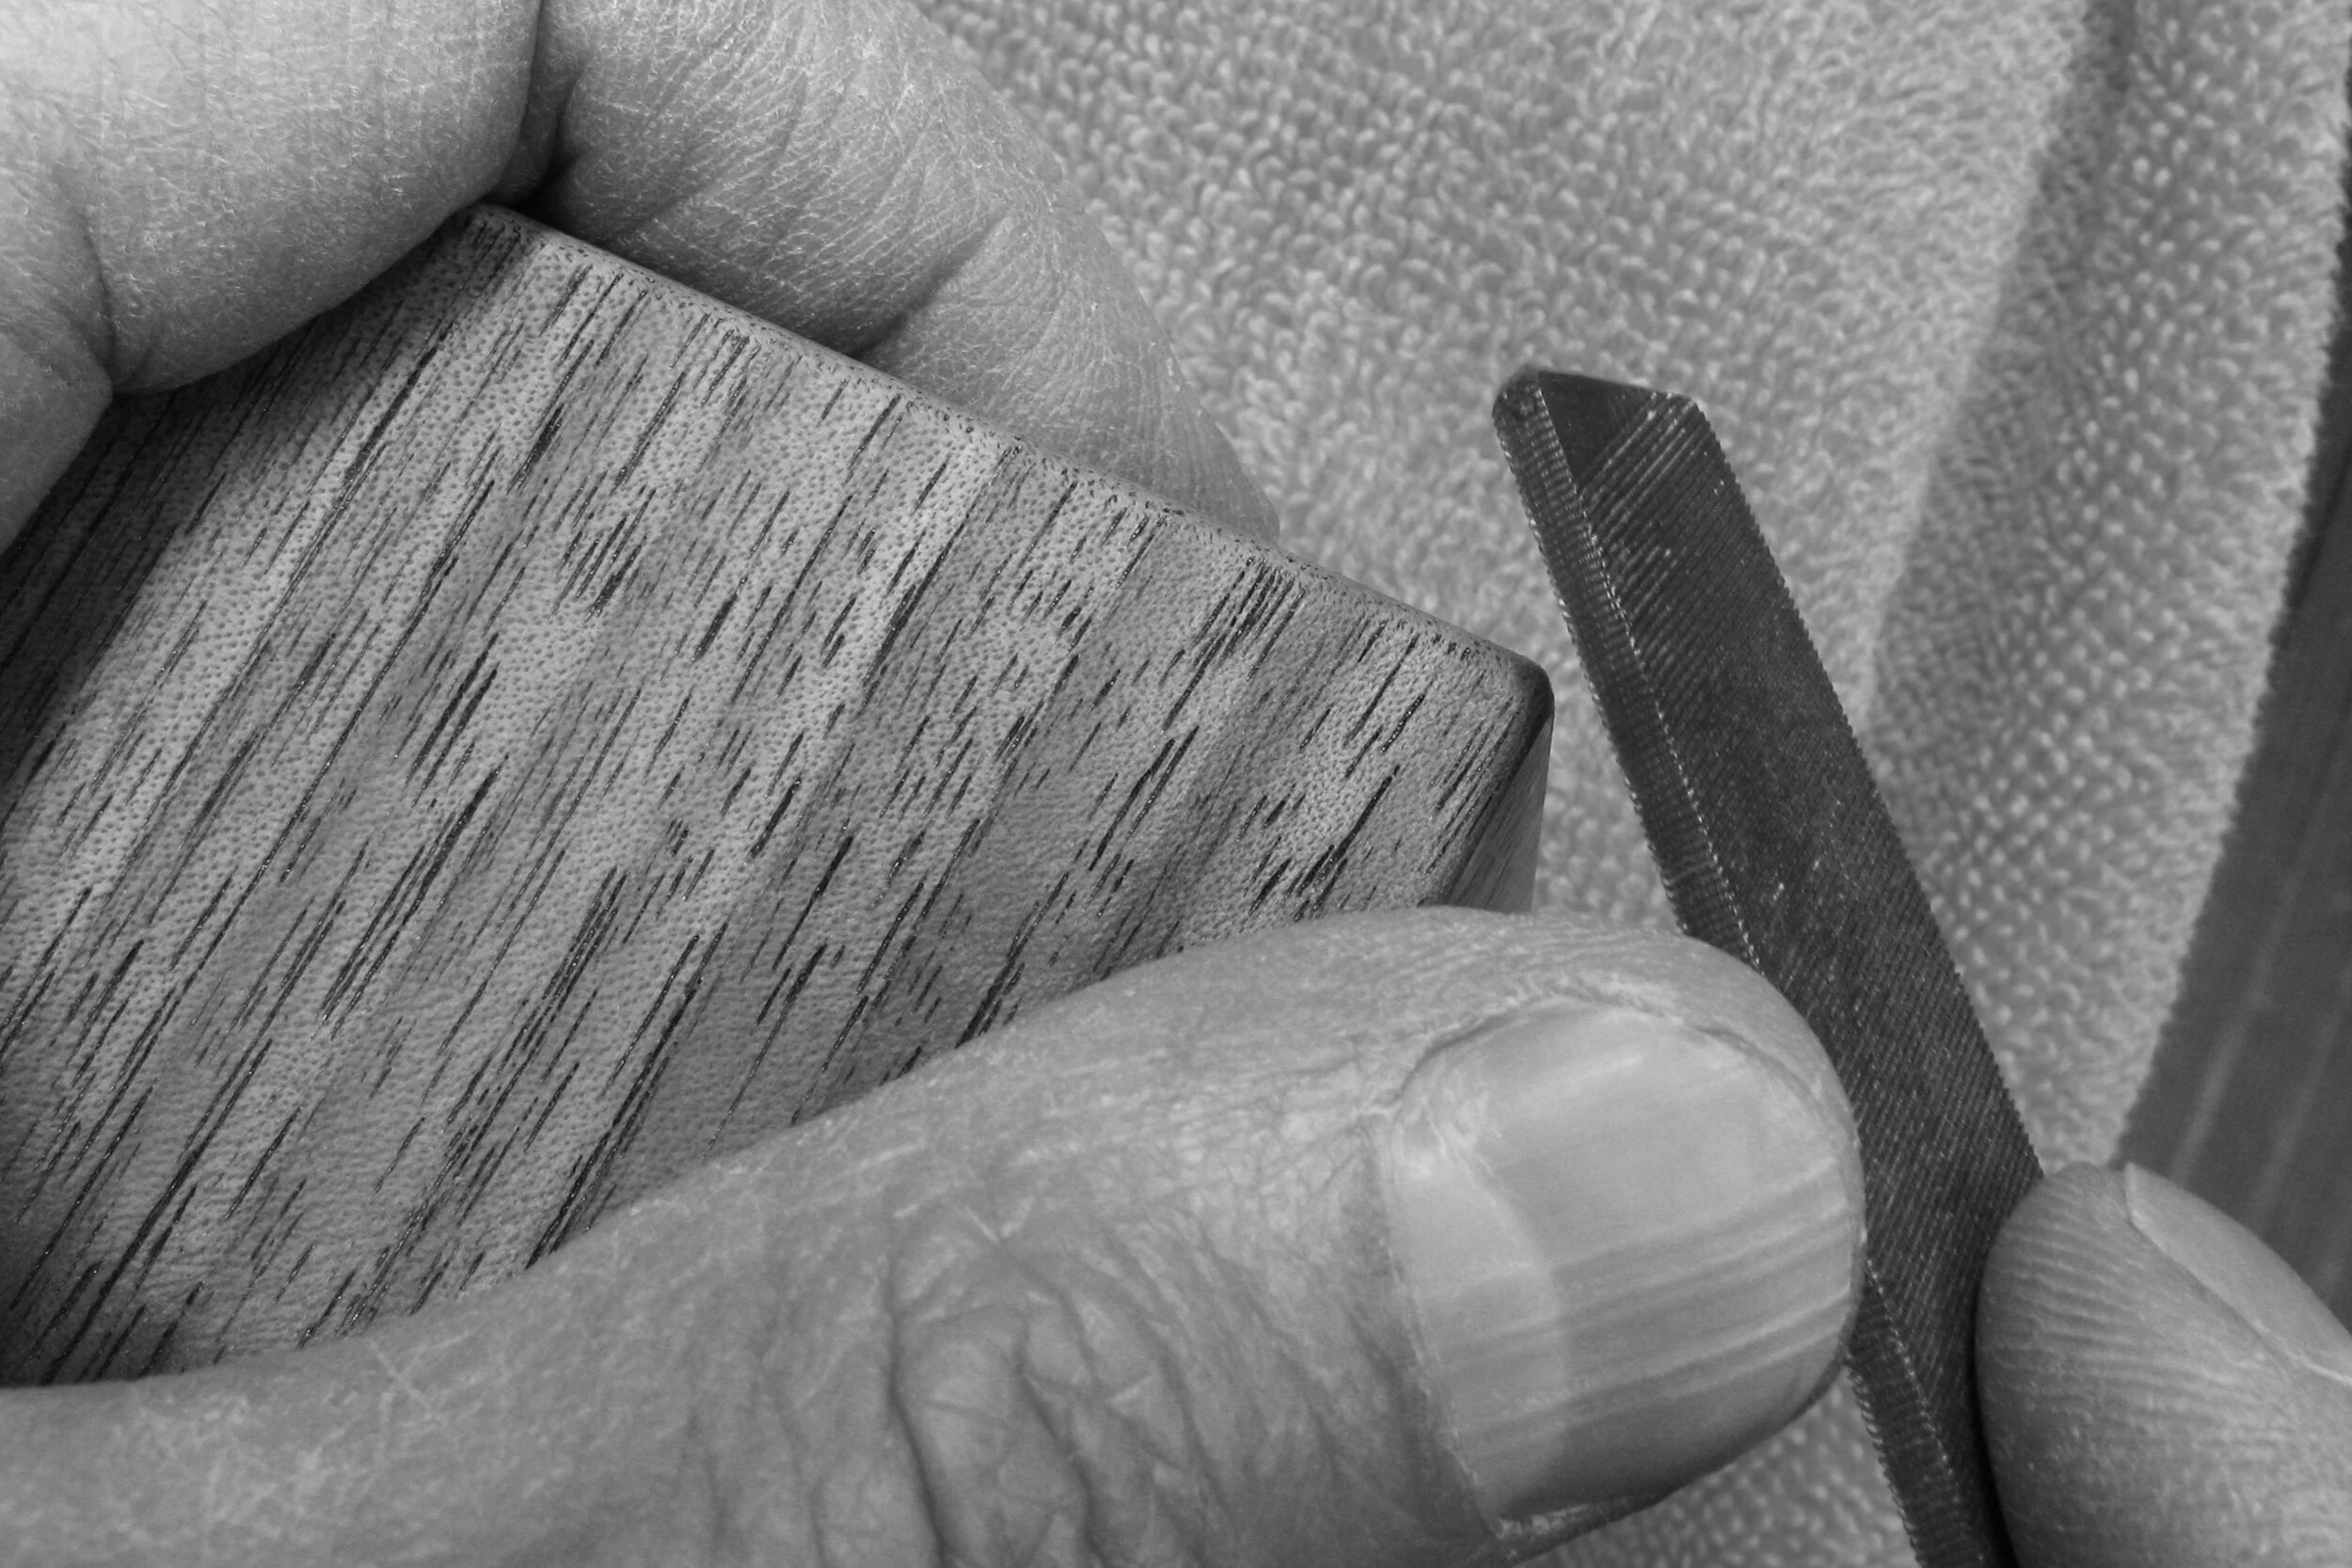
For those who might be interested, the steps I've been using to prepare each of the black walnut parts in this desk stand include: 1) Band sawing the basic shapes, 2) flattening the parts over the jointer, 3) milling the parts to thickness on the surface planer, 4) shaping and surfacing the parts using the band saw for curved parts, then hand planes followed by a card scraper for areas of difficult reversing grain, 5) softening the edges with a block plane or spokeshave, 6) filing outside corners, 7) smoothing with progressive grits of sandpaper, starting with 600, going to 800 and then 1000, and finally, 8) buffing with a denim rag. After going through all these steps, I'm always a bit nervous about damage, so I cover each part with stretch wrap to the greatest extent possible in advance of the glue-ups.
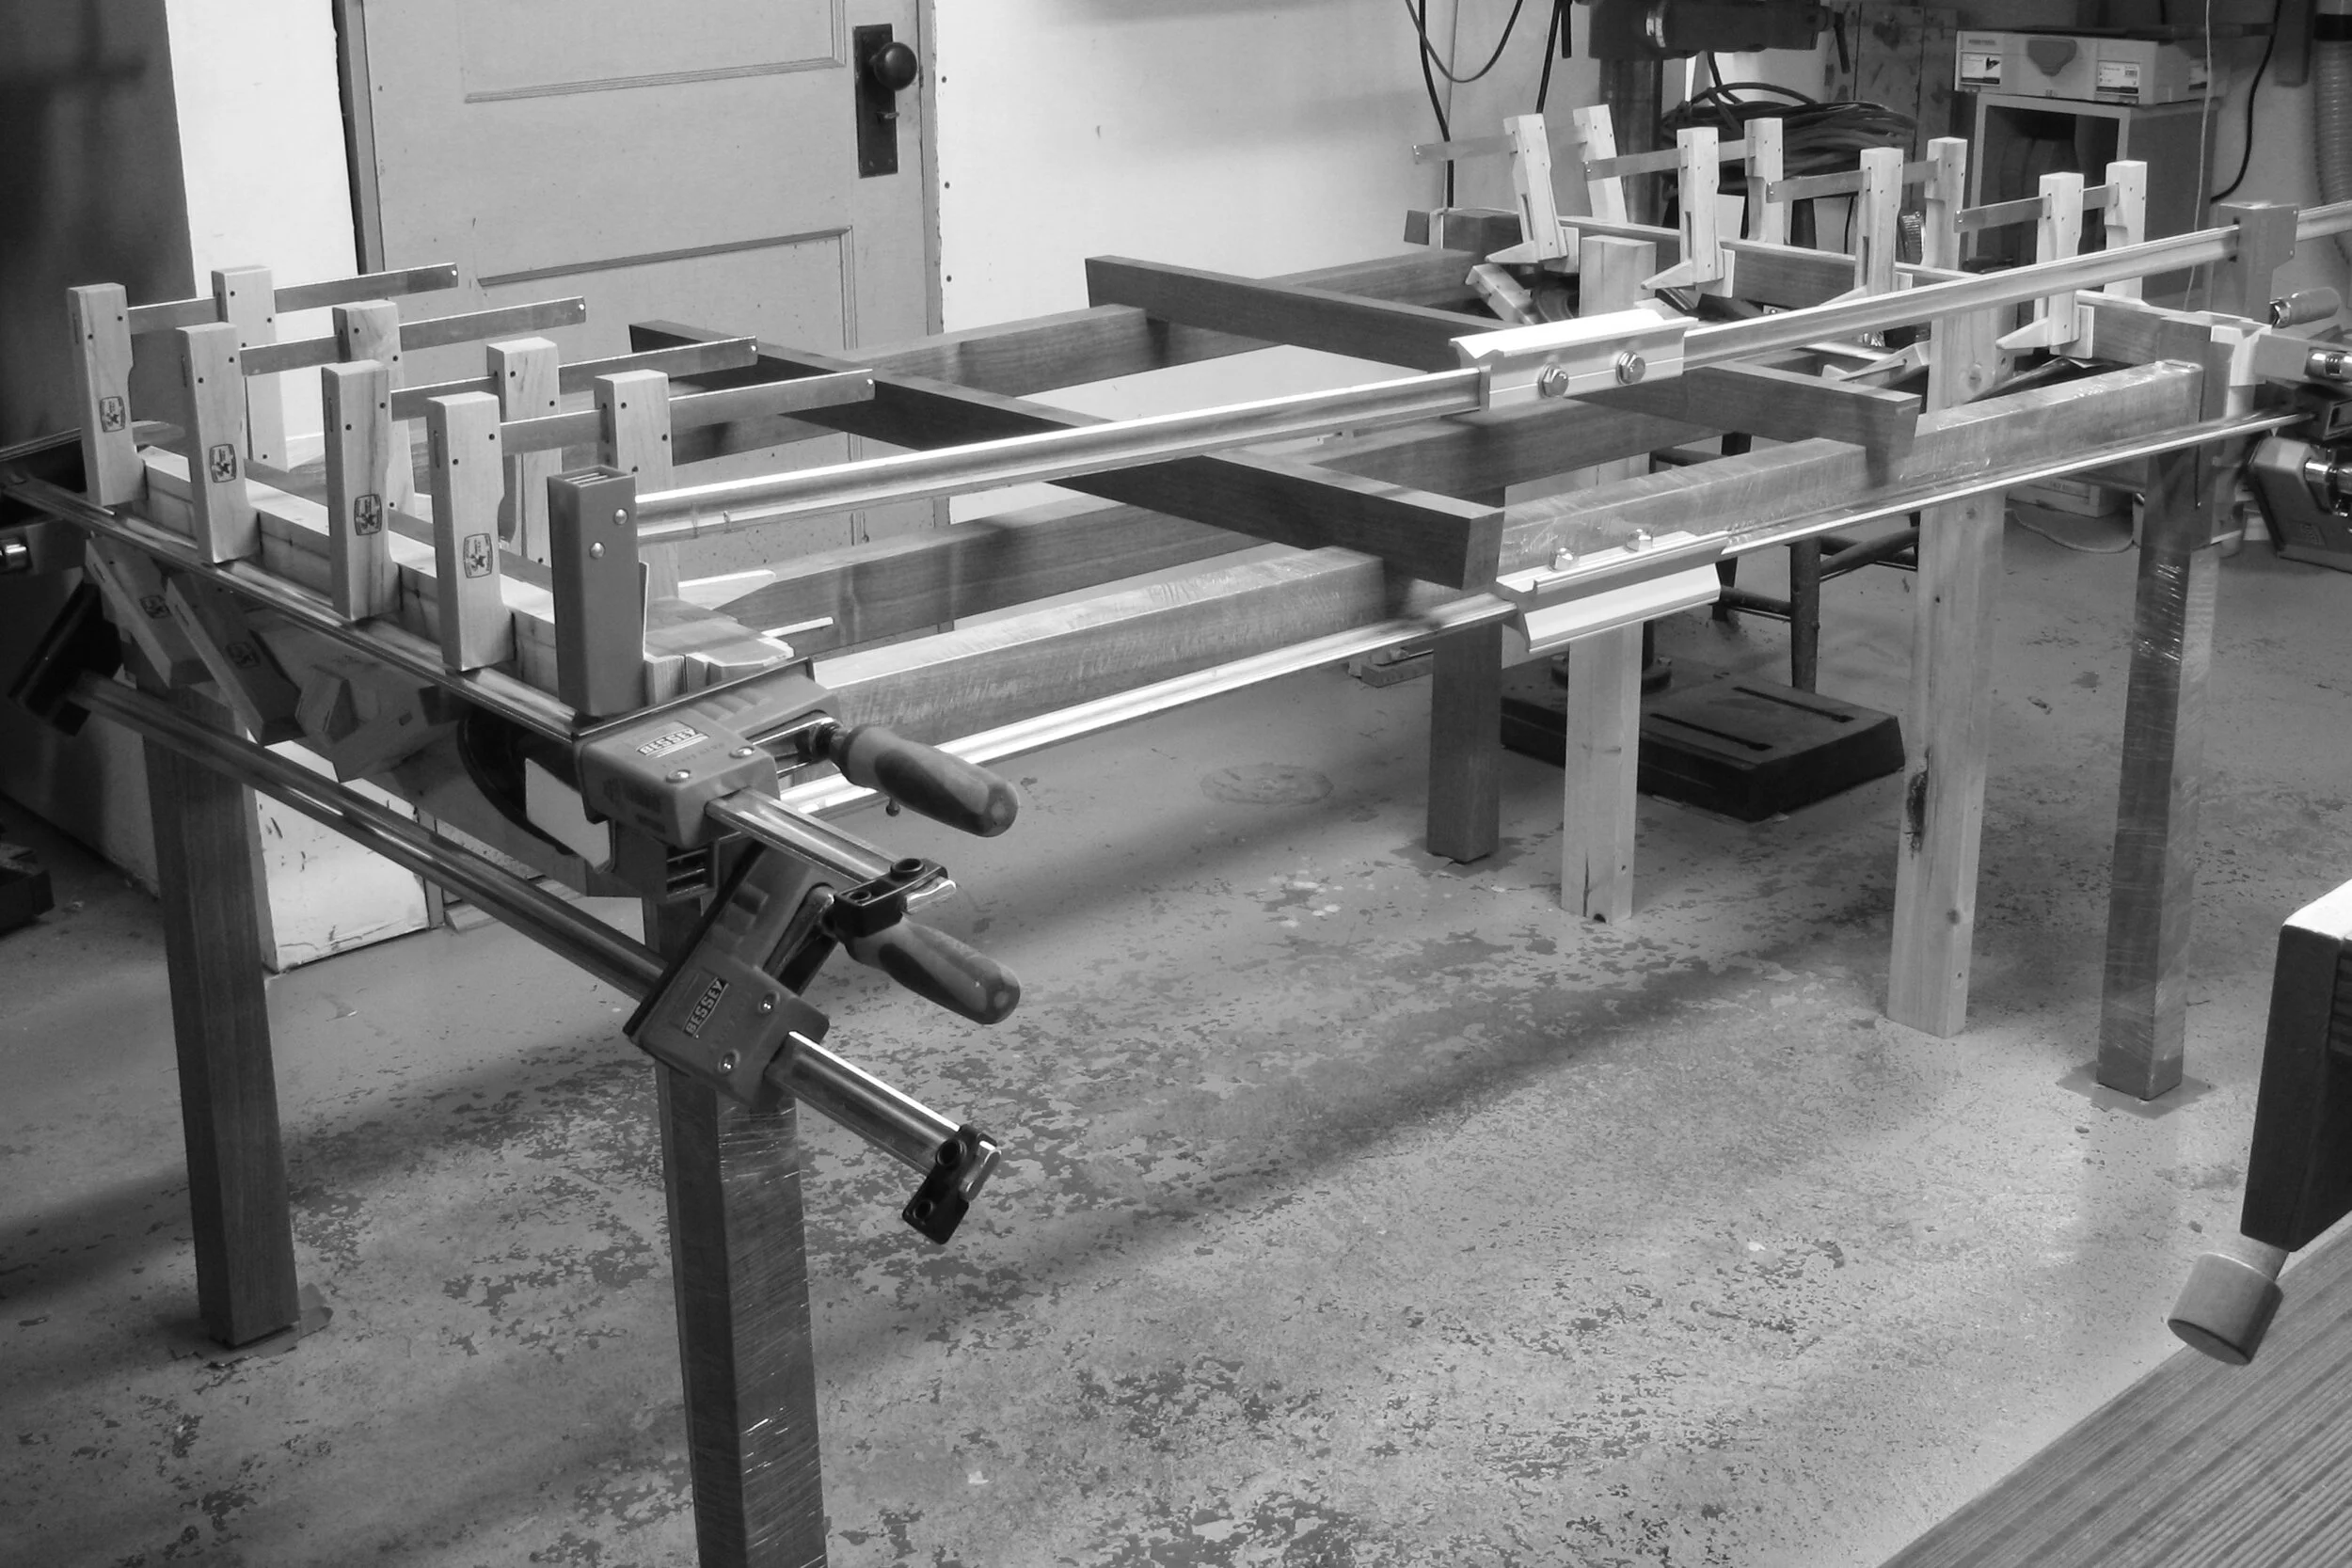
Below is the glue-up of one long side beam to two legs. To keep everything straight and square, it's necessary to clamp up the entire stand.
It helps to have an expert glue-up buddy around the studio. When the clamps are over 5' long it's tough to go it alone. My wife, Carol, is a great help!
Now for the next set of legs. Here I have a go at rounding the bottom corners of a leg with the file.
Carol!!! It's time for another glue-up! Are you ready for a handweaving break?
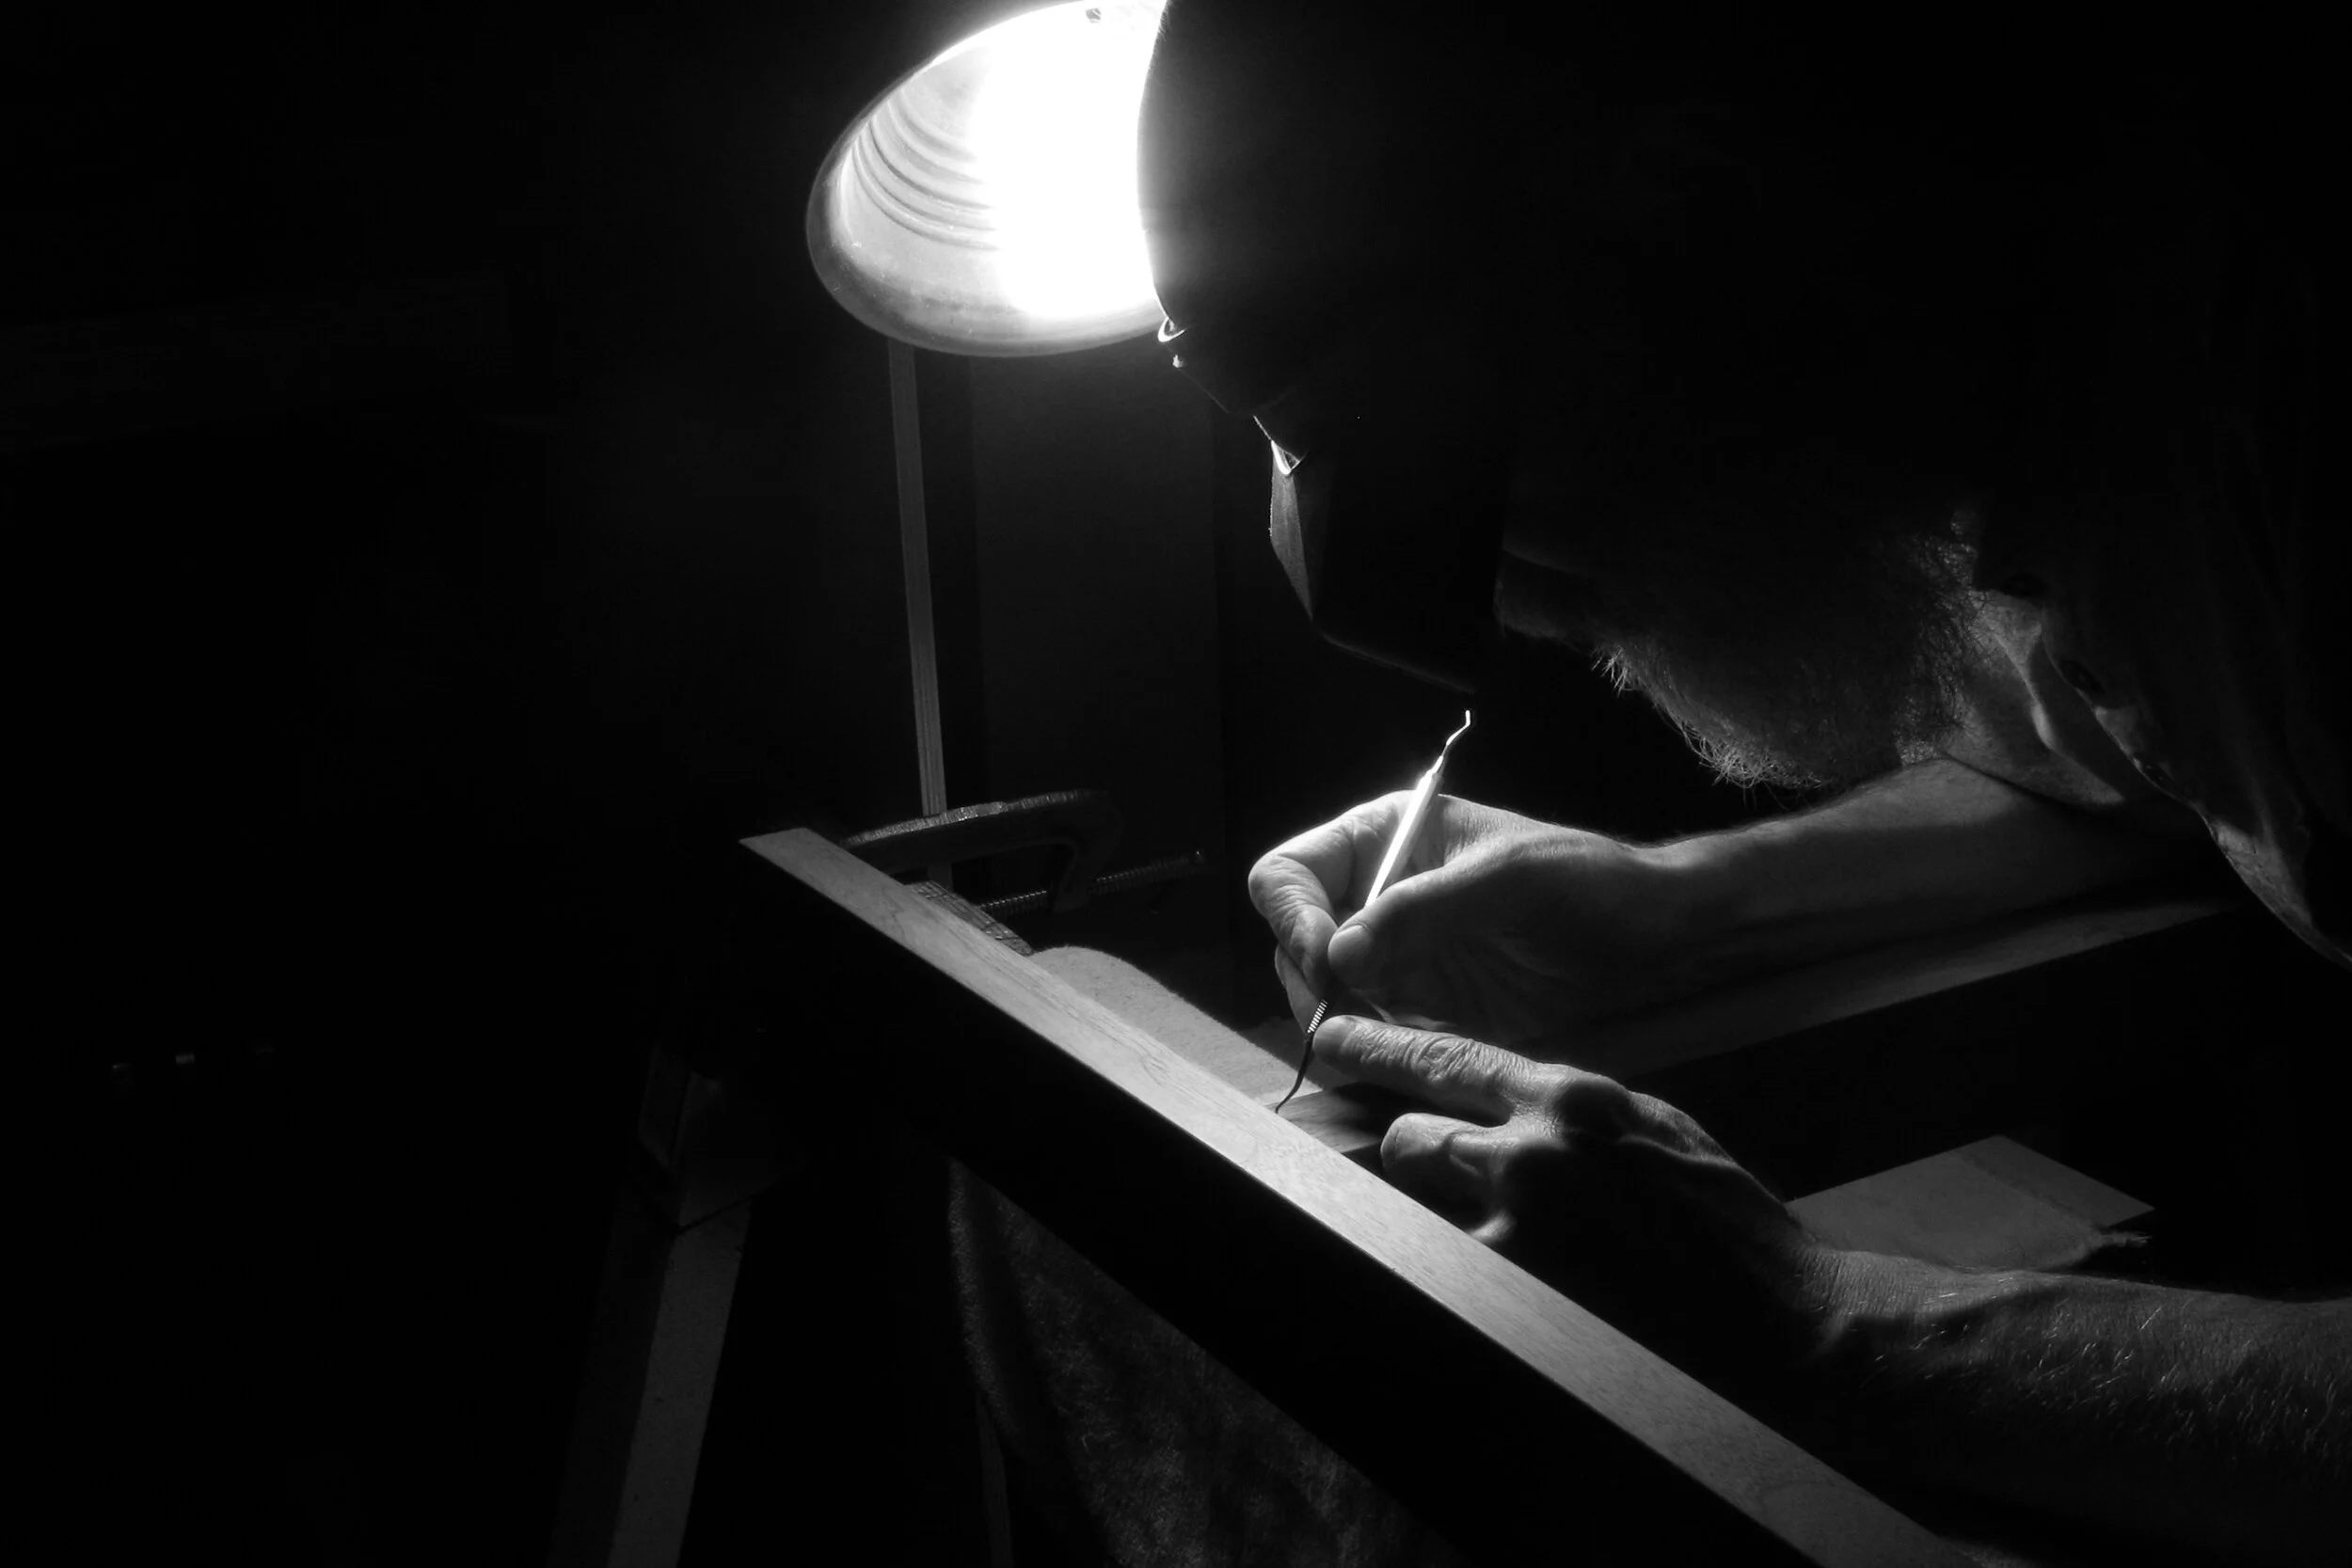
Of course, with any of my glue-ups, I seem to have an abundance of glue squeeze-out. This calls for good timing, my Optivisor and a handy dental pick. The trick is to mask and pre-wax the surfaces where the glue may squeeze out, and to remove the glue when it has set up to a solid, but flexible form. Earlier than that and it just gets smeared into the pores. Later than that, depending on the type of glue being used, it may be too brittle or hard to remove easily without risking damage to the surrounding wood surfaces.
I just finished cleaning up the surfaces around this side beam to leg joint.
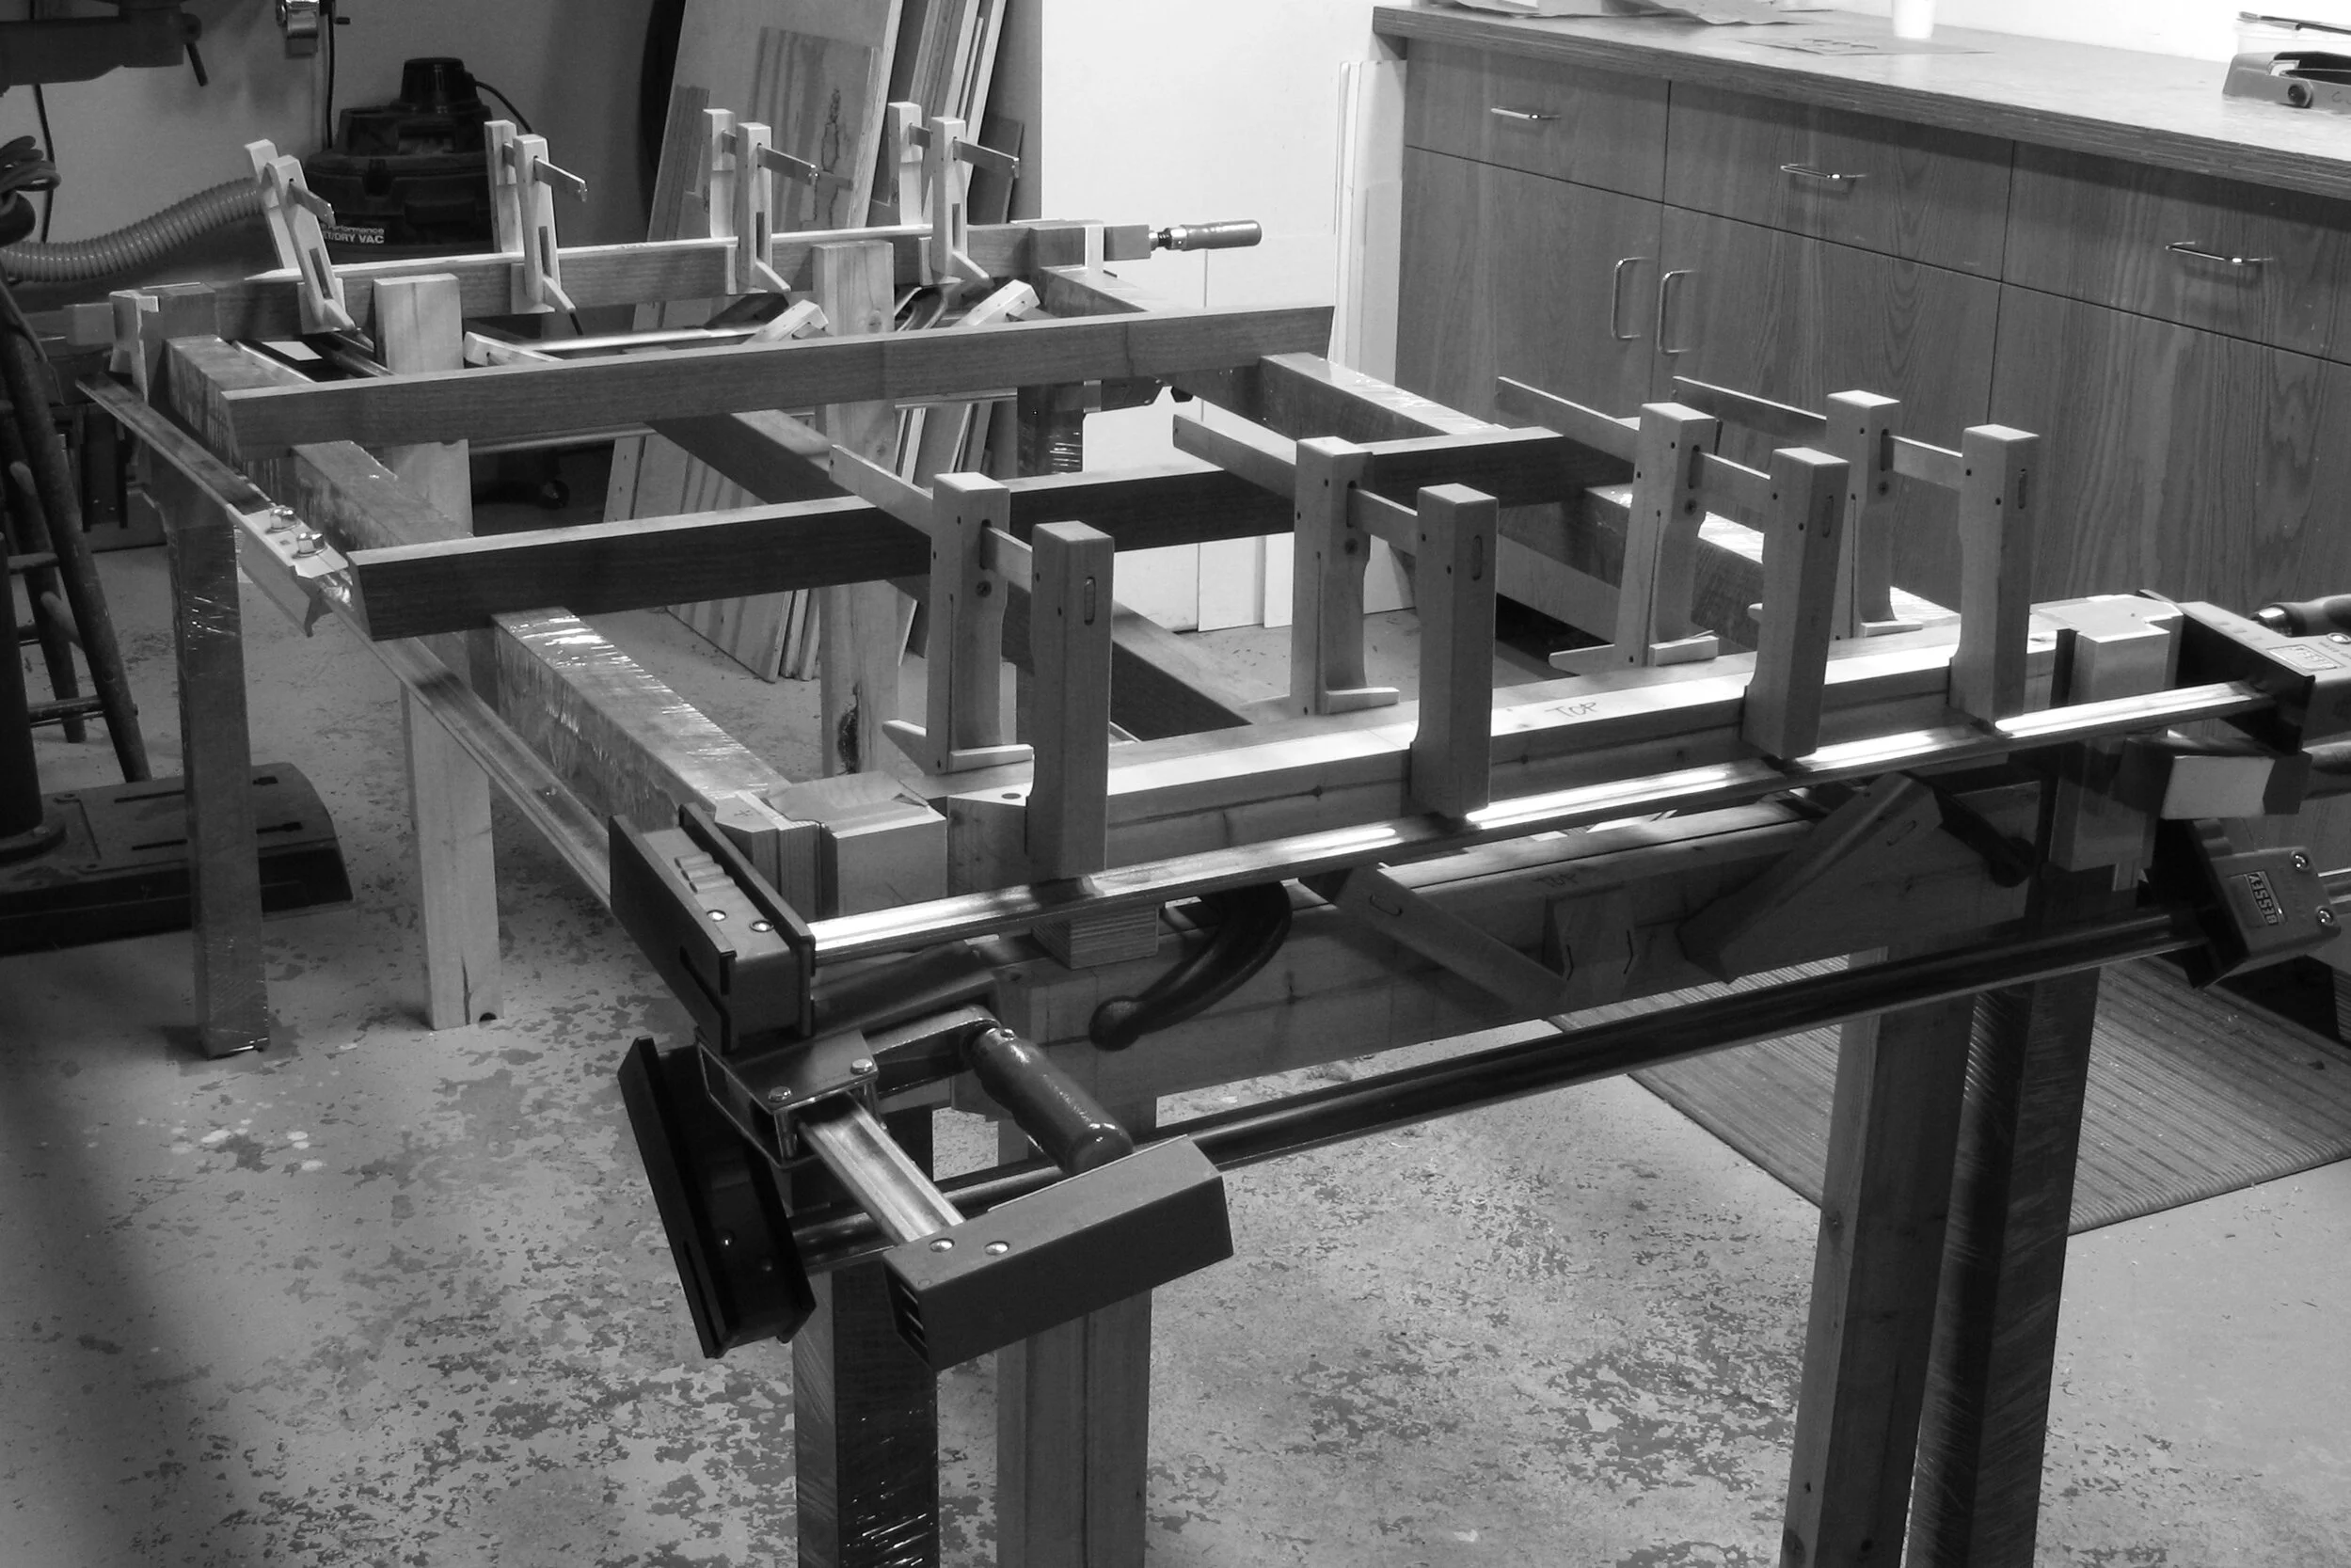
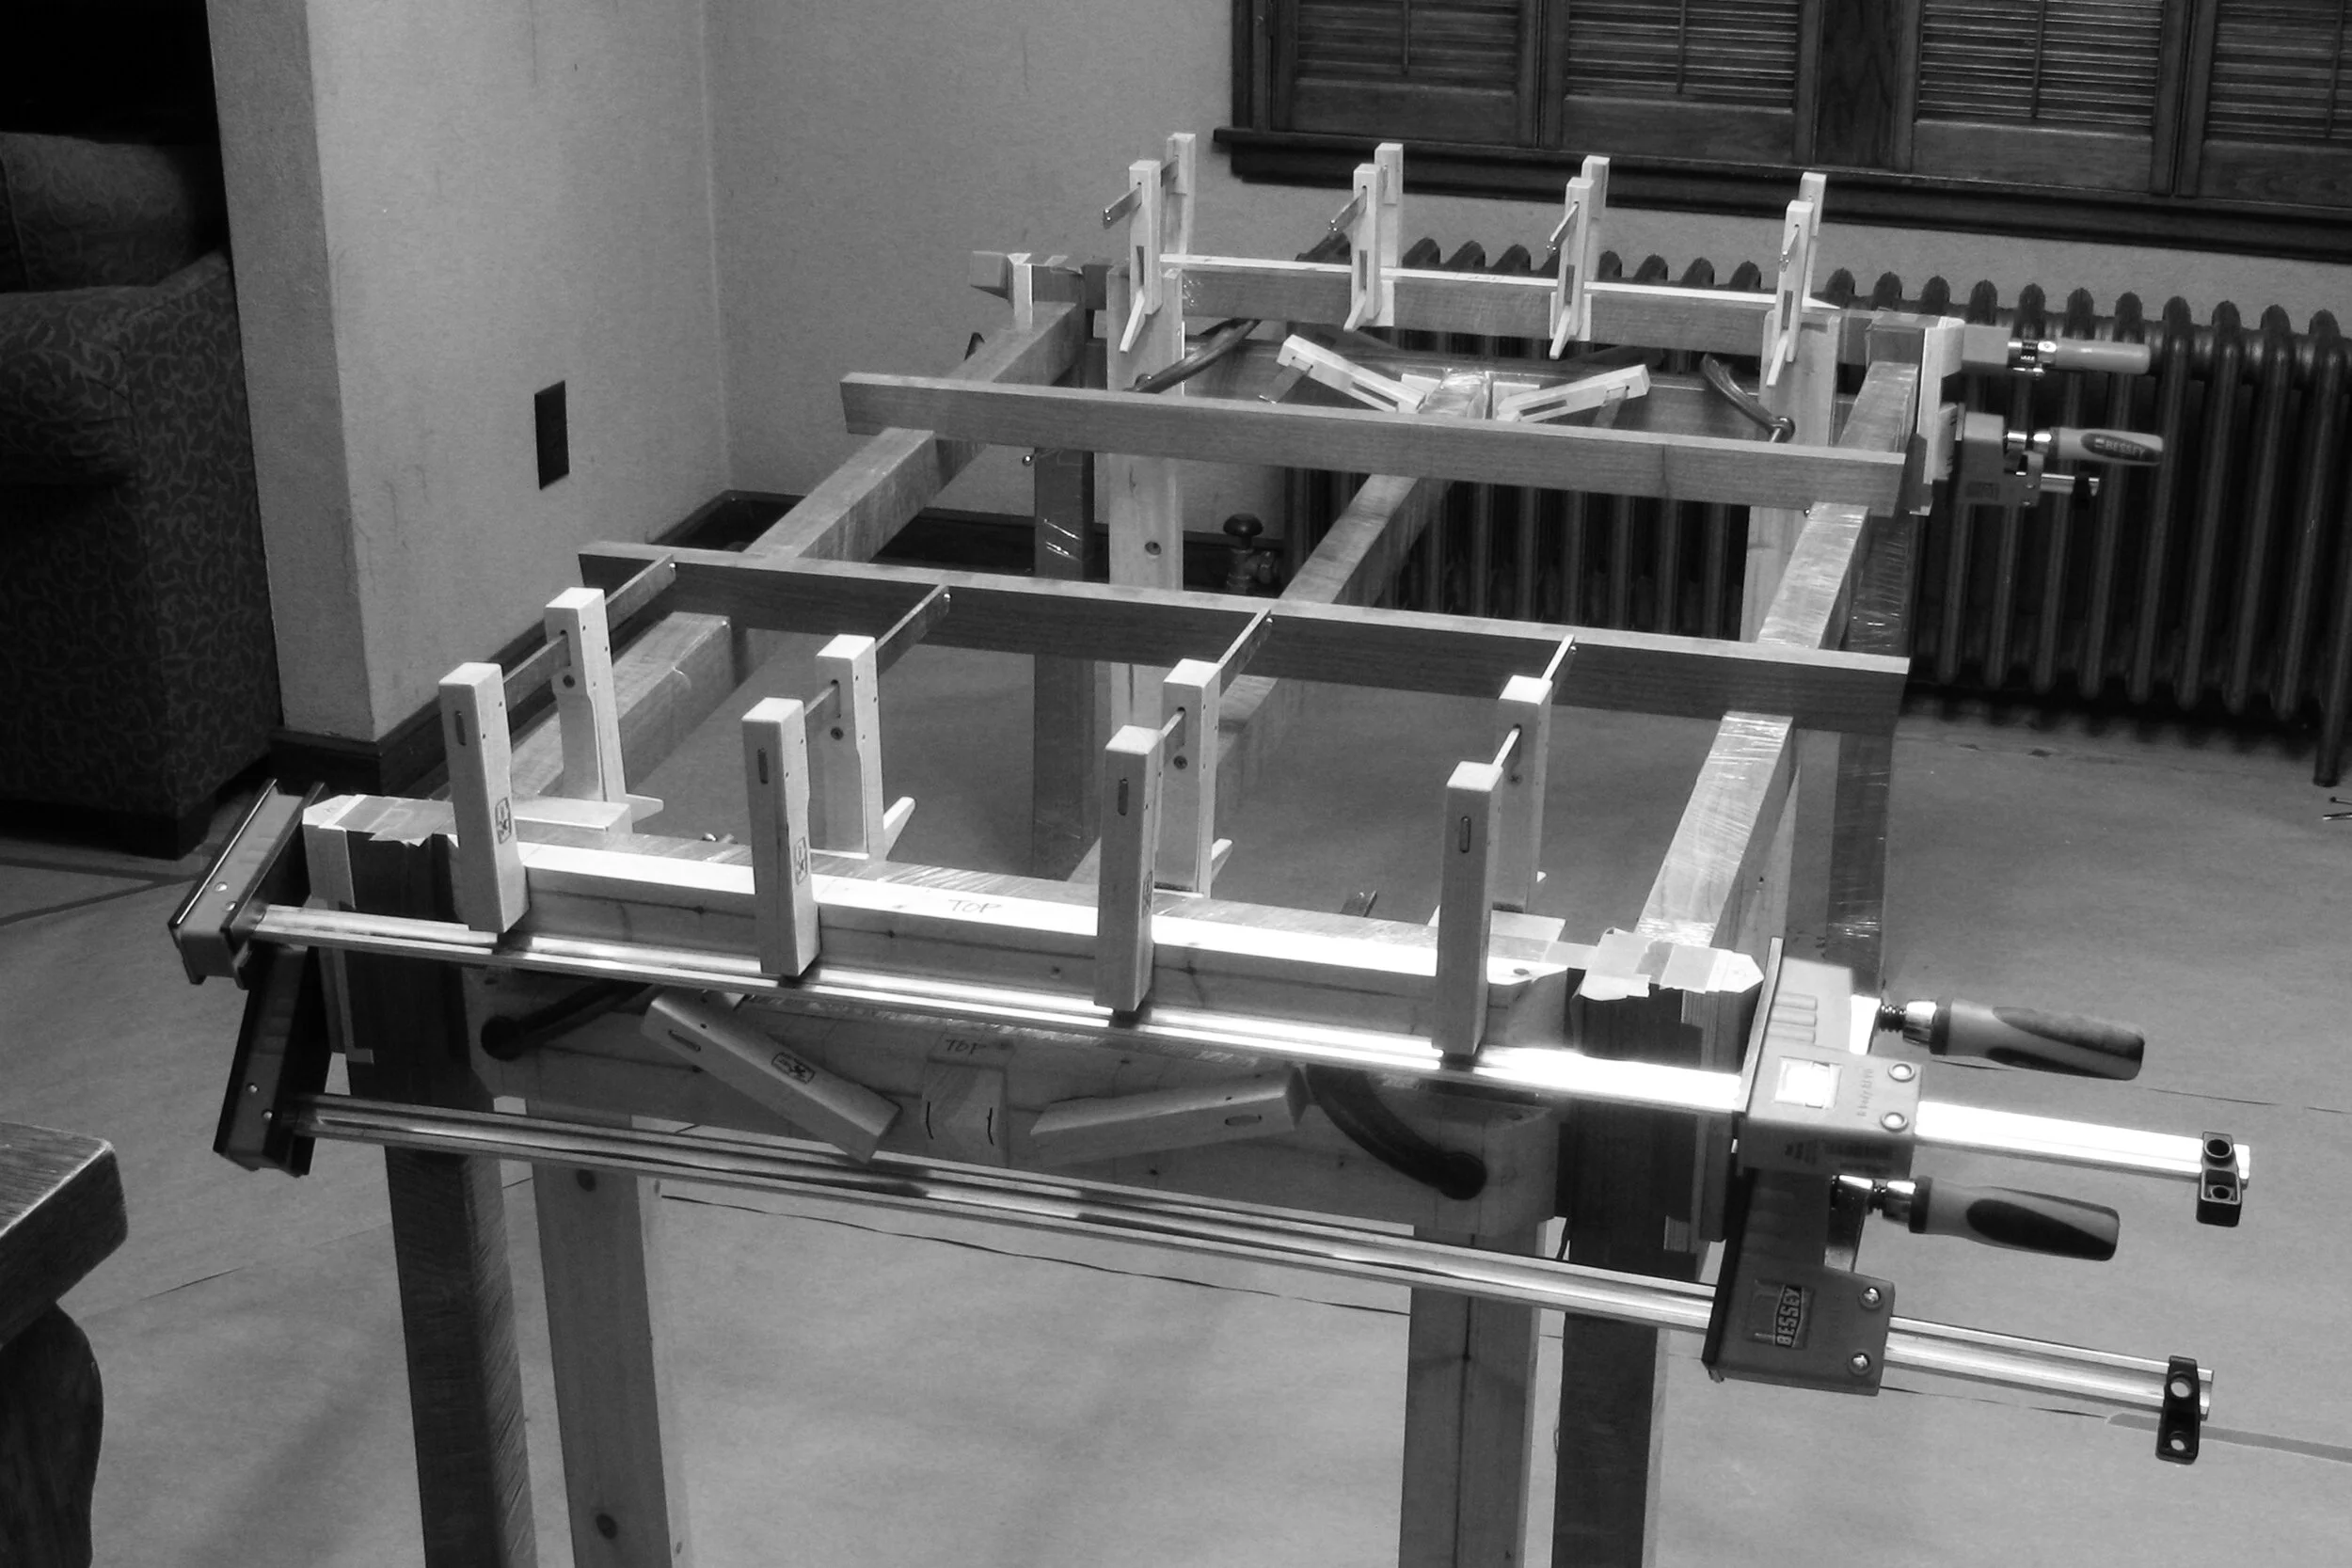
Another glue-up. I'm doing basically one glue-up per day this week. This time its the lower end stretchers being glued to the legs on one side. You may have noticed the new venue. Well, the stairway to my studio downstairs is a bit narrow and this desk is just an inch or two too big to fit through. From here in the dining room I can easily move it out the front door and into the van for delivery. Besides, when you normally eat at the kitchen table, who needs a dining room anyway? Might as well put it to good use, eh?
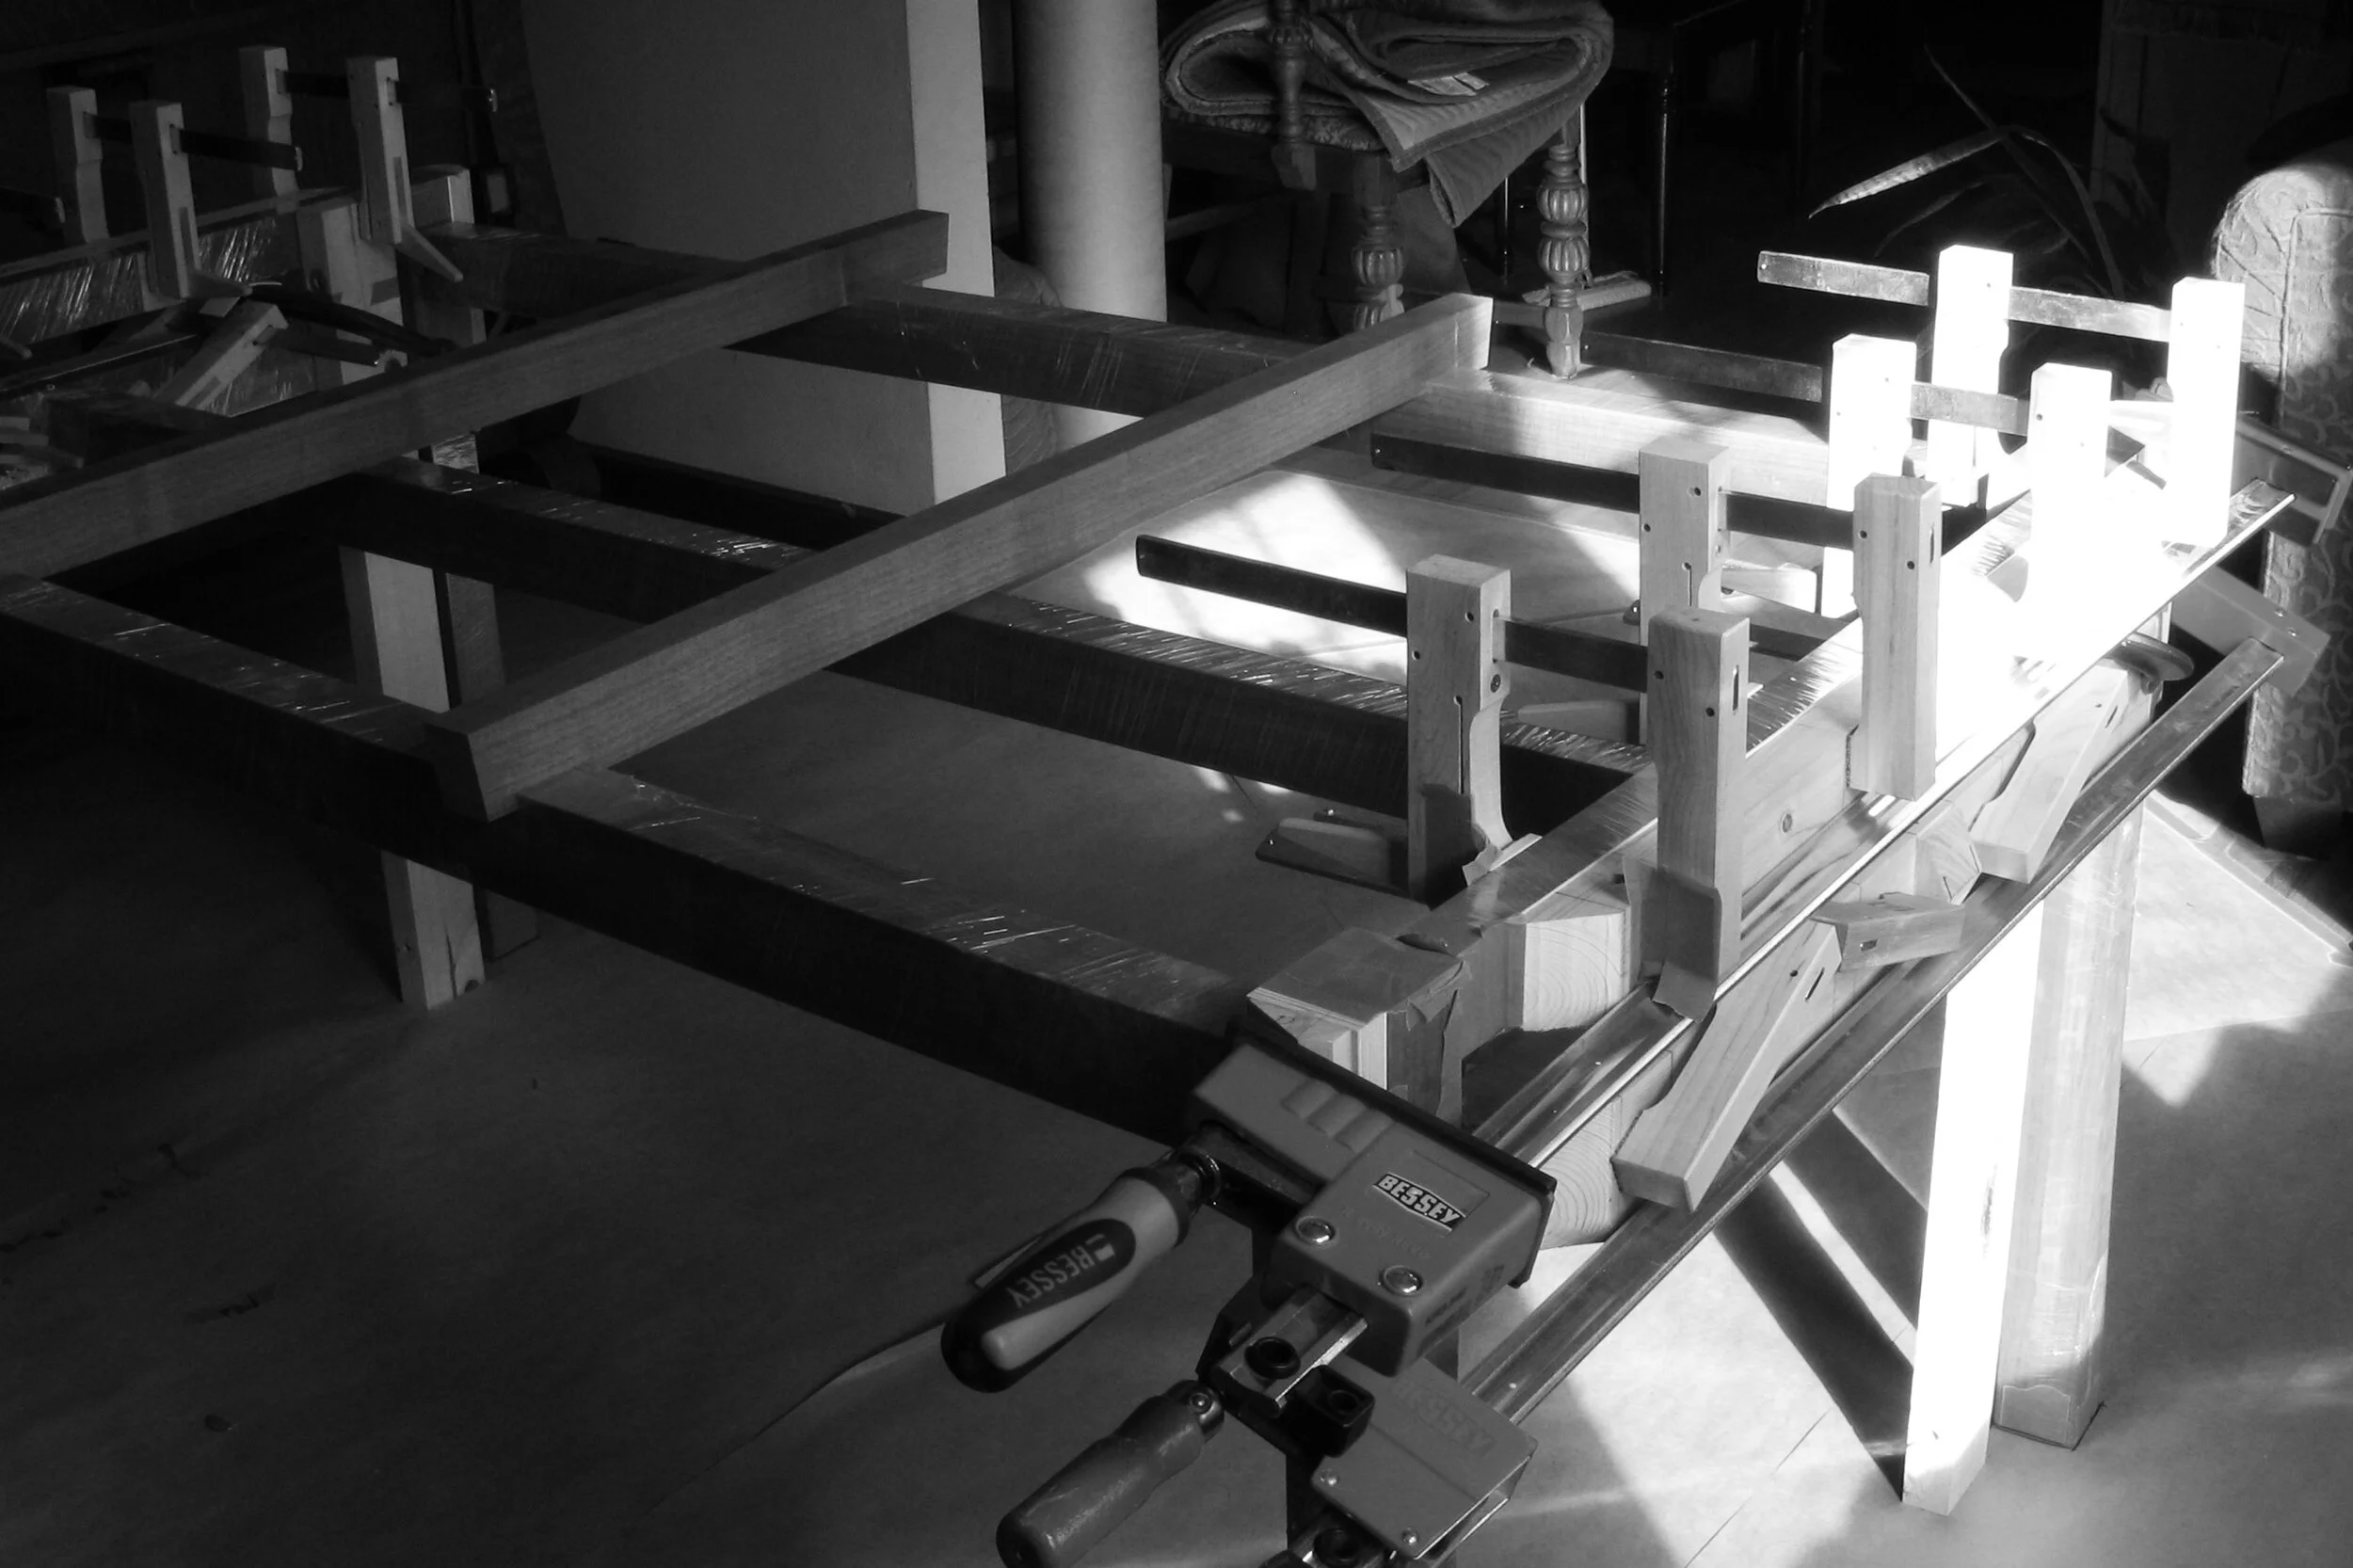
And what's the deal with all those clamps? Well, the smaller clamps that don't really look like they're doing anything are helping me keep the curved end stretchers straight during the glue-up. I cut a piece of solid wood blocking that I then clamped to the side of each stretcher to add rigidity.
Now the upper stretchers are glued into the same first set of legs. I may have to move my studio permanently to the dining room, there's a lot more sunshine up here! I love it!
Contemplating the next glue-up has me thinking hard about the best way to go about it. Let's see. I've got 8 floating tenons. Going into 16 mortises. All at once. Yikes! Glue-up buddy... where are you!!!
Hej då!
Craig

