Mortises, Pins and Latches
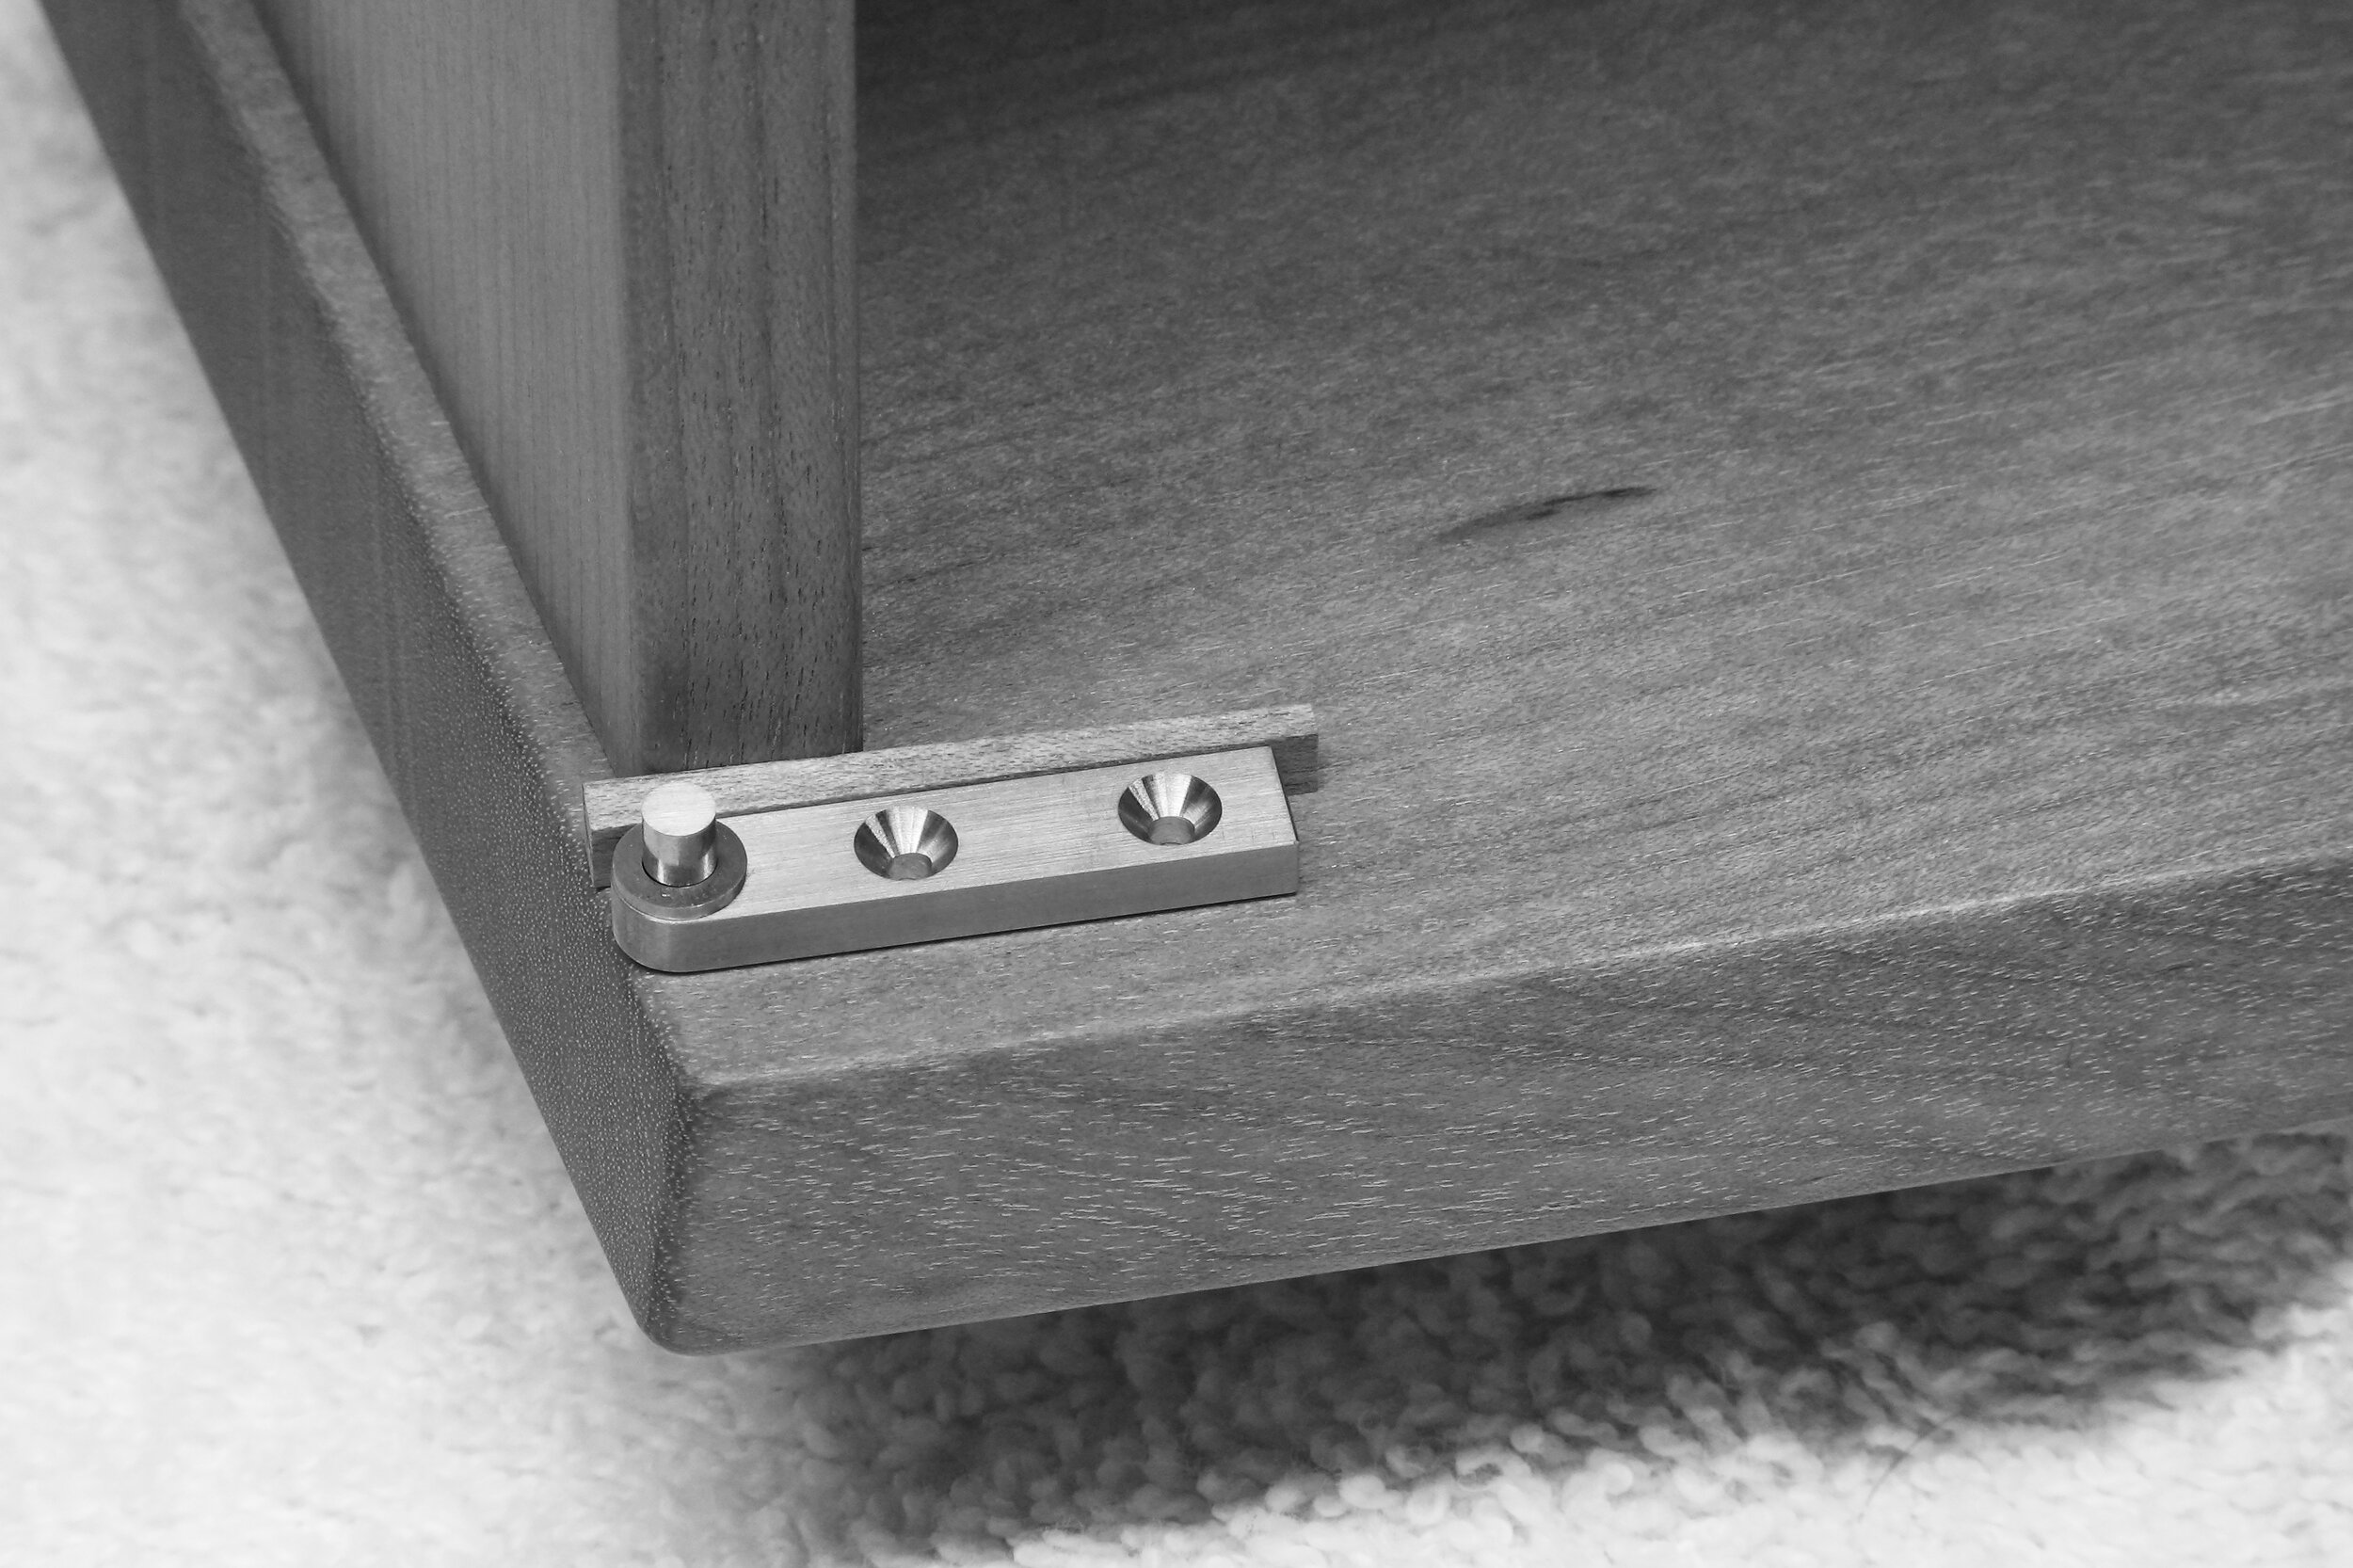
Curved, tapered doors make positioning the hinge mortises interesting. I must be careful to ensure the hinge mortises are parallel to the front face of the door. The hinge is positioned using a wedge between the beveled edge of the cabinet side and the hinge.
The perimeter of the hinge is scribed with a knife and highlighted with a pencil line.
I cut the mortise depth with a router and then cleaned up the remaining perimeter of the mortise with chisels and a plane iron. These hinges are less than 1/4" wide, so there isn't much room for error when carefully paring the edges.
Here, after softening the edges, one of the four hinges is set into its mortise for a final test fit.
To help preserve the hinges and to ensure a good fit of the doors for many, many years of use, leveling pins are set into the cabinet bottom to support the doors in their closed positions. The pins also counteract the slight downward pressure of the latches shown below.
I've chosen jatoba wood, which contrasts nicely with the yellow birch. Final sizing of the pins will be done when the door fitting begins.
Just a bit of friction is needed to hold each door in the closed position. A couple of simple wooden latches will do the job nicely. The gentle sound of wood-on-wood as the door closes against the latch gives a comforting feel, and a pleasant sound, as well. Most of the waste material is removed from the mortise with the router, prior to cleaning it up with chisels.
After starting with these small mortises, each about 3/16" by 1" in size, I then carved the friction latches from jatoba wood to fit into the mortises.
The spring provides the needed pressure and it is all held in place with a tiny brass screw. The contact point for the door will be shaped onto the latch when it comes time for door fitting.
Hej då!
Craig


