New Studio Set-up

Oh how time flies! We’ve been so busy being busy that I’ve neglected the blog. In 2016, we spent most of the year fixing up our house and studios in preparation to sell. In 2017, we build a new home and studios.
At the beginning of this year, we had just moved into our new home. Our in-home studios were bare. We had hoped to get them set up to the point where we could begin our work, but alas, our spring and summer focus tended to be on erosion control of the landscape instead!
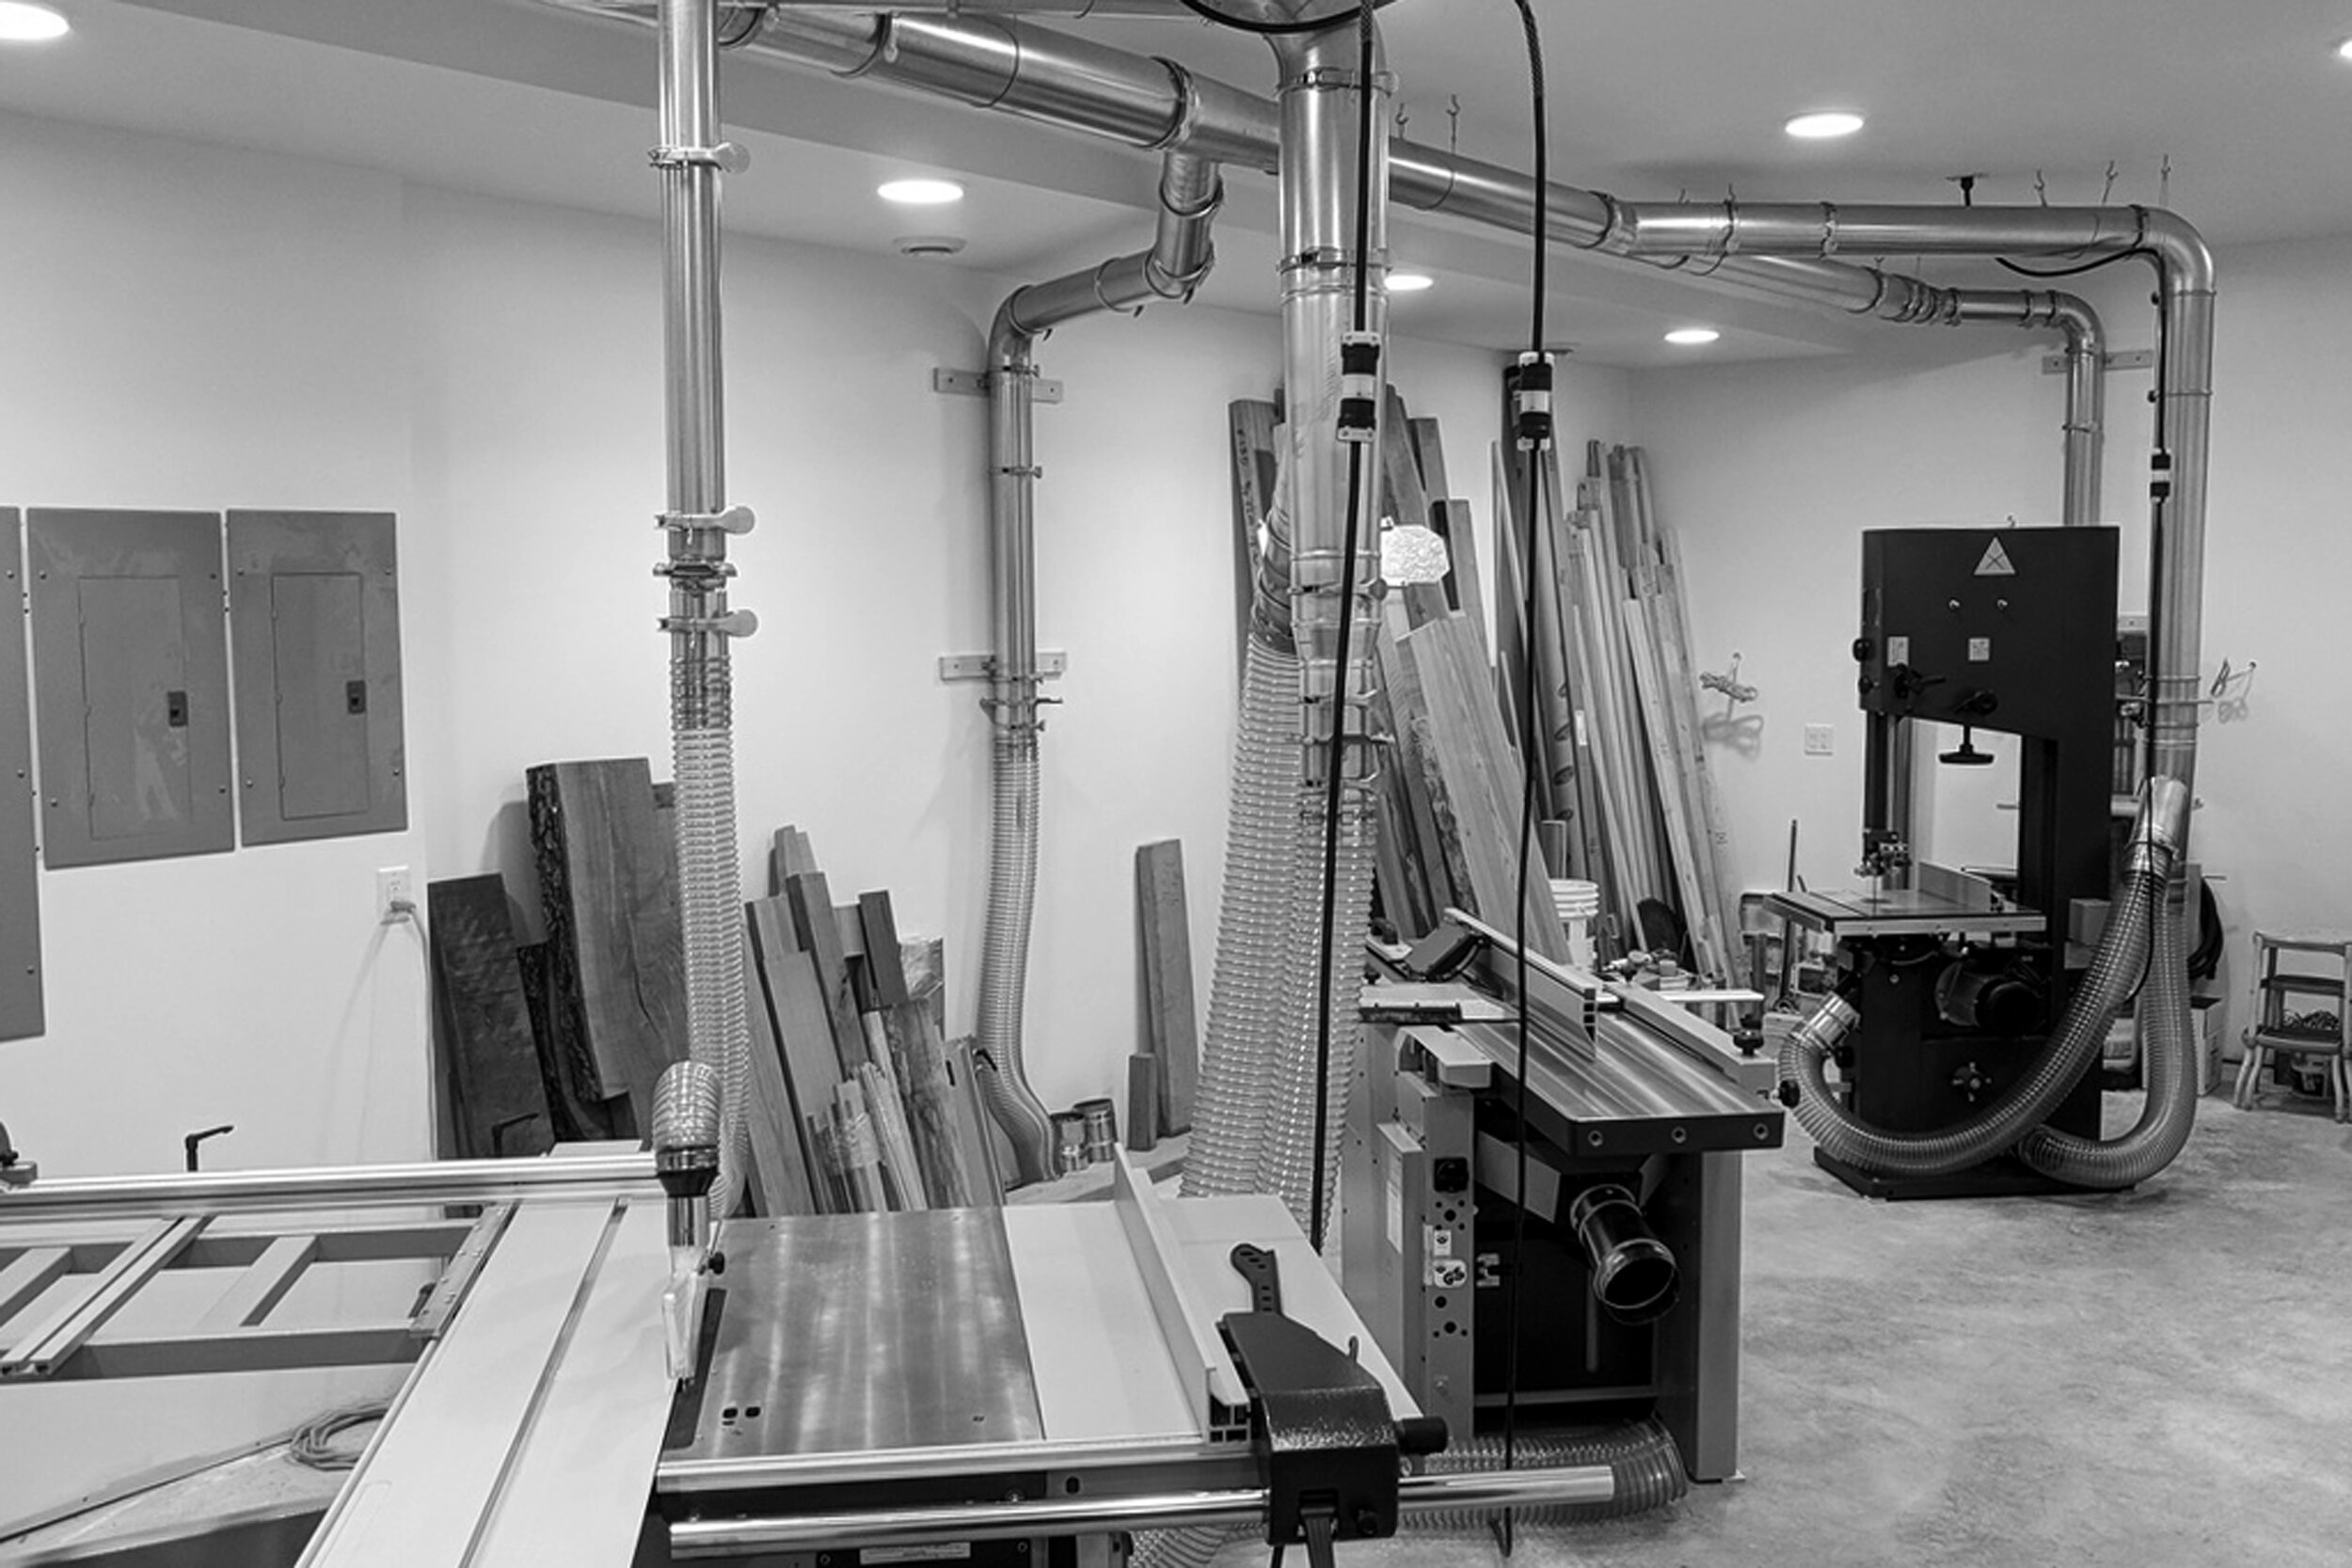
I auctioned off many of my old woodworking machines, with the intention of upgrading those following the move. The first new piece of equipment to be installed was an Oneida Dust Gorilla Pro.

The installation was pretty straightforward, but with this many parts, it did take a few days to get it up and running. The ducts were from the Nordfab Quick-Fit system.

Since installing the new system, I haven’t needed to vacuum out my three large machines. Always as clean as a whistle!
I already had the Felder FB 510 bandsaw in the old basement shop. It’s worked great for me, so when I replaced my old Grizzly jointer and planer, I ended up with a Felder AD 741 jointer/planer combo unit. Then, to replace the old Sears Flexdrive table saw, I landed a Felder K 500 P panel saw. I’m very happy with all three machines.
Next on the list was a new workbench. My previous bench was a built-in at the old house and the new buyer wanted to keep it. After much thought, I settled on a Lie-Nielsen Standard Bench, top only, so I could build my own adjustable height base. Also, instead of having the bench against a wall, this time it will be freestanding… and mobile!
I picked up a set of plans for making an adjustable height bench from Jack-Bench. The plans were great; well worth the investment! However, my new bench is fairly narrow at 24 1/4”, so I needed to make a few adjustments to fit my situation. Okay, I admit it was more than a few, but having the plans from Jack-Bench got me on the right track! Also, I wanted to make my bench with a greater range of height adjustment, so I added another jack.
Here is the design I came up with. Total weight, with the bench top included is around five or six hundred pounds; about half the lifting capacity of the motorcycle jacks I chose.

Making my customized version of the Jack-Bench got to be fairly involved, so I’ll just summarize some of the work. Below, I’m using an MDF template to cut the plywood shape for the upper legs.

Three layers of 3/4” plywood make up each set of u-shaped legs.

Side panels were built up from a birch core covered with 1/2” plywood on both sides.

The inside is made up of three “shelves”, including a rolling cart that makes it very easy to move the whole bench around the shop.

Each shelf is covered with a layer of 3/4” plywood.

The lower legs are laminations of 3/4” plywood, just like the upper legs. Below, is one of four bearing plates per leg that are recessed into the plywood and are used when clamping the entire base together, keeping it safe and solid during use.

The center shelf rests in this mortise cut into the lower legs.

To help guide the upper legs as they slide up and down on the lower legs, I Iined a dado in the lower leg plywood with solid birch, and added a corresponding birch runner to the upper legs.

Then, I overlaid a solid wood bearing surface for clamping.

After cutting the dado, it looked something like this, below.

The upper leg assembly was glued and clamped.

Dado and runner, just about ready for final fitting and assembly.

The side panels got an aluminum “flipper-flopper” that will hold the lower side panels up, providing access to the lower motorcycle jack for installation and maintenance.

The first jack is installed on the cart, under the center shelf.

Two tandem upper motorcycle jacks were then mounted to the center shelf and the whole assembly was rolled into position to pick up the upper leg assembly.

With the upper leg assembly attached, I raised it up on blocks as I installed the lower legs, jack operators and the clamping rods.

Ahh… finally ready for the bench top.

Here’s the whole bench, ready for work. Below, it is shown in its nominal working height, which for me is 36” above the floor.

Loosen the clamping rods and with a quick turn of the socket on a drill, the bench can be lowered to its minimum height of 32”.

Or raised to its maximum height. Below it is shown at 48”, but for some jobs I think I can bring it up to 52” or 53” and it will work just fine! The clamping rods do a great job of making the bench solid. The main benefit here is that I’m able to spokeshave chair parts in either of the vises while standing. Very ergonomic.
This workbench is just begging to get to work!

Next time, I’ll share a bit of the process from earlier this year in making the Upprätt armchair in black walnut.
Hej då!
Craig