Installing the Dobby
Waiting by the door for the delivery of the new loom upgrades, I was feeling like a little kid on her birthday. I couldn't wait to get at it and take it for a spin! But before we begin, here's a shot of the old technology. It worked fine for some patterns, but too often the chain of pegged bars got to be quite long and cumbersome.

First, out with the old. I had to remove the mechanical dobby assembly.

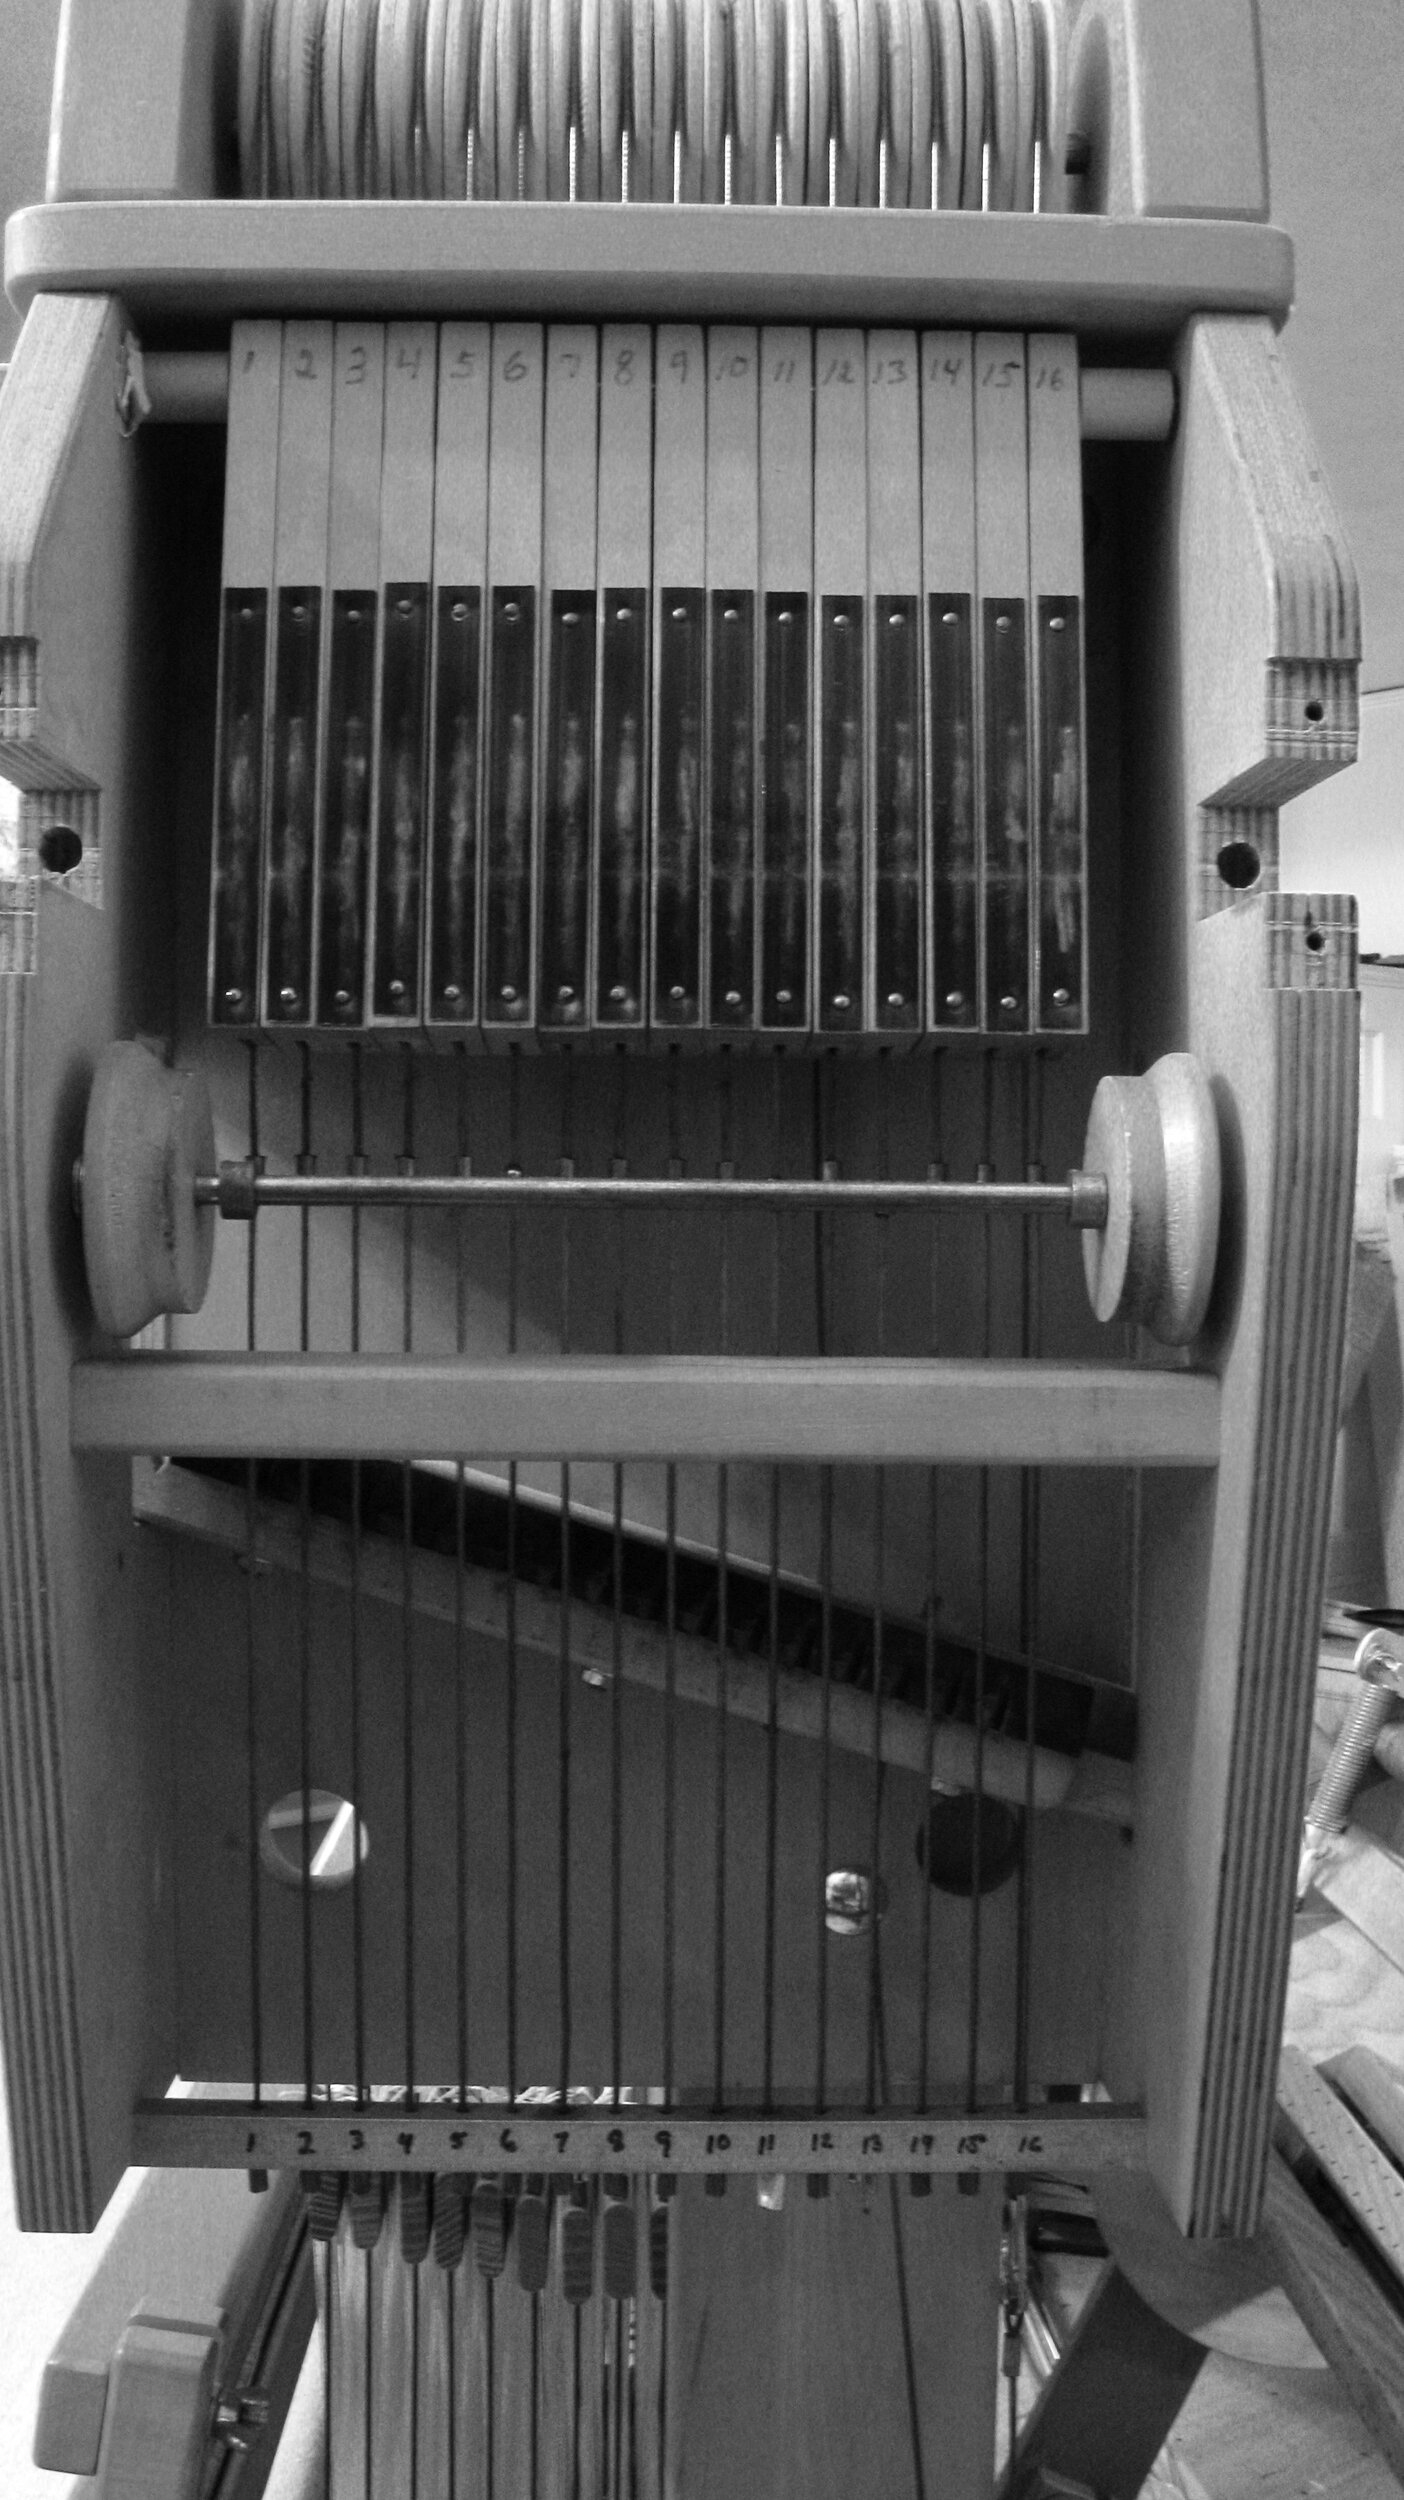
Then, in with the new. It basically slid right into the old dobby box, followed by a lot of careful adjustments.

Retrofitting this old loom posed a few challenges, but the kind folks at AVL were very helpful, and I was able to convince Craig to fashion a few shims and such, so we got everything seated correctly. Likewise, there was a small software glitch in the new loom driver, but again, with a bit of help from AVL, I was on my way. Now everything is running like water.
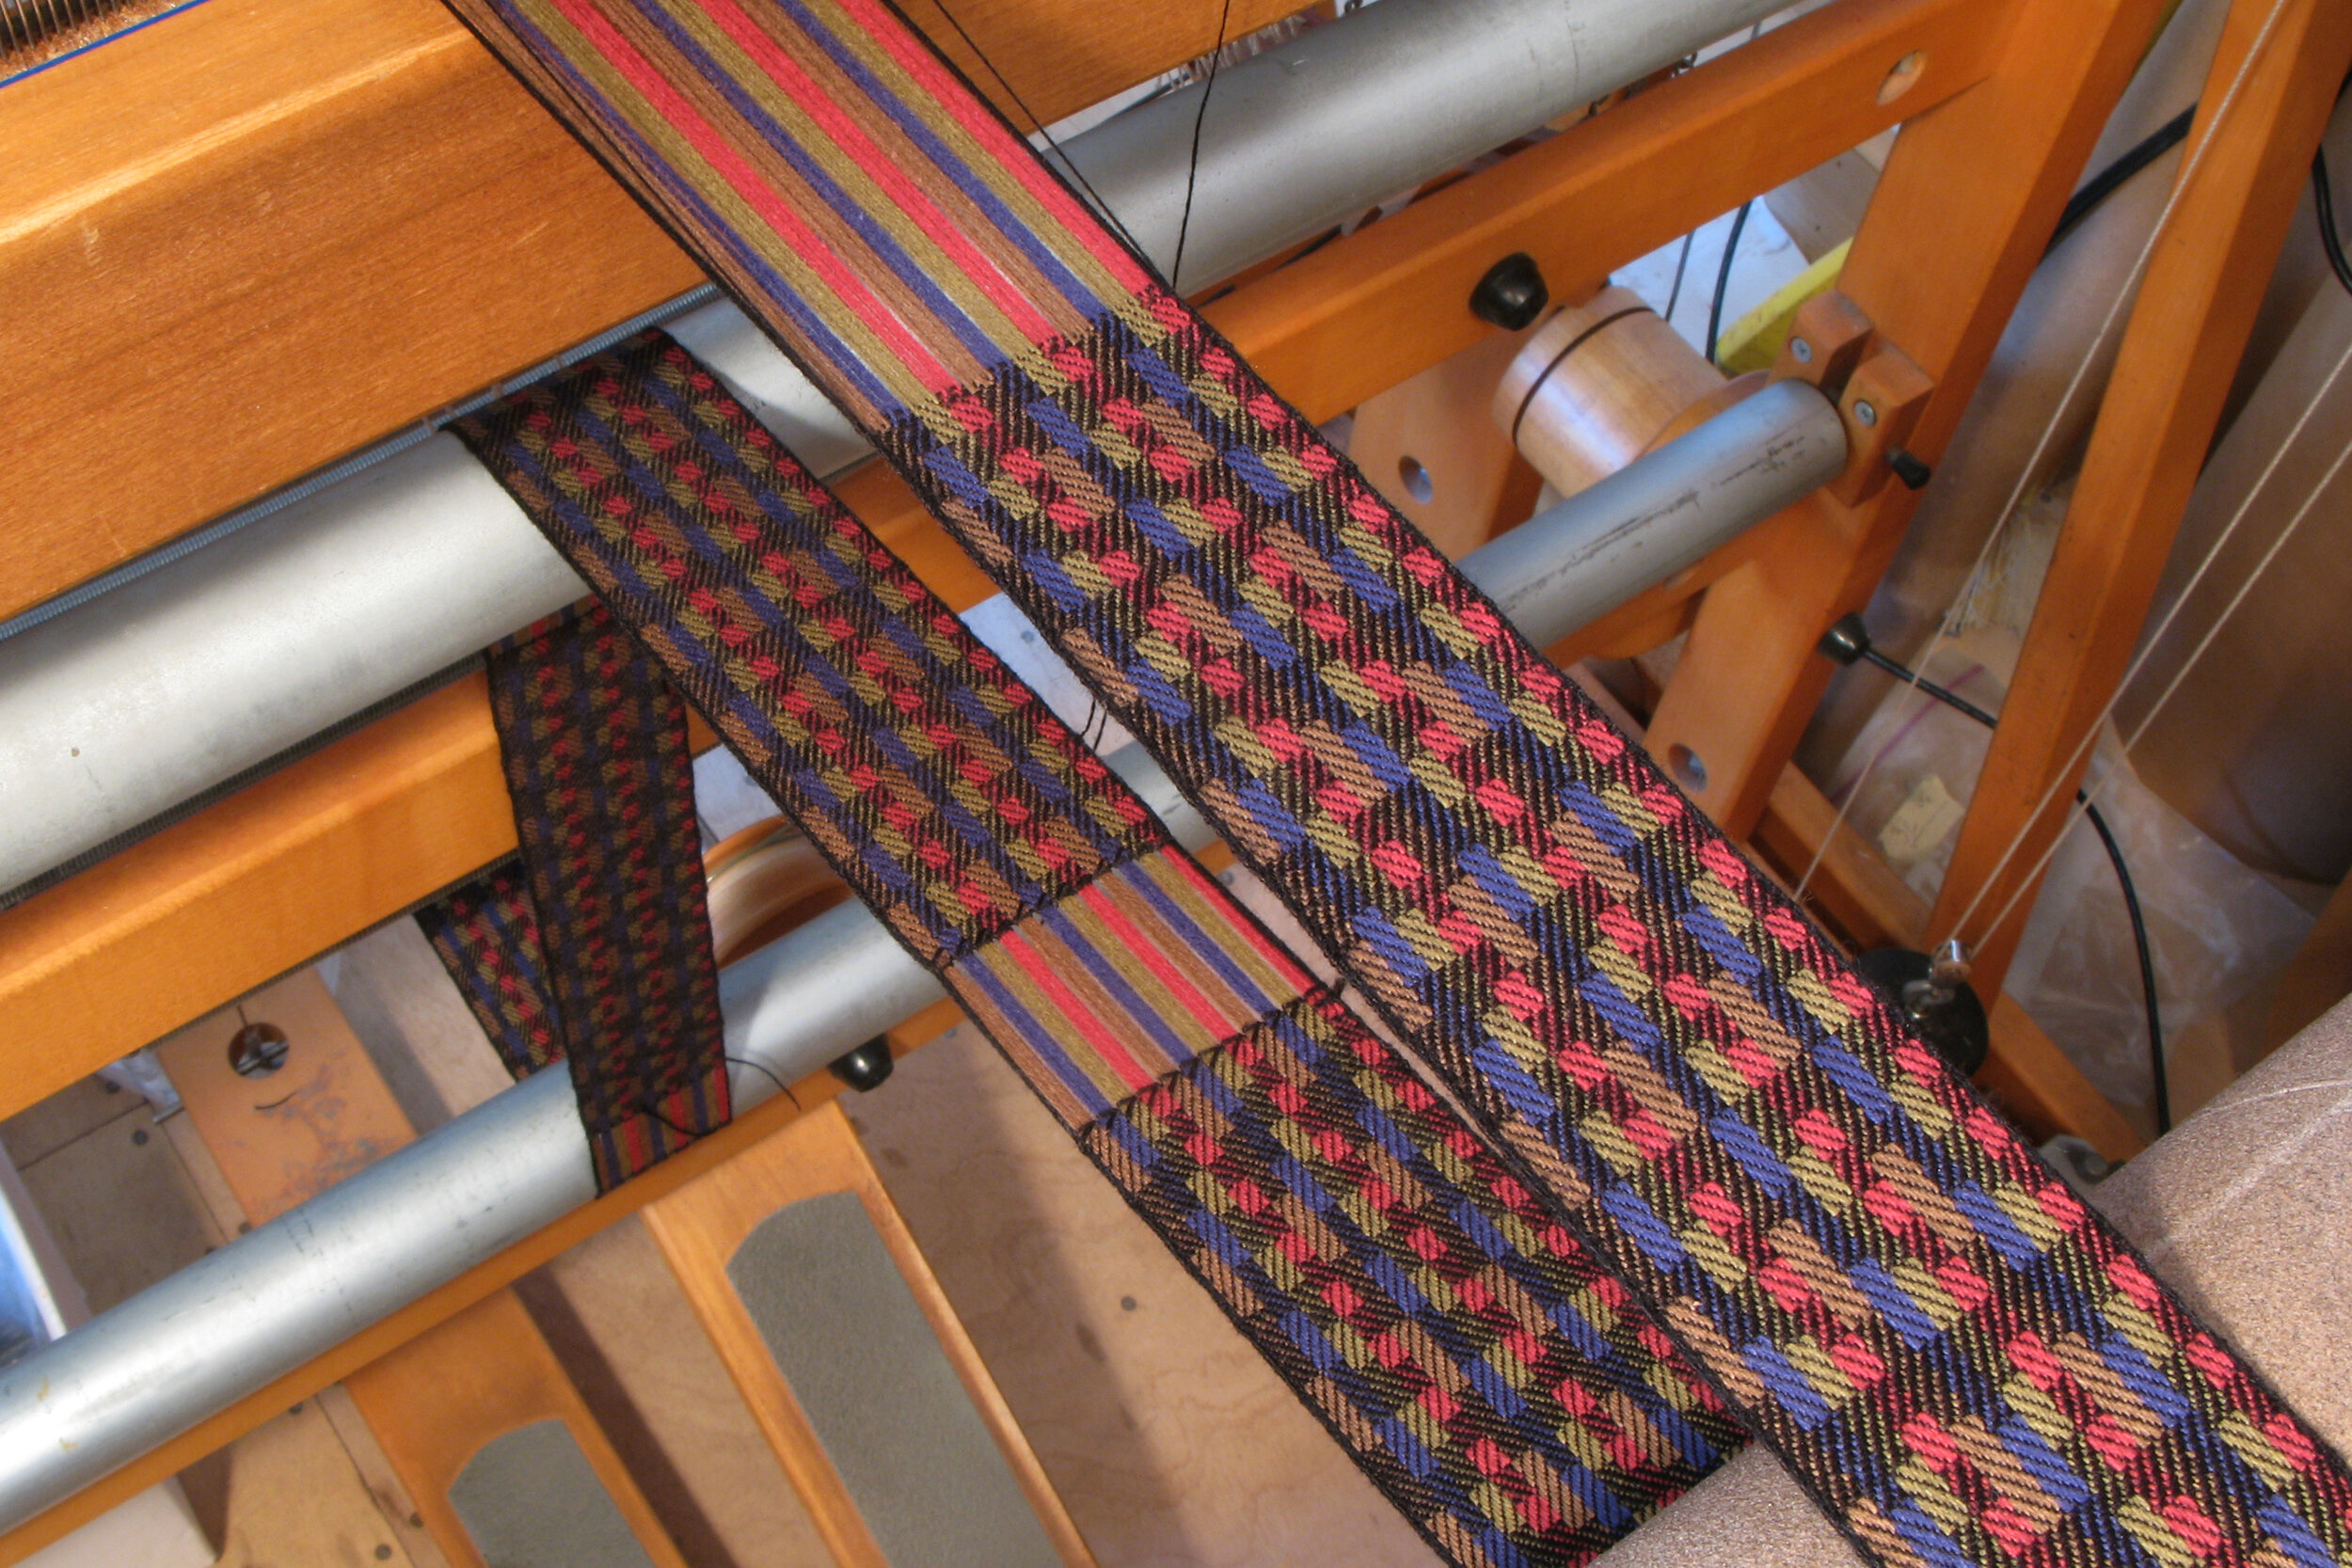
Here's a sneak peek at the very first warp on the new technology - a set of bookmarks. (The math behind this design involves very simple number rotations, with each color alternating between foreground and background at a different rate.)
When this loom was originally built, I was still writing computer programs on punch cards. I guess that makes us both vintage models. Looks like these two old dogs (loom and weaver) are both open to learning new tricks. This is gonna be fun!
Hei hei and happy treadlings!
Carol
This activity is made possible, in part, by funds provided by the Metropolitan Regional Arts Council (MRAC) through a grant from The McKnight Foundation.
● ● ●